This is my first time making a porridge bread. They always looked more challenging than I was ready to tackle. After reading the entire previous CB that featured this bread (read it several times, lol), I decided to go ahead and give it a try.
Levain:
75 gm, half bread flour, half WW, 100% hydration (9 gm seed culture)
Oat soaker:
125 gm oats (home flaked)
250 gm h2o
Pinch of salt
Dough:
350 gm bread flour
150 gm whole wheat (home milled, hard white wheat)
375 gm water - held back 25 gm
75 gm levain
11 gm salt
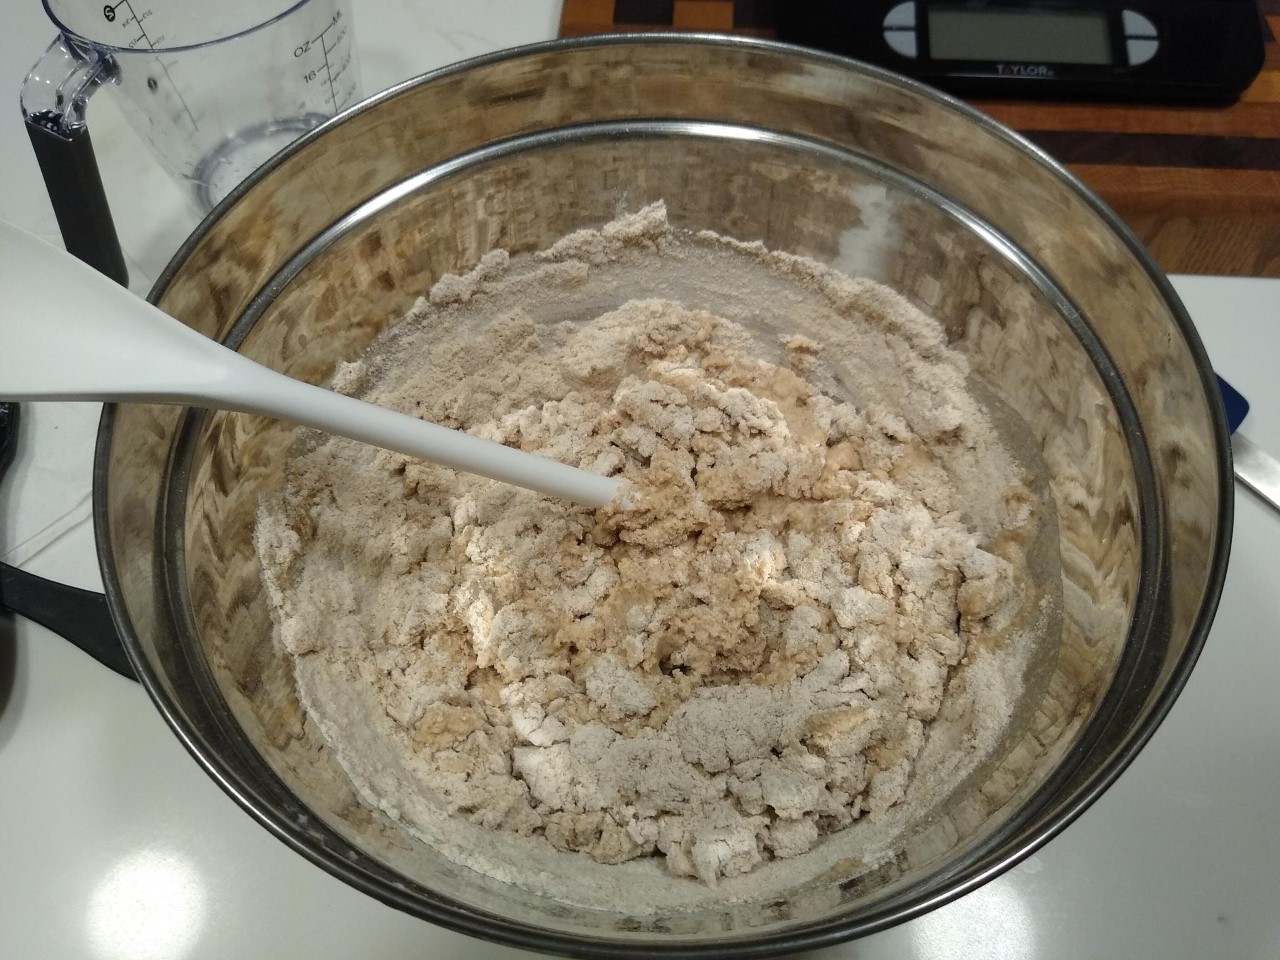
Added levain to mixing bowl, then added water and mixed til levain dissolved.
Added flours, mixed to shaggy mass, then rested (covered) 1 hr.
Boiled water and poured over oats, allowed to soak x 10 min. Much of water was soaked up - added10 gm of held back water and cooked oats slowly (about 12 min), covered and cooled to 85F. Oats were more of a thick paste than creamy, wondered if it was a mistake to not use commercial oats.
After 1 hour dough rest, added salt and 10 gm held water, mixed til sticky.
Transferred to bulk container and rested 30 min. Folded porridge in slowly (was certain my oat choice was a mistake and no way they would disperse evenly - and then they did). Rested 10 min, then began first S&F sets every 30 min.
S&F every 30 min. X 6, then rest 1-2 hrs. (Me, bulk may finish fast w warm temp and fresh milled flour). After 2 sets of S&F, swapped ti coil folds x 3 sets total. Dough was extensible and not as slack as I had been reading. It wasn't tight either, but would firm up sine with each set of folds. Total bulk time 3.5 hours. Dough was getting puffy but wasn't jiggly yet, I think it would have benefitted from a little longer bulk. But it was getting late and time for bed.
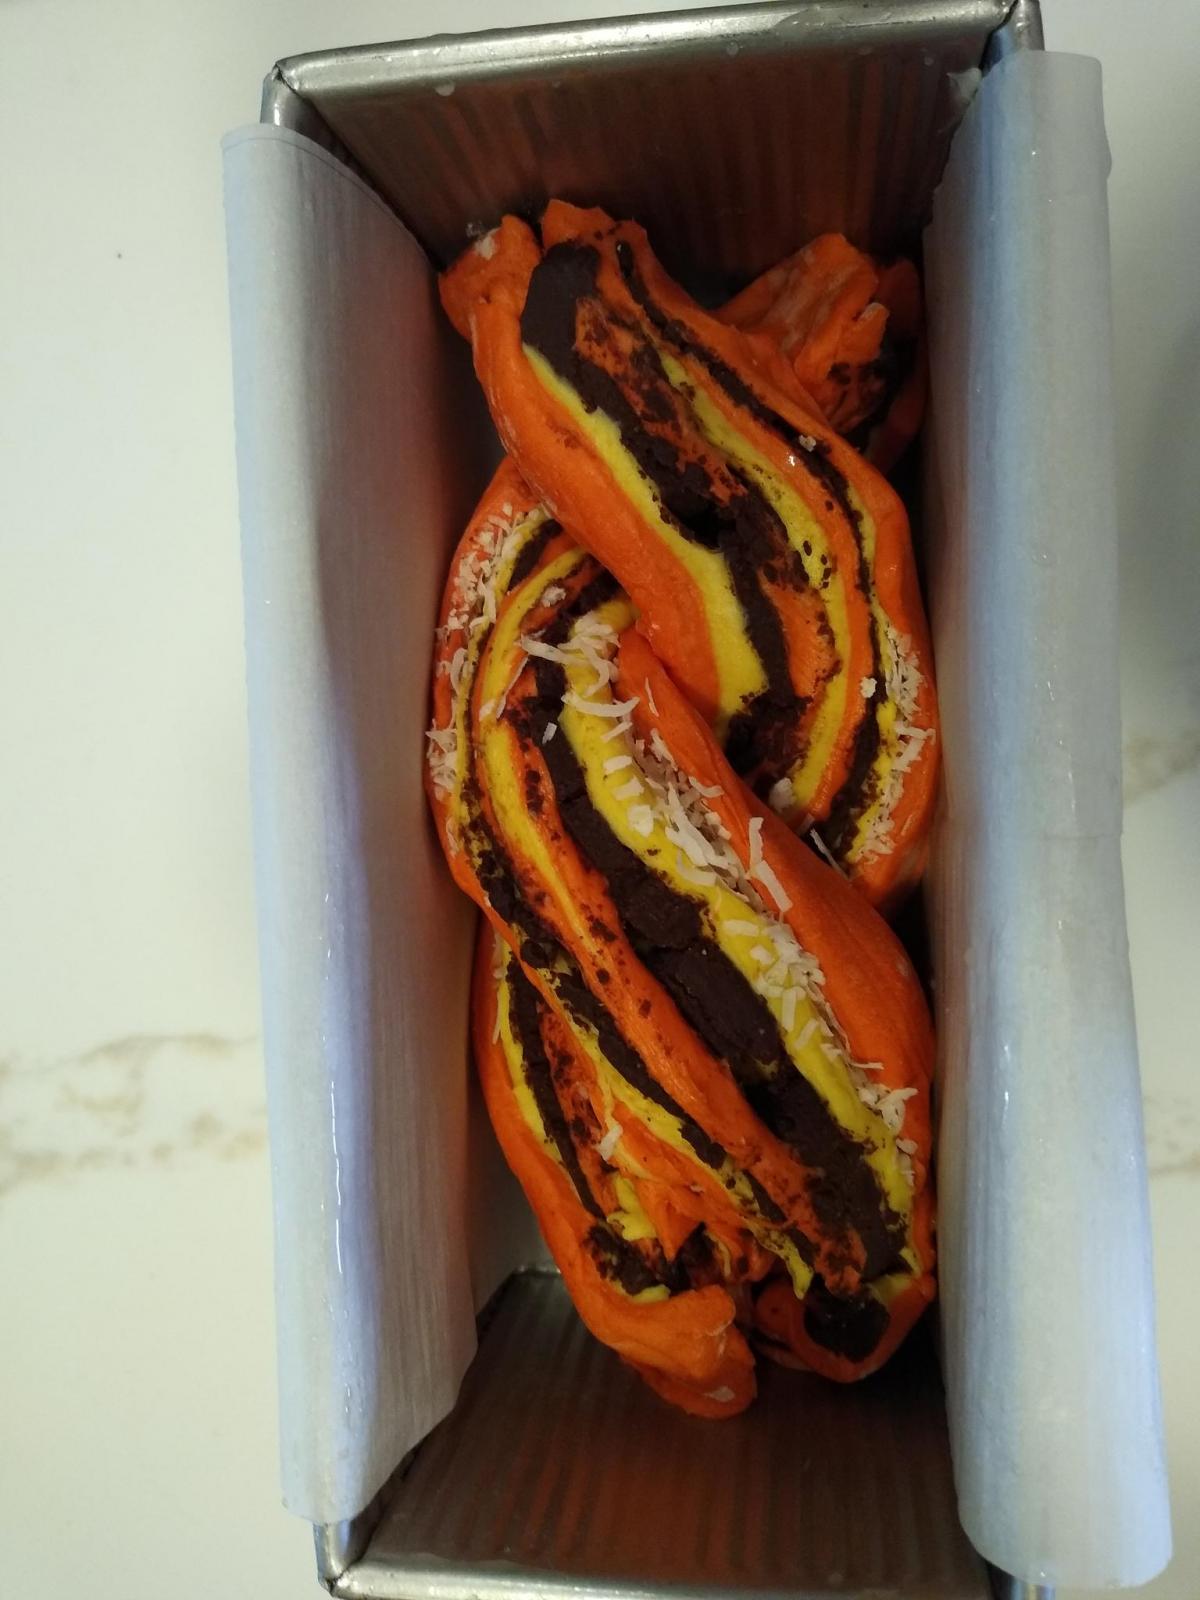
Turned dough out onto floured surface, sprinkled top with flour and preshaped. It oozed outward somewhat but then stopped. Covered and rested 15 min then shaped, flipped onto towel covered with oats, and put into the banetton seam side up. Seam was sticky and needed extra stitching to get it to stay together. Banetton placed into plastic bag and into frig overnight.
After 11 hr cold retard, oven preheated with DO at 475F x 1 hr. After preheat, banetton out of fridge, dough flipped onto parchment (it didn't stick ?), scored, sprayed, then loaded into hot DO. Bake covered 20 min at 450F, then uncovered 40 min.
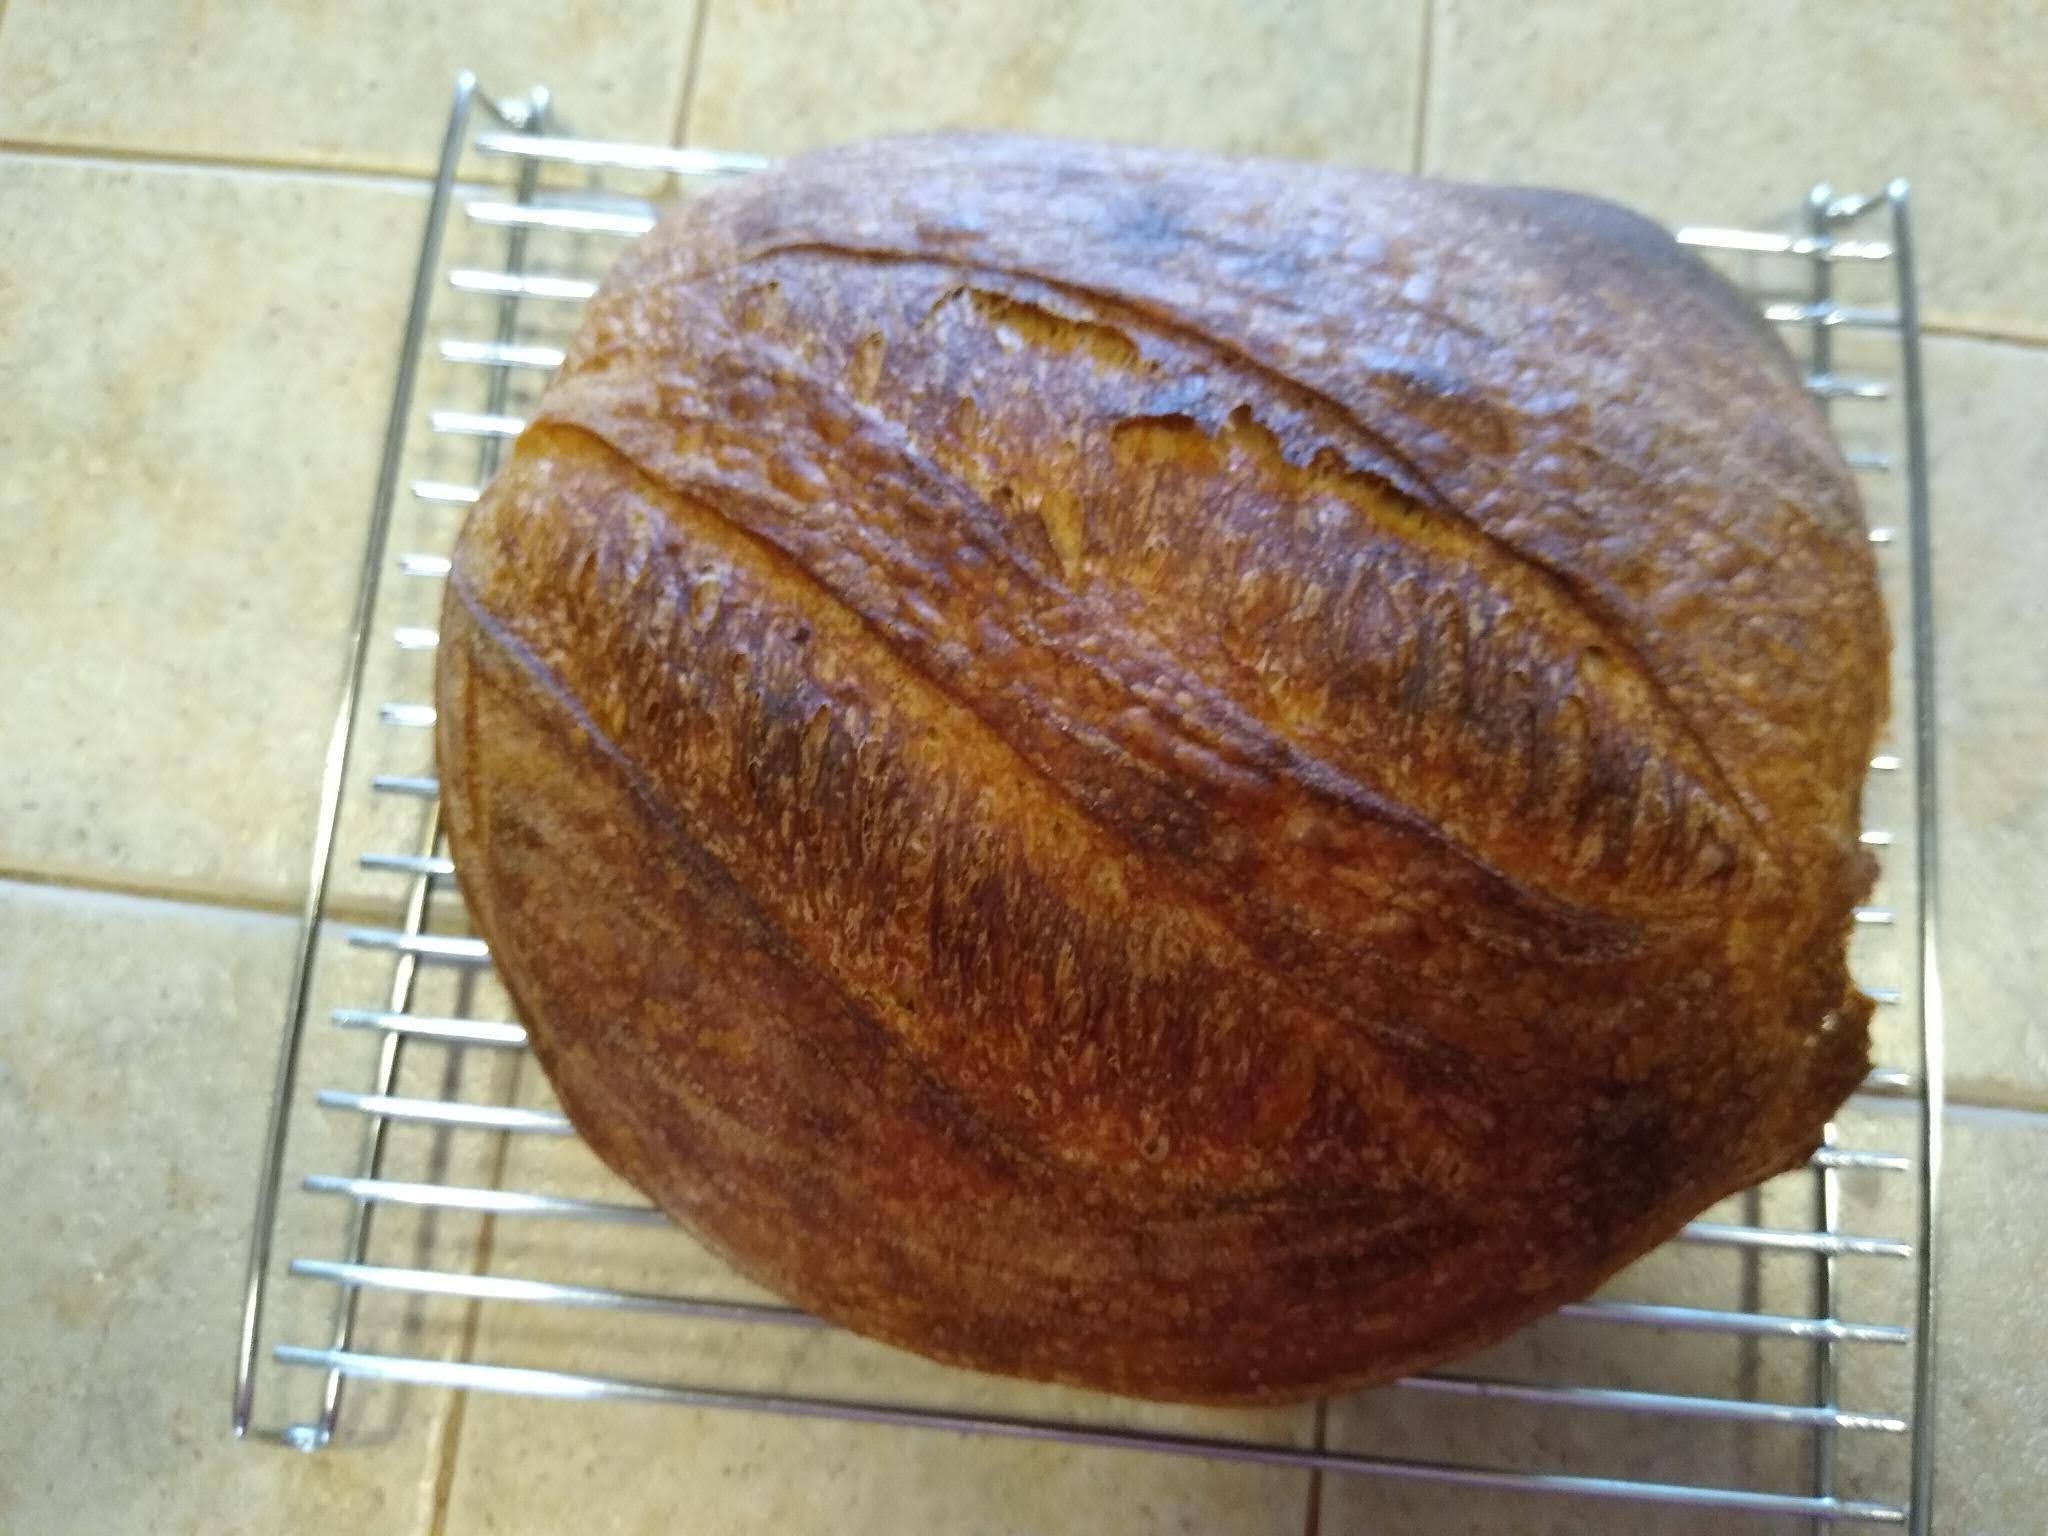
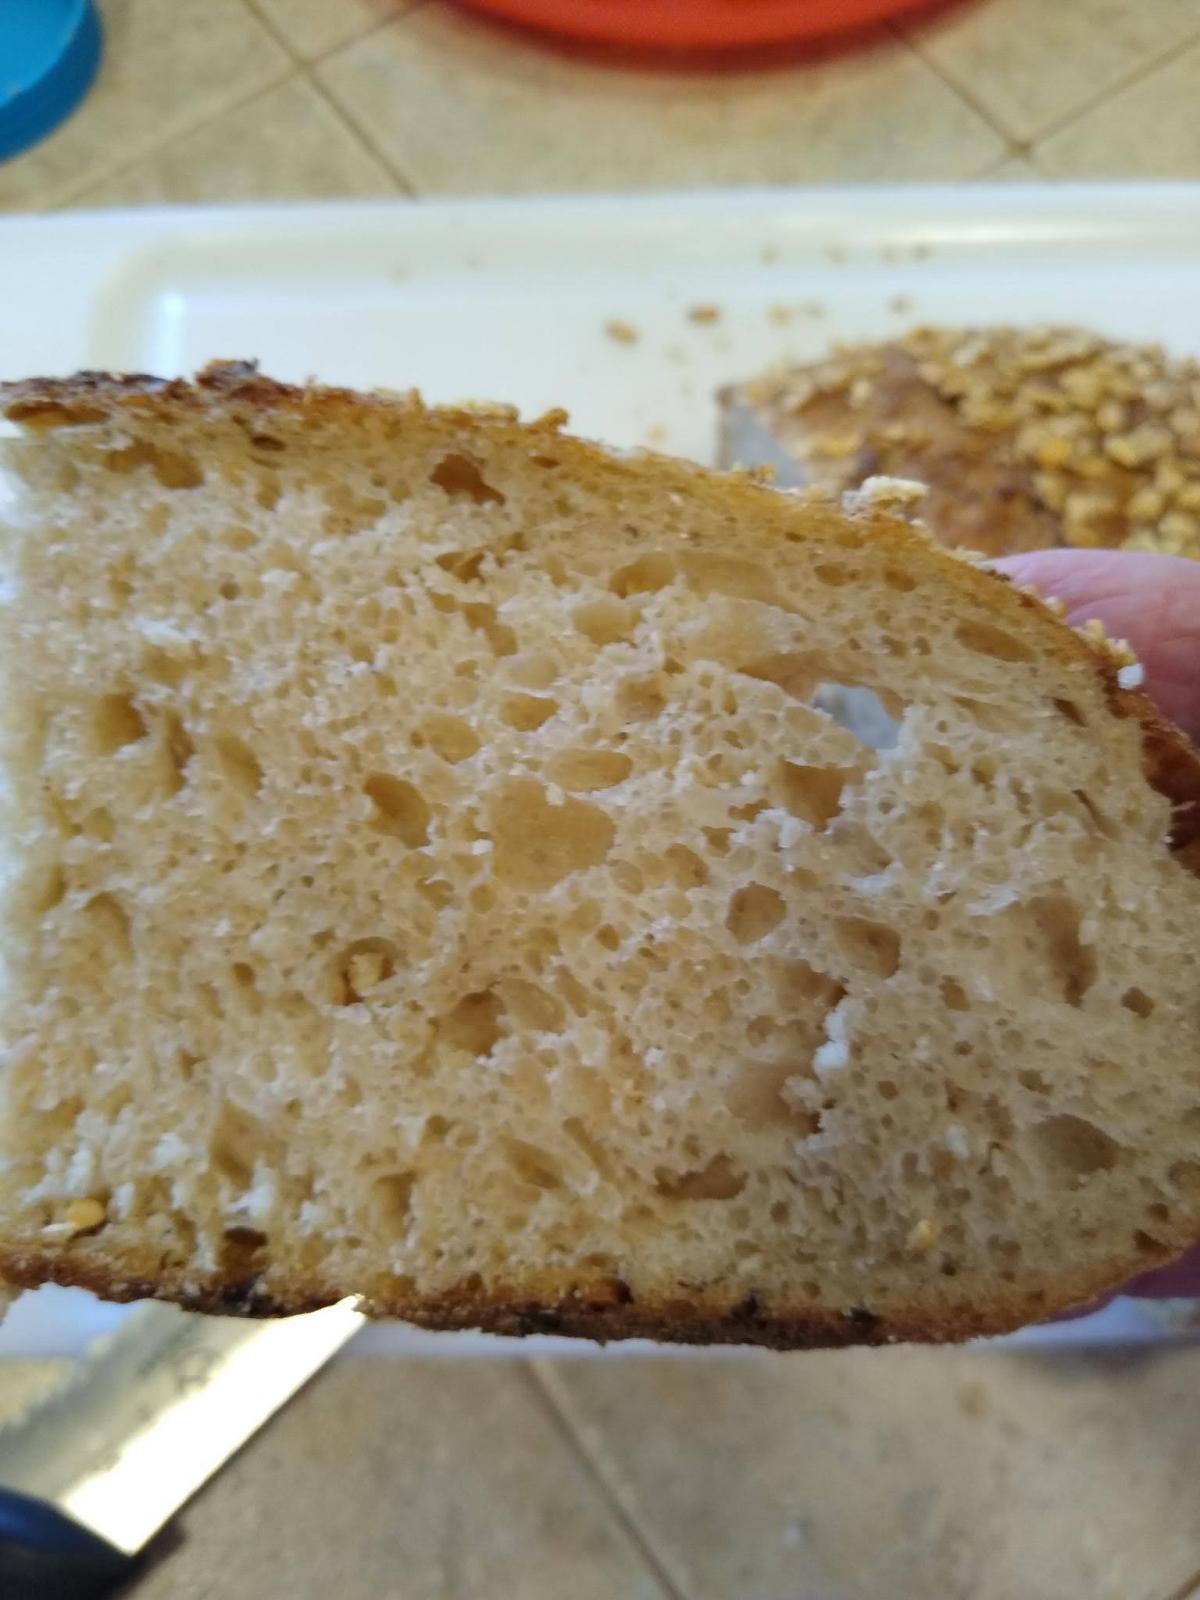
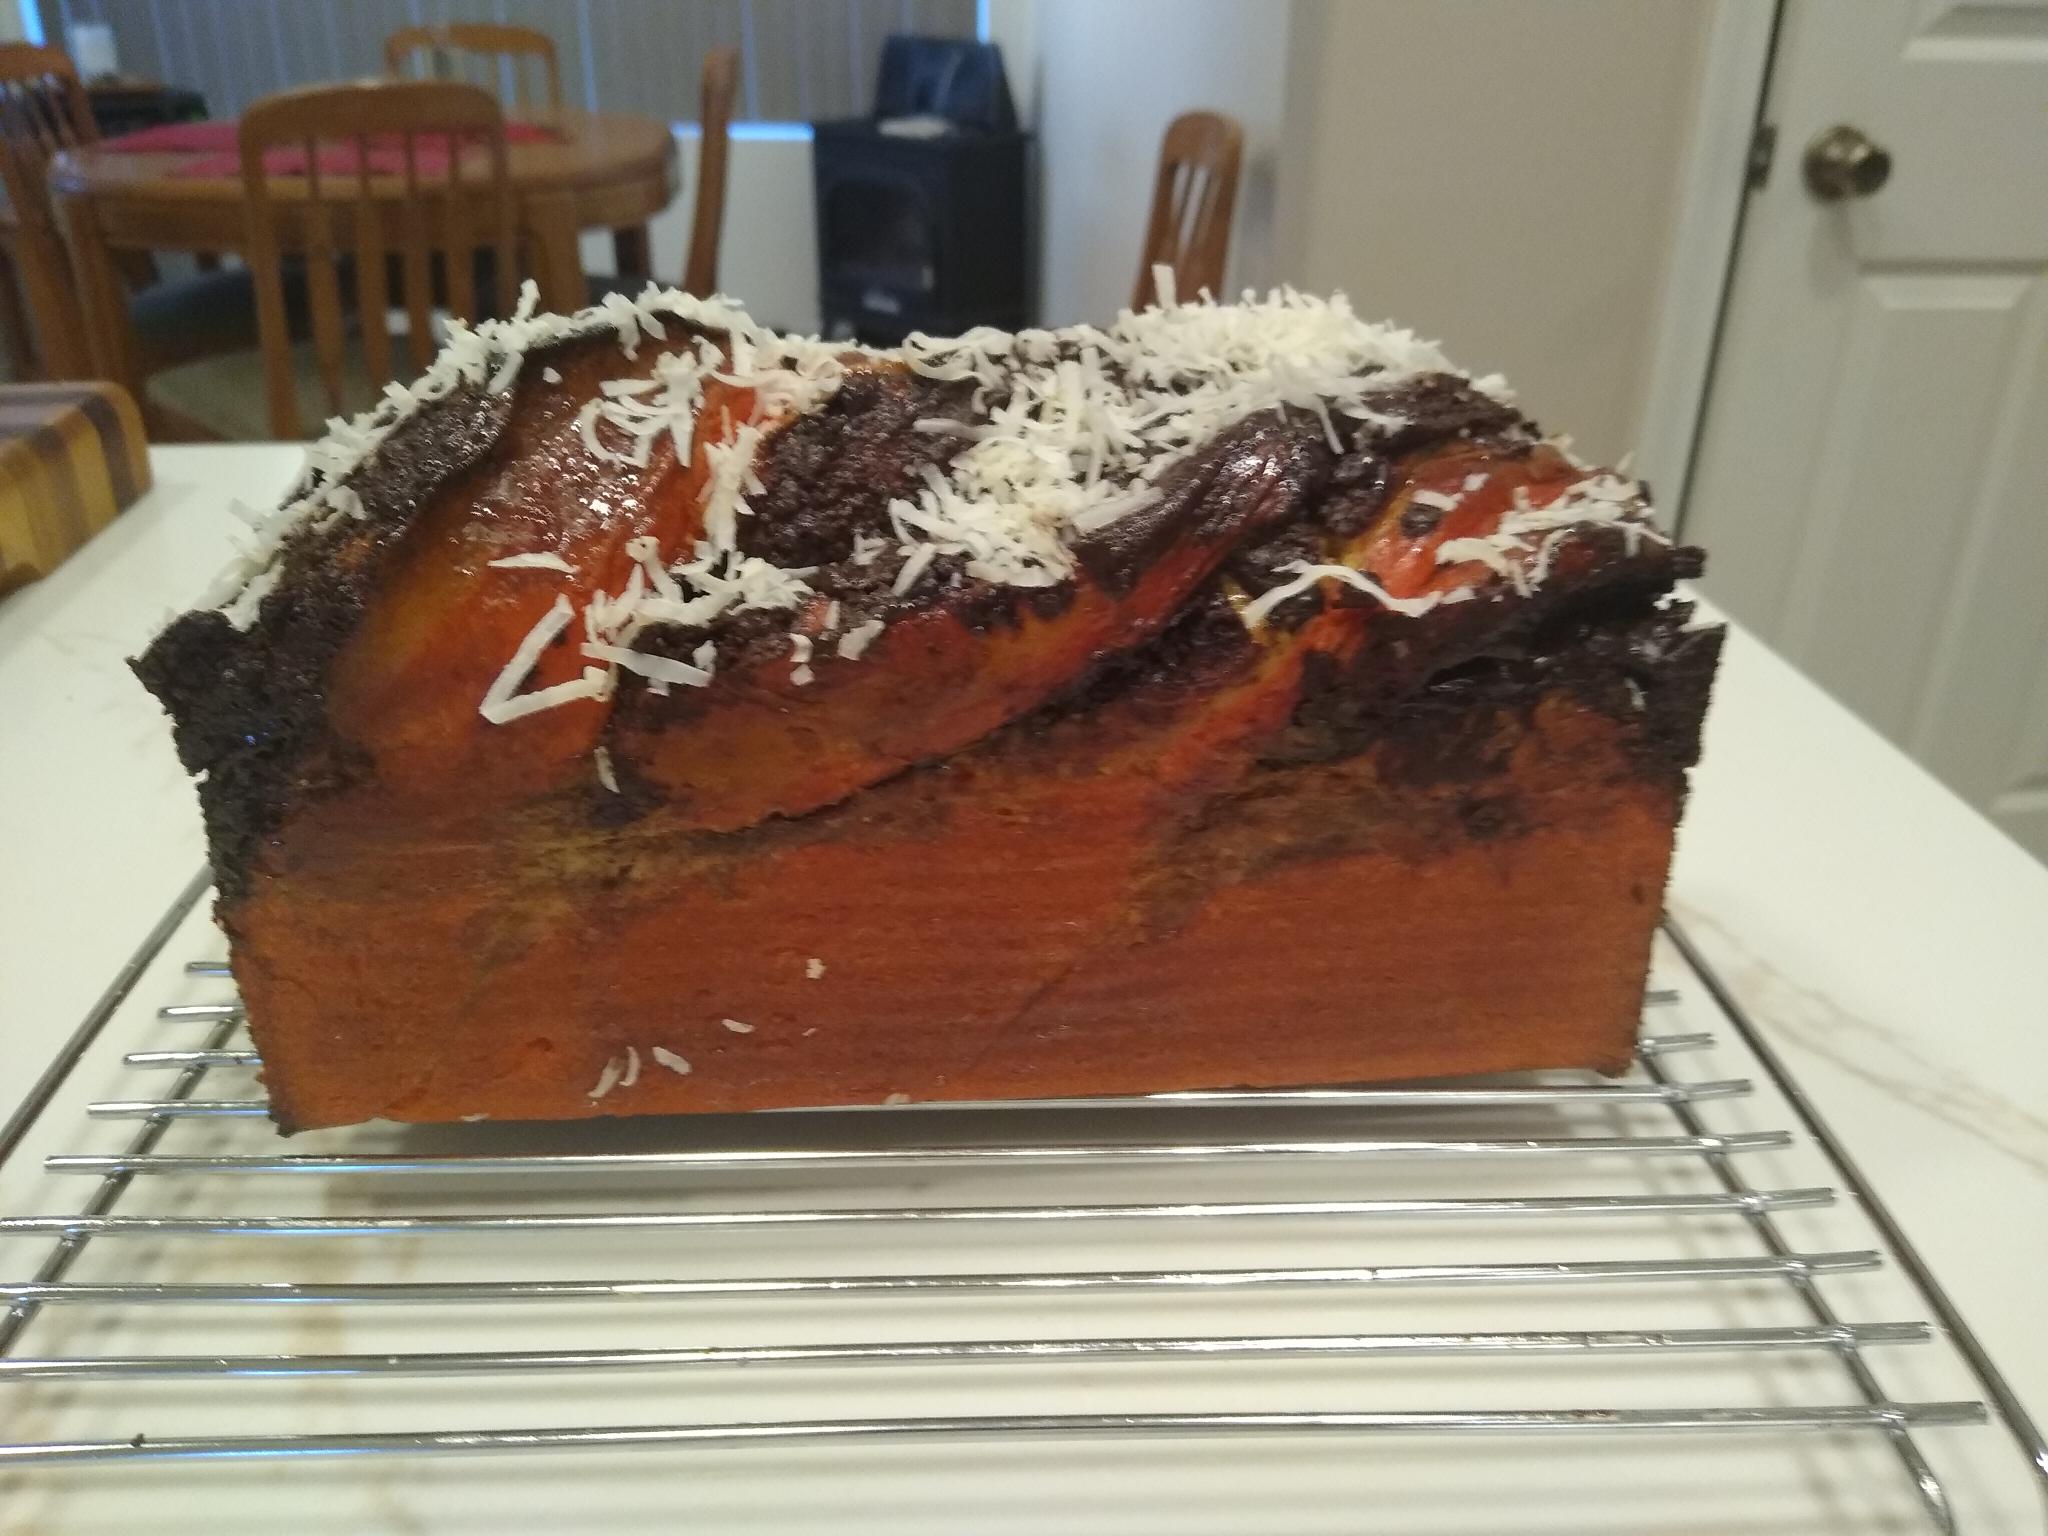
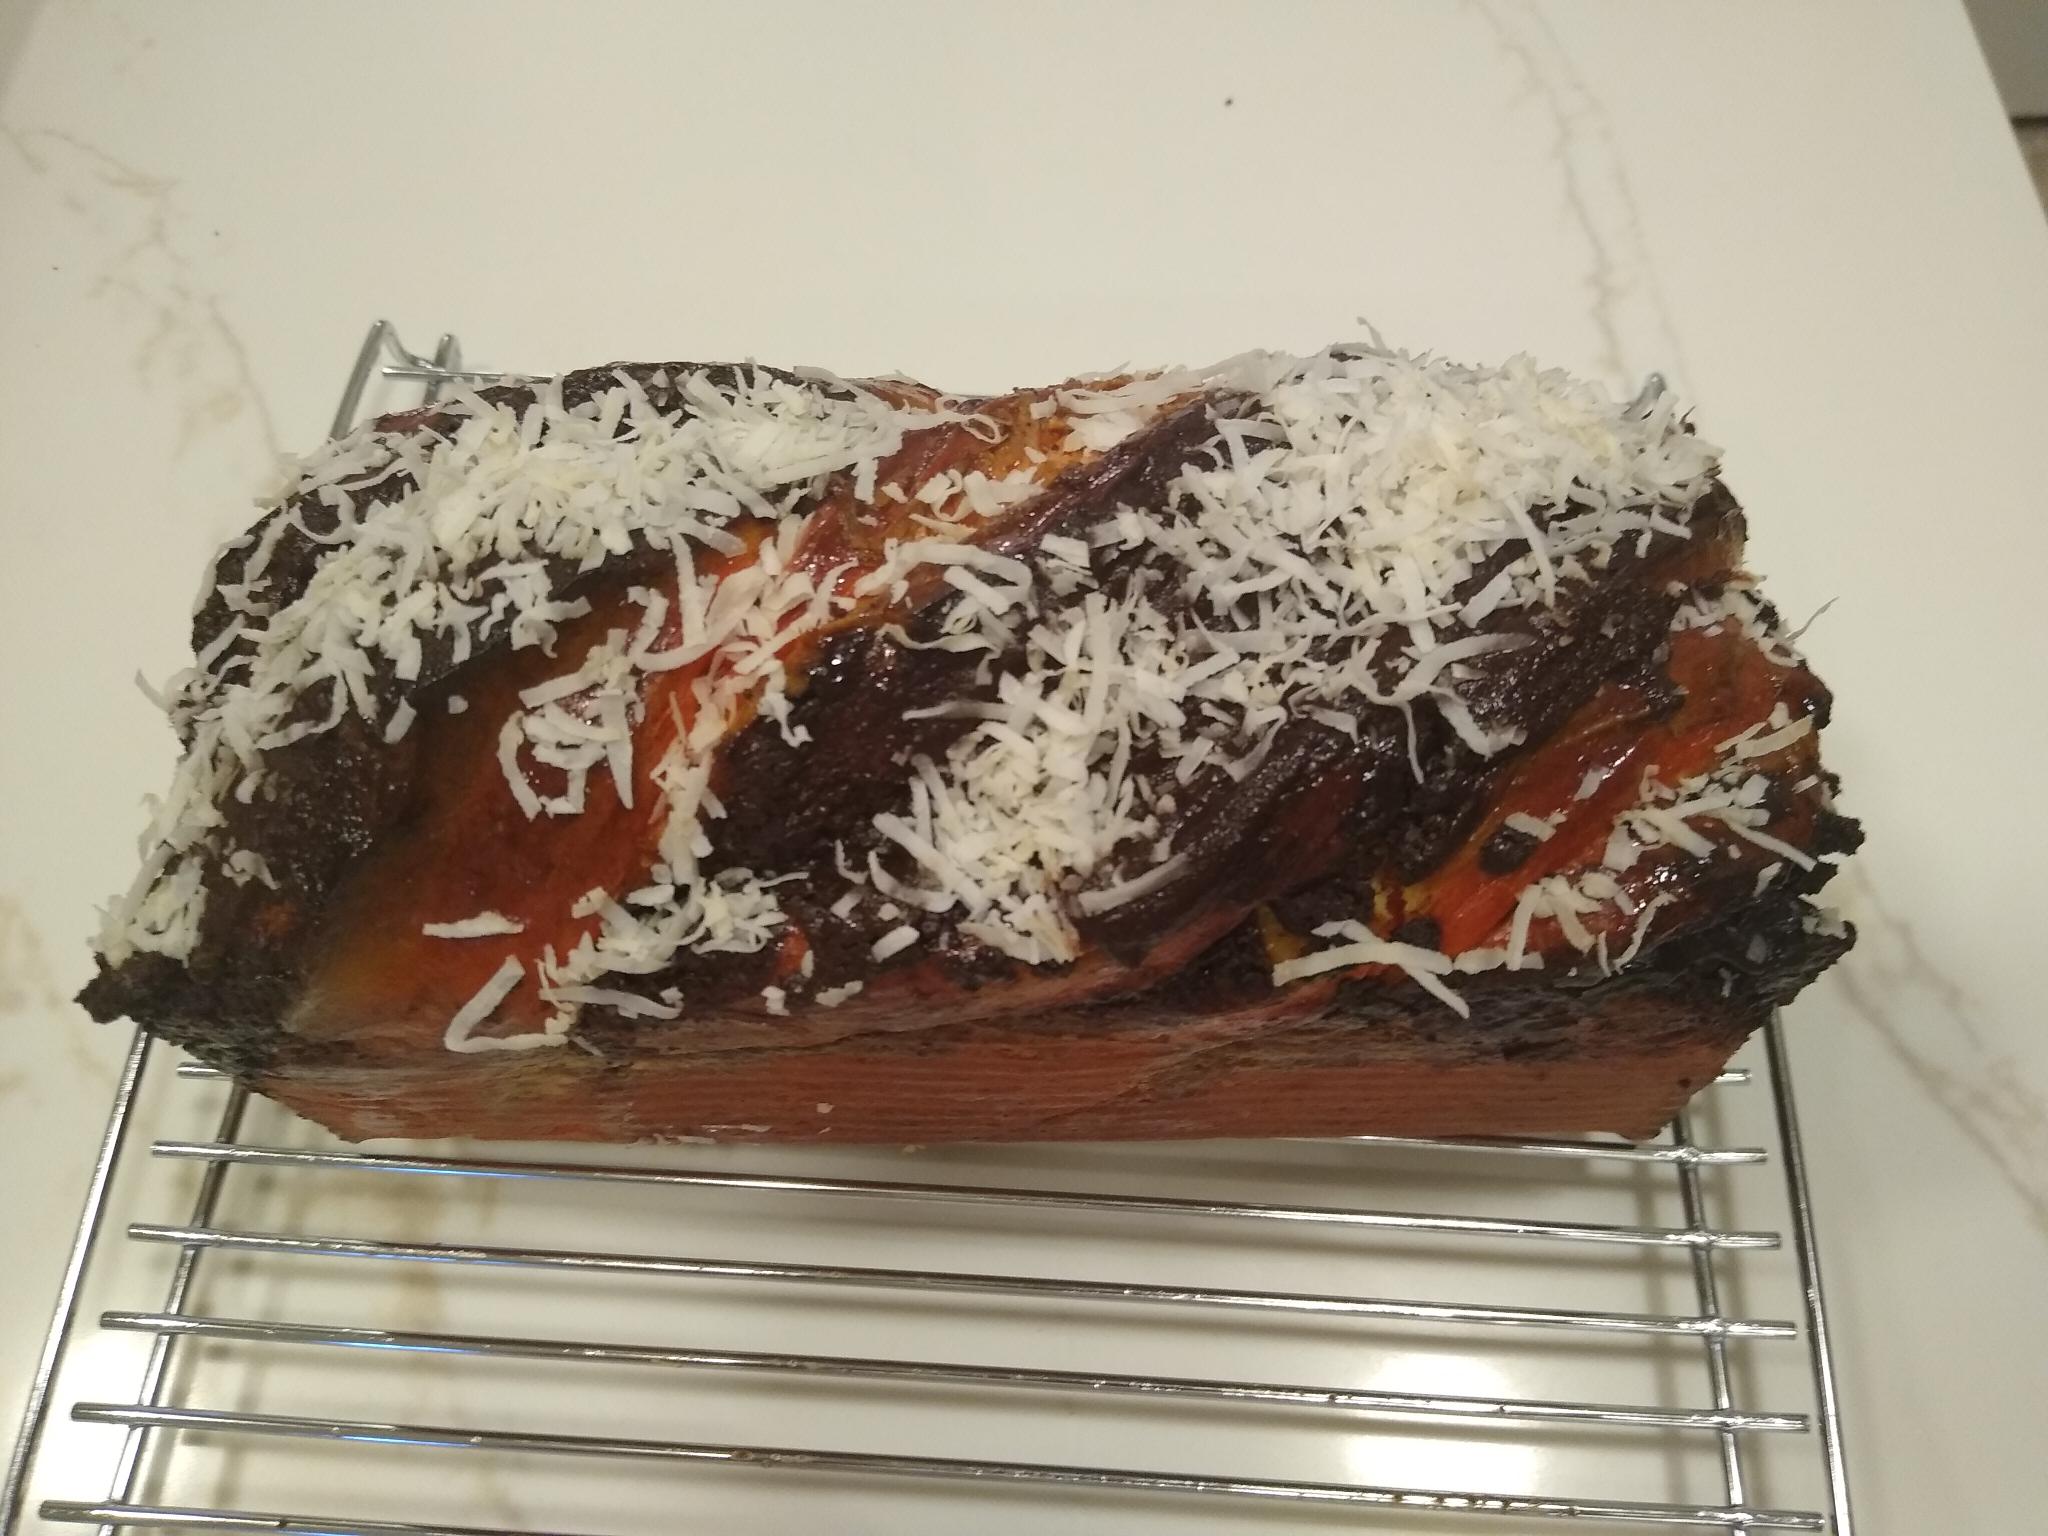
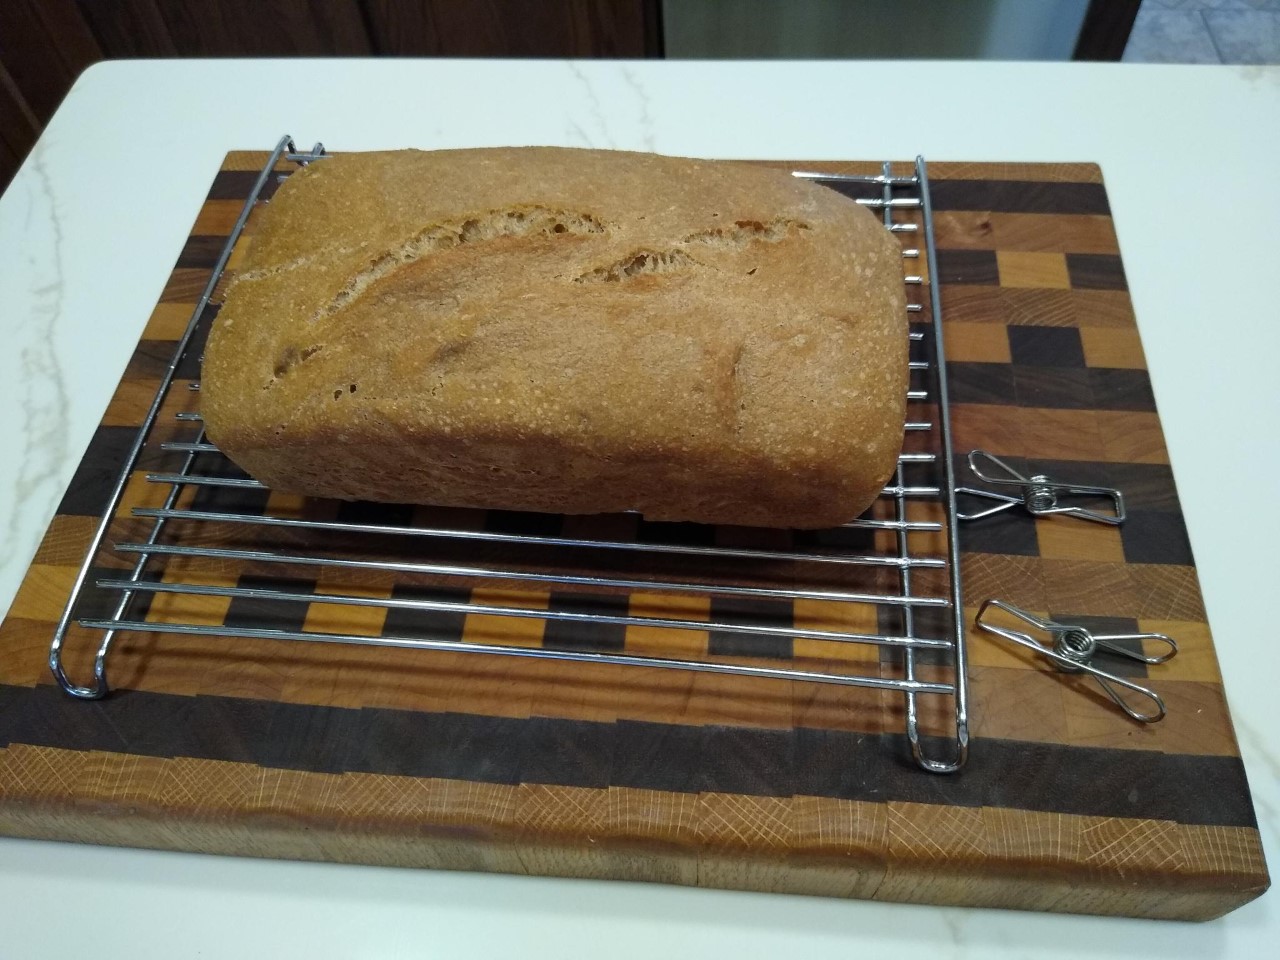
So far I m pretty happy. After reading some of the hydration issues and trouble getting the dough to cooperate after adding the porridge, I count myself lucky to have it all go this well on my first try. Fresh out of the oven - the proof will be in the crumb shot tomorrow. ?
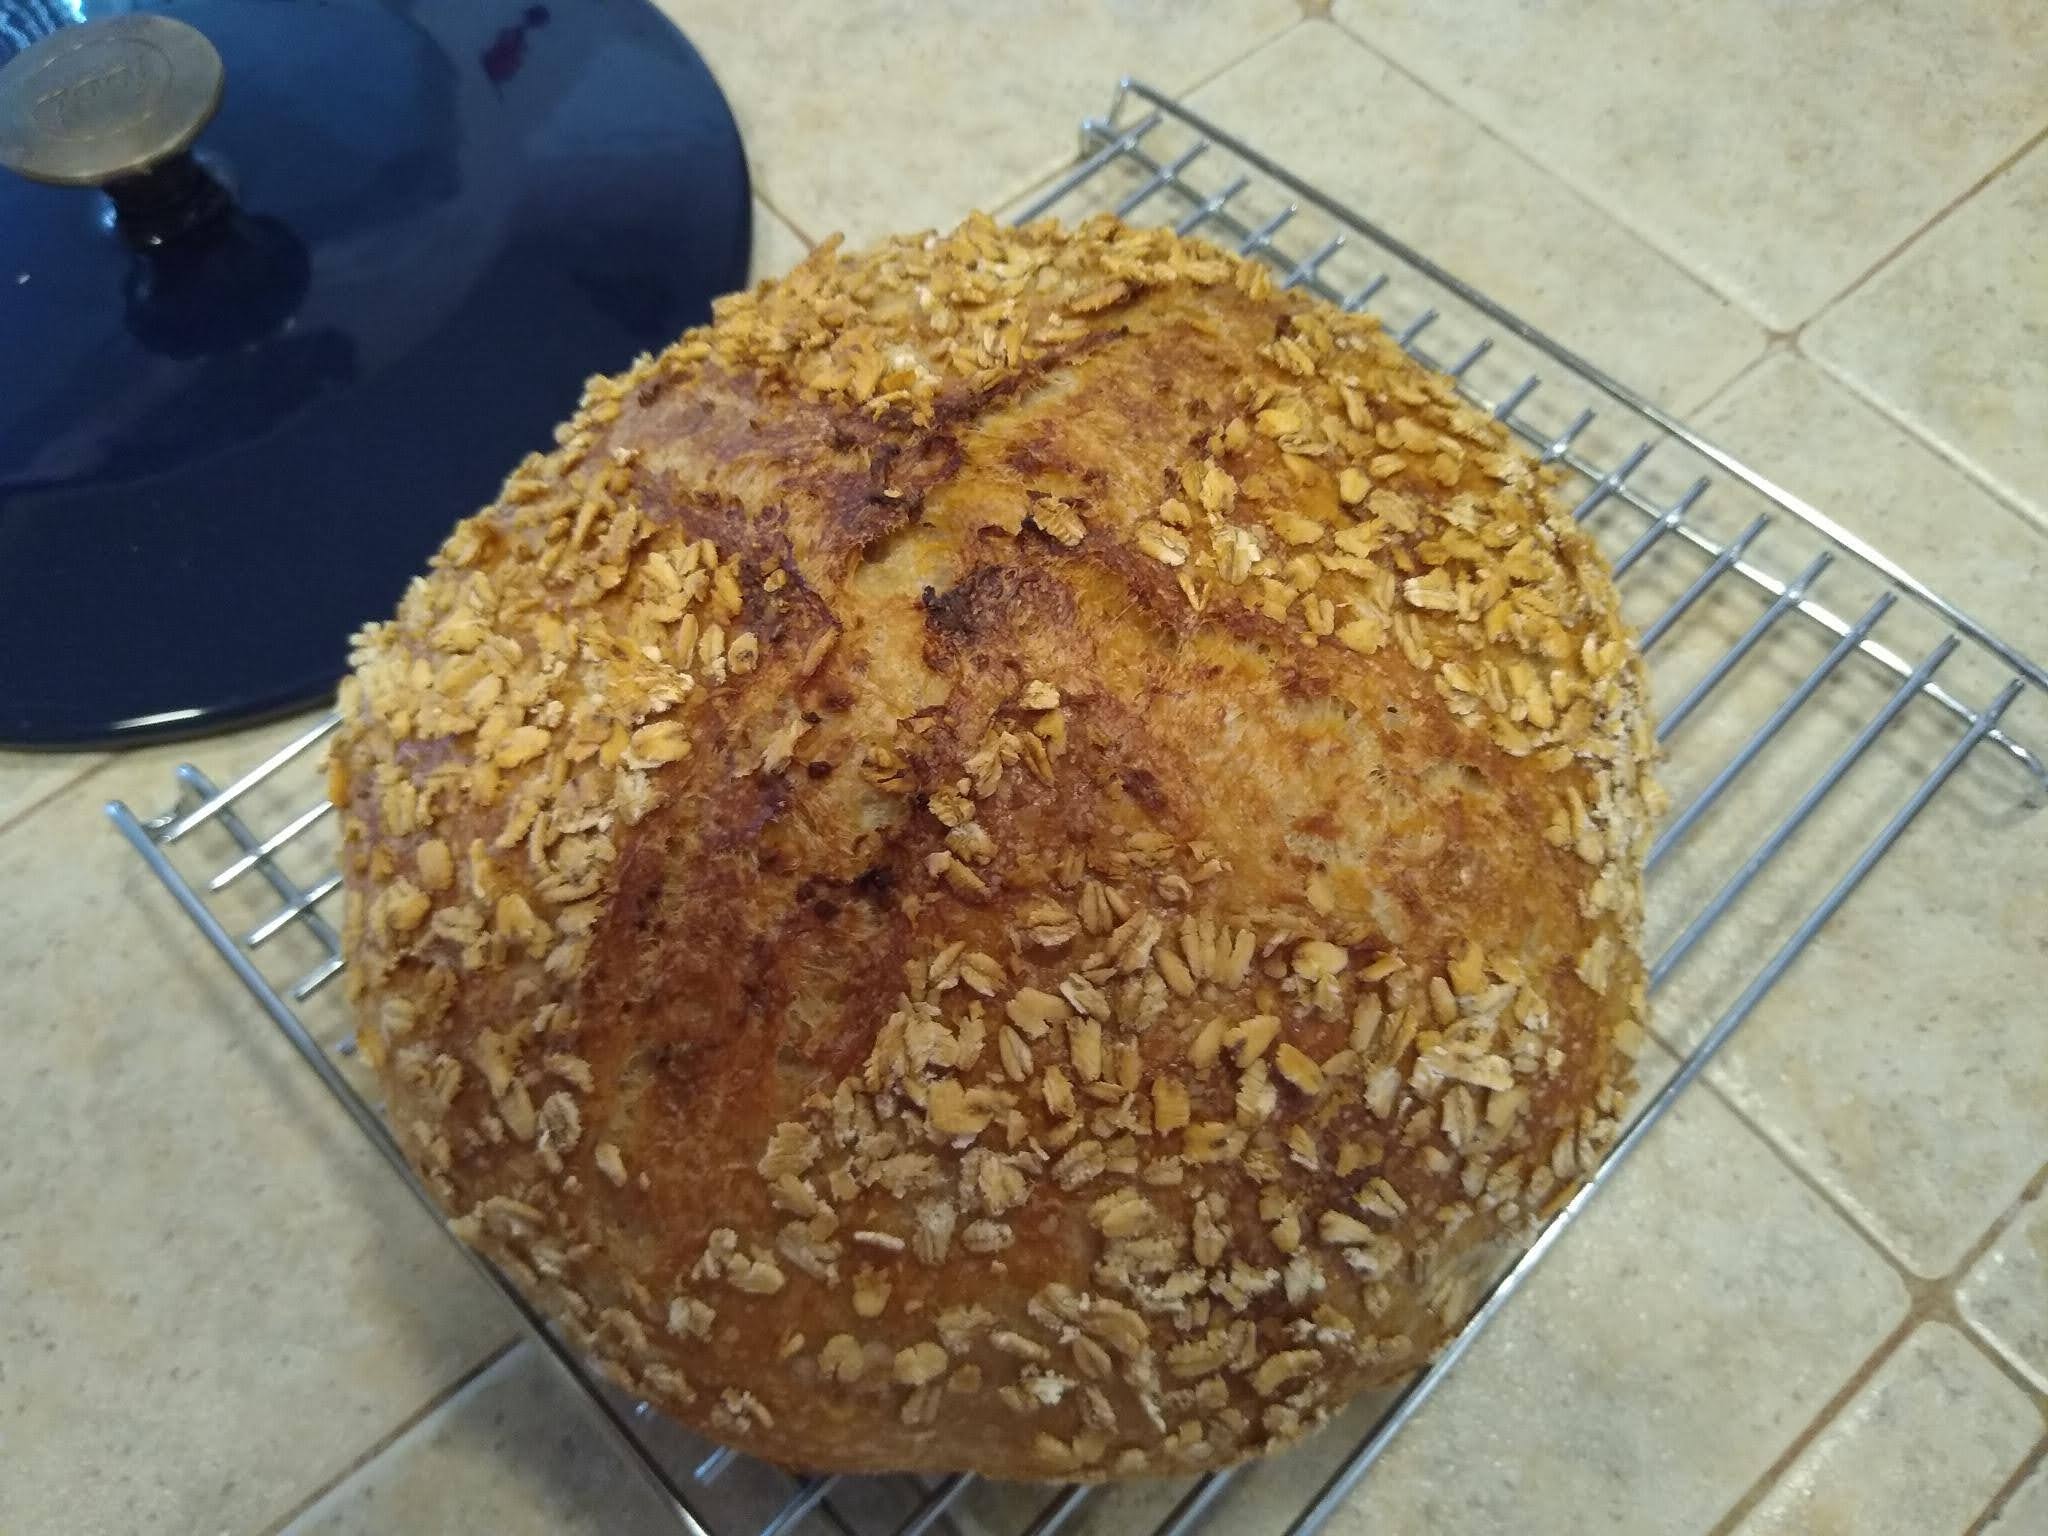

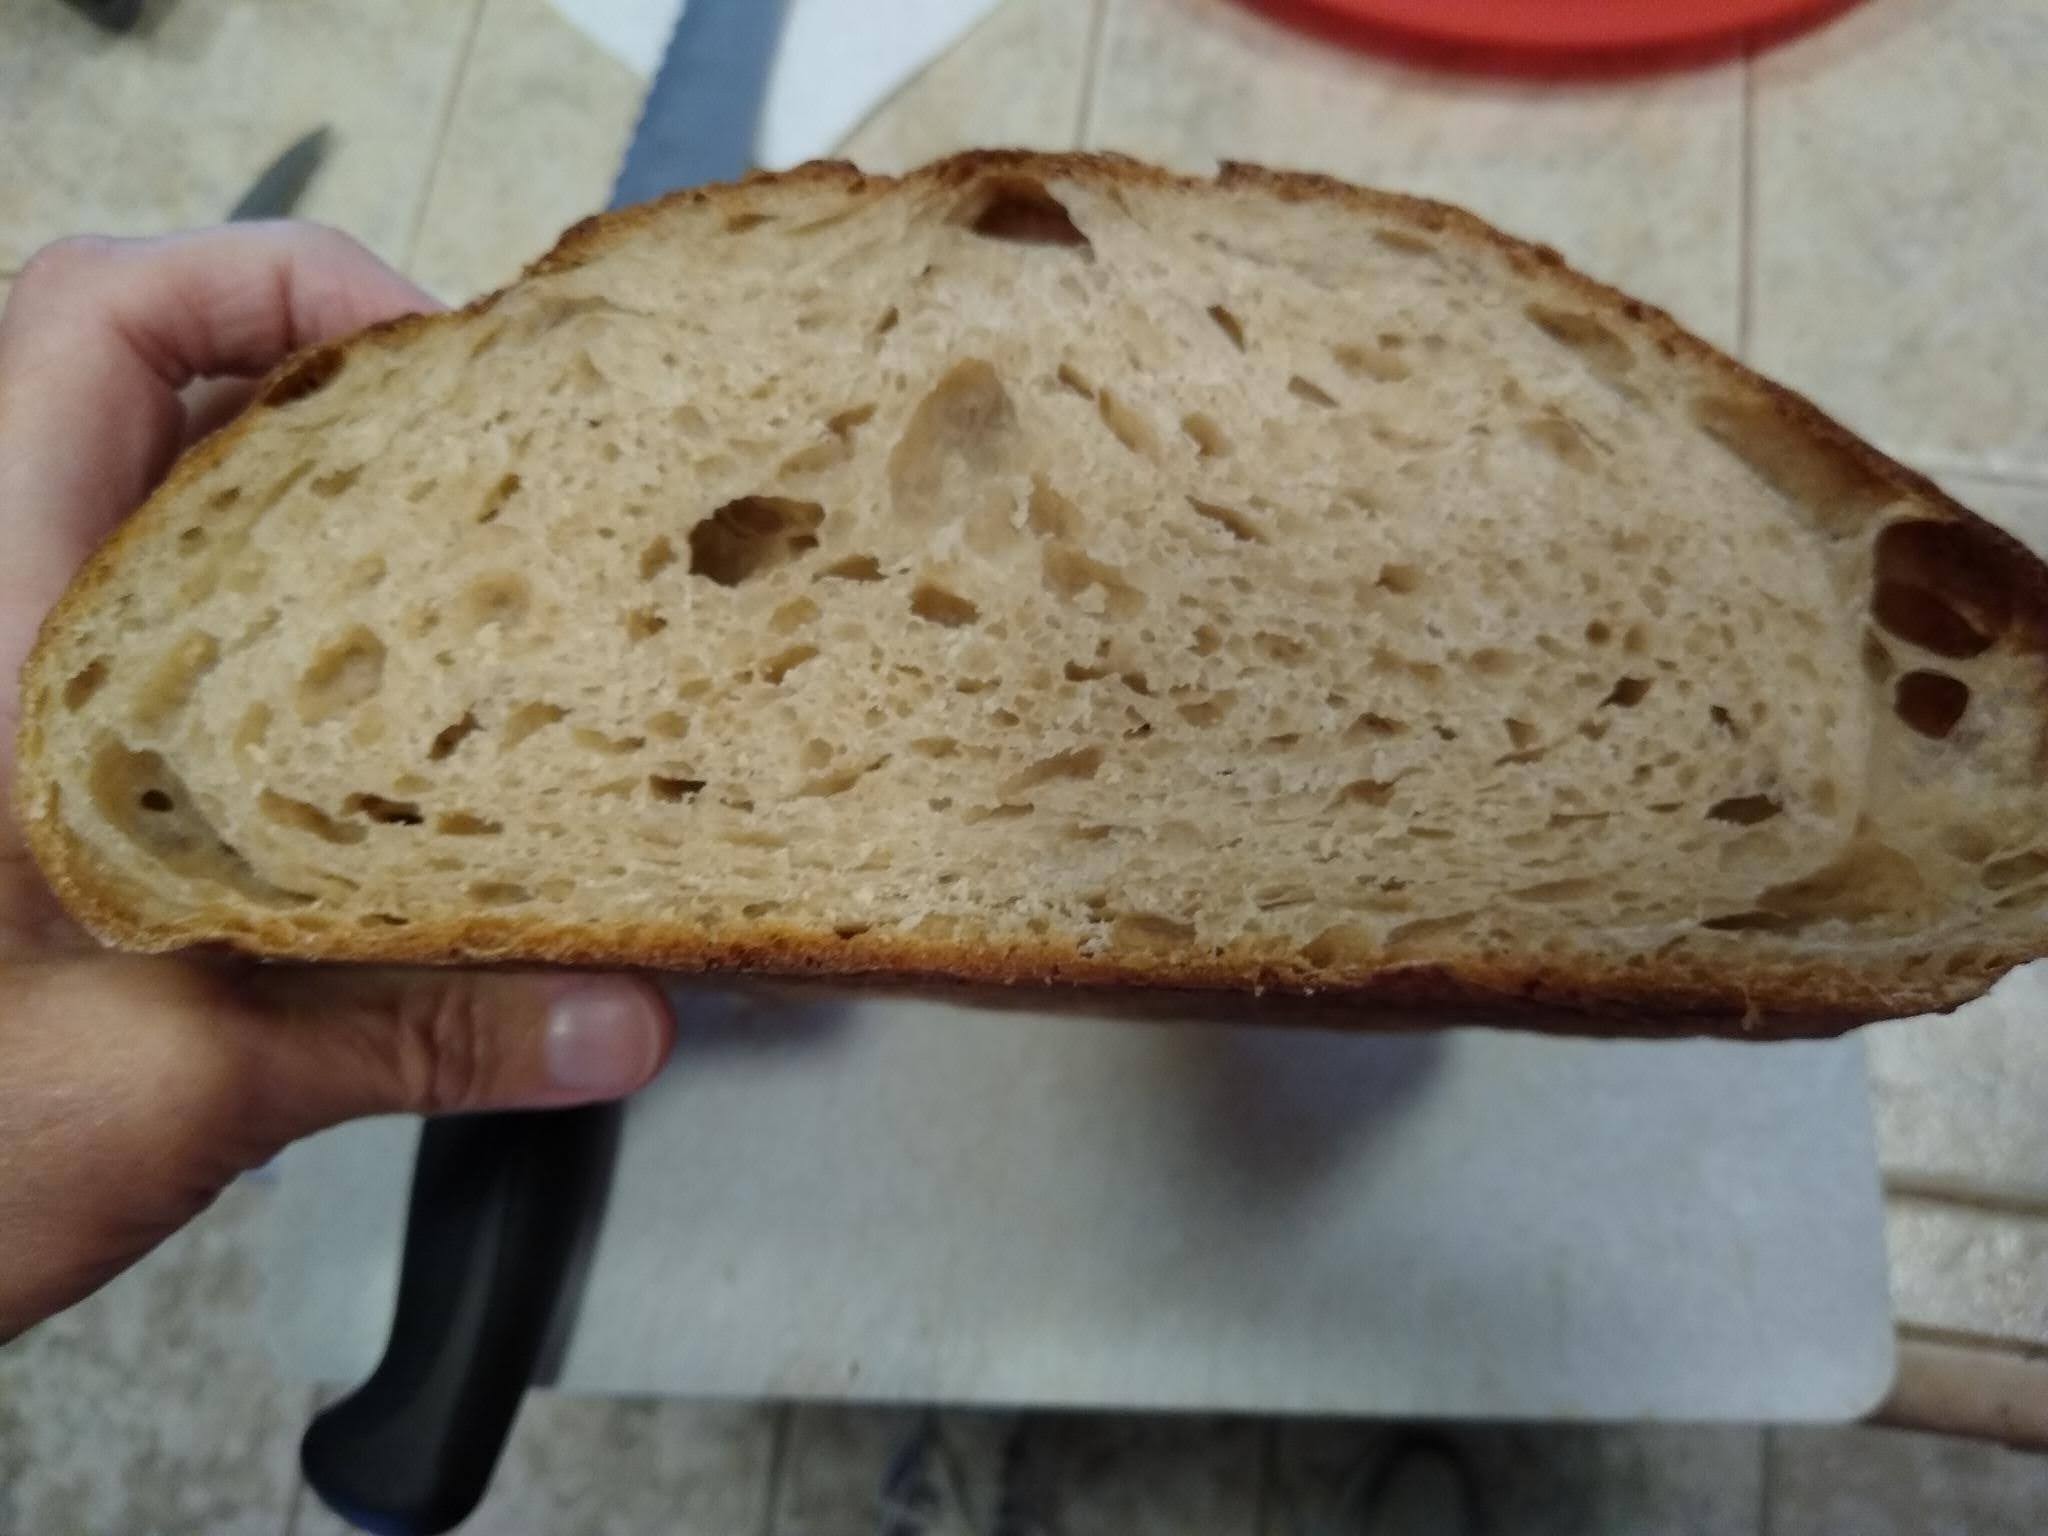
Update with crumb below. The crust is still crisp but not overly so, with a very soft and moist crumb. It leaves a little gummy residue on the knife, but neither of us notice any gumminess in the chew. Hubby really loves this one, which fits. He's a big fan of any bread with seeds or decorative toppings. All in all, a successful bake. (Note to self, scale this down a little for loaf pan.)


 5 p.m. Starting to prep dinner, pulled dough out of fridge. Mixed yeast in by hand. Performed 4 S&F over the course of the next 2.5 hours, whenever I thought of it. (I couldn't help myself, and wanted to be sure the yeast was well incorporated.) 7:30 p.m. Covered dough back into the fridge. No signs of yeast activity at all, not surprised. Day 2. 5:30 a.m. Dough out of fridge while hubby is pouring coffee (yes, I am spoiled). The dough looks like it did right before going into the fridge - no bubbles, no change in size or texture when gently poked, nada. I stuck it into the microwave with the surface light on to warm things up a tad. After 2 hours, turned the light off as I headed to the pool to do laps, and ignored the dough. Dough fresh out of the fridge this morning:
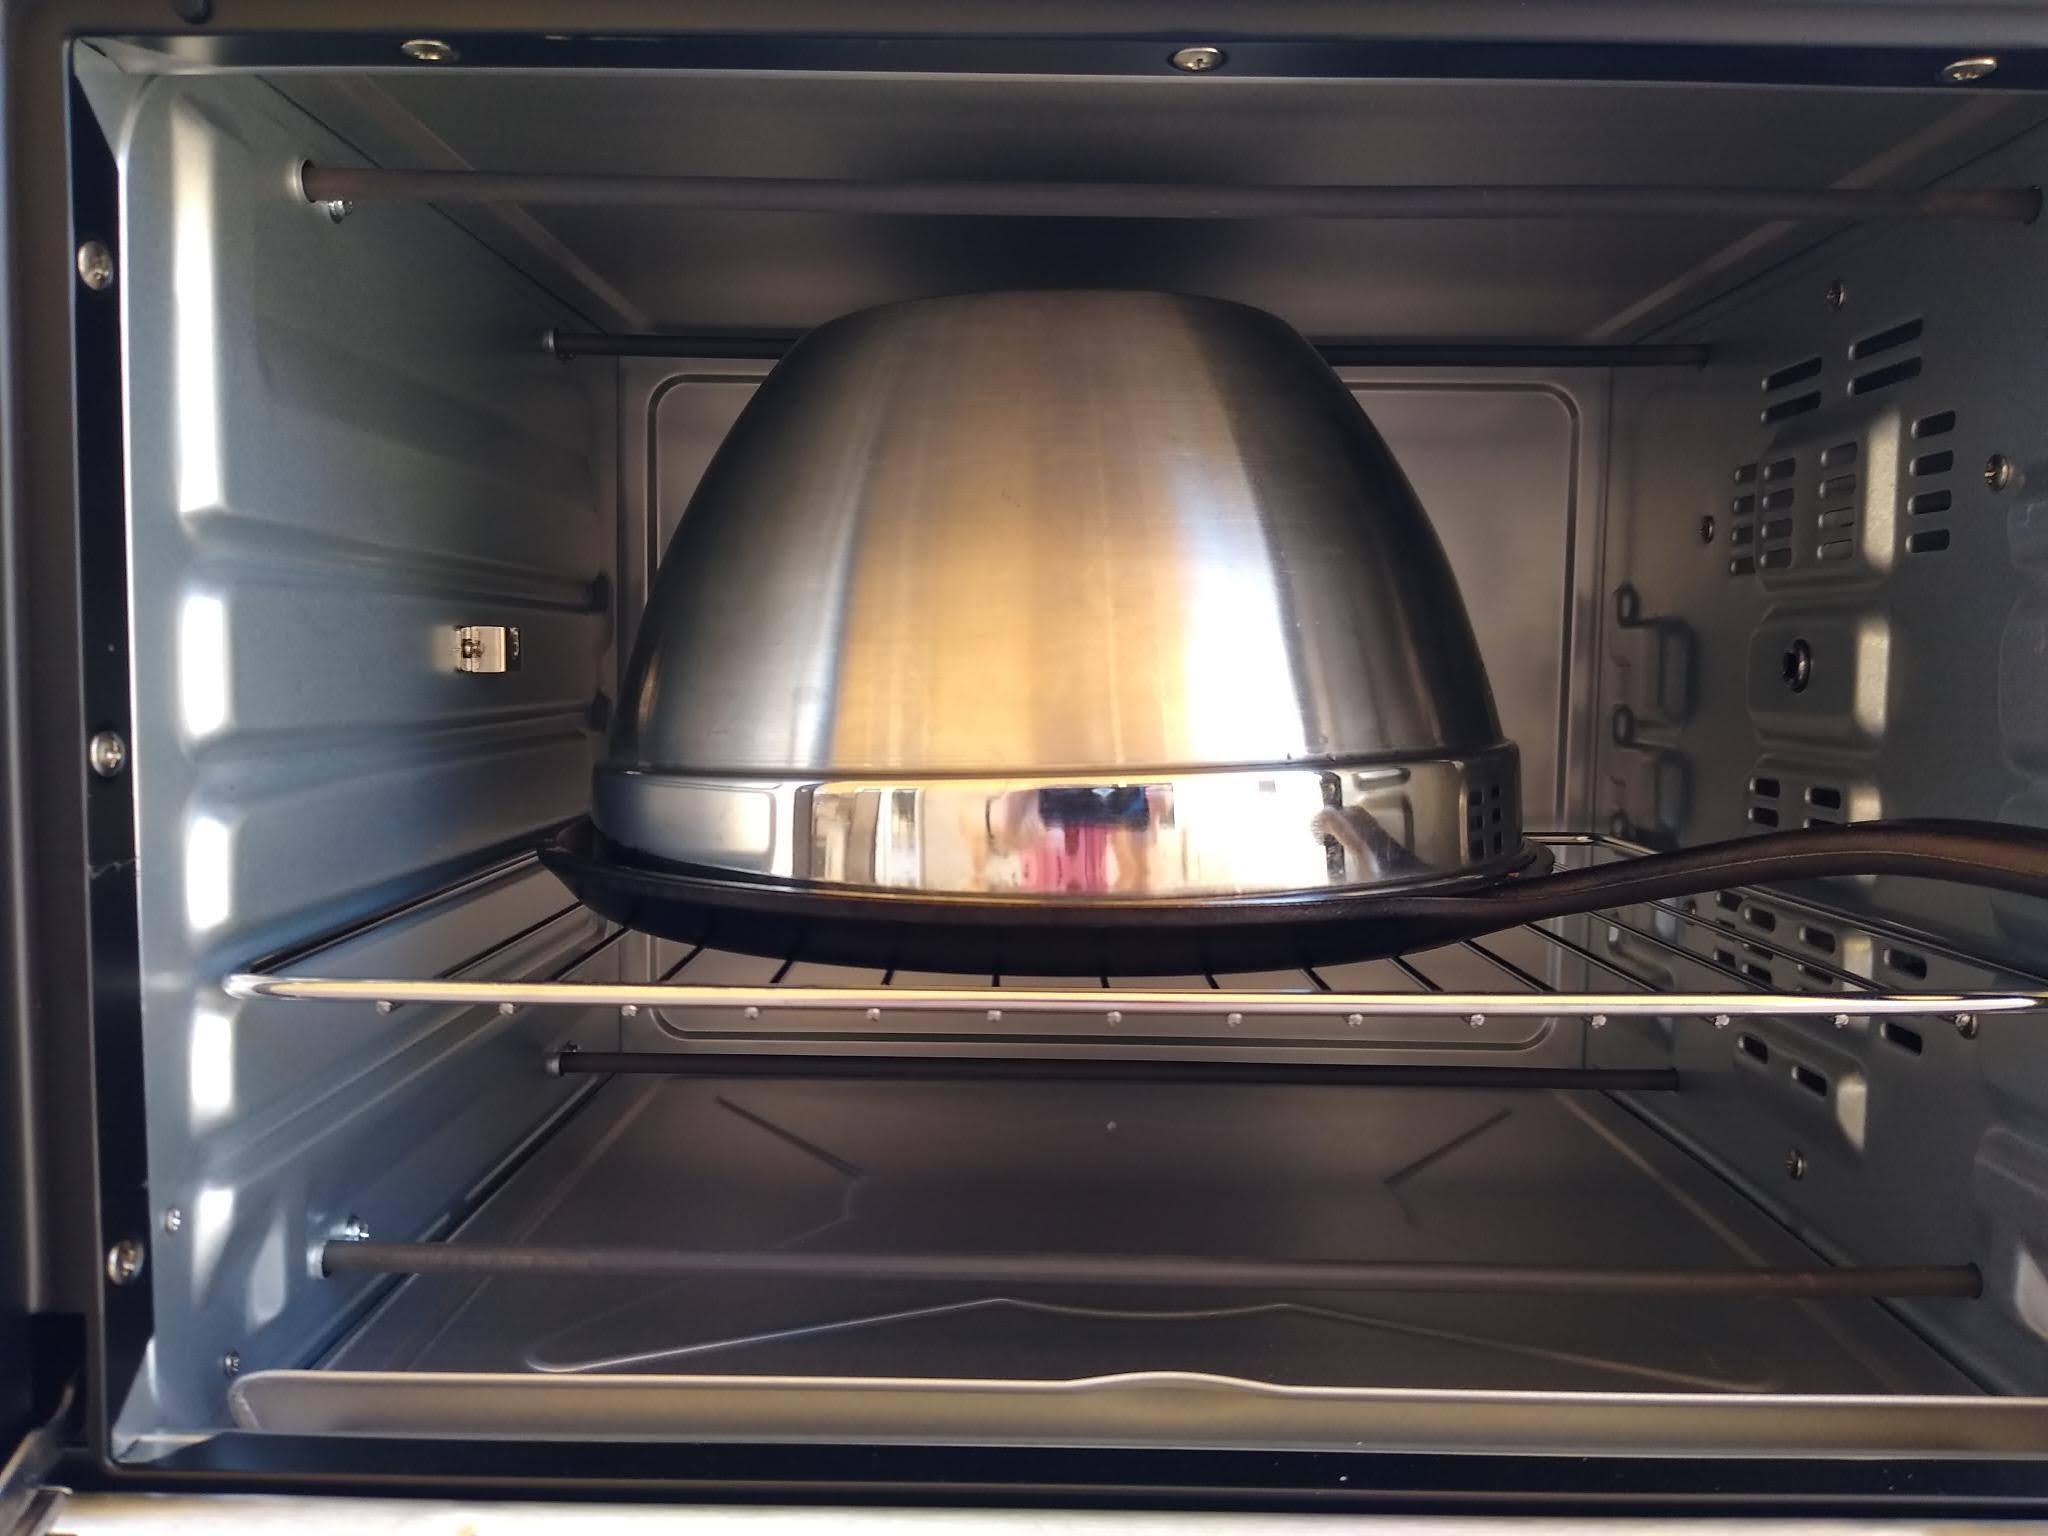
 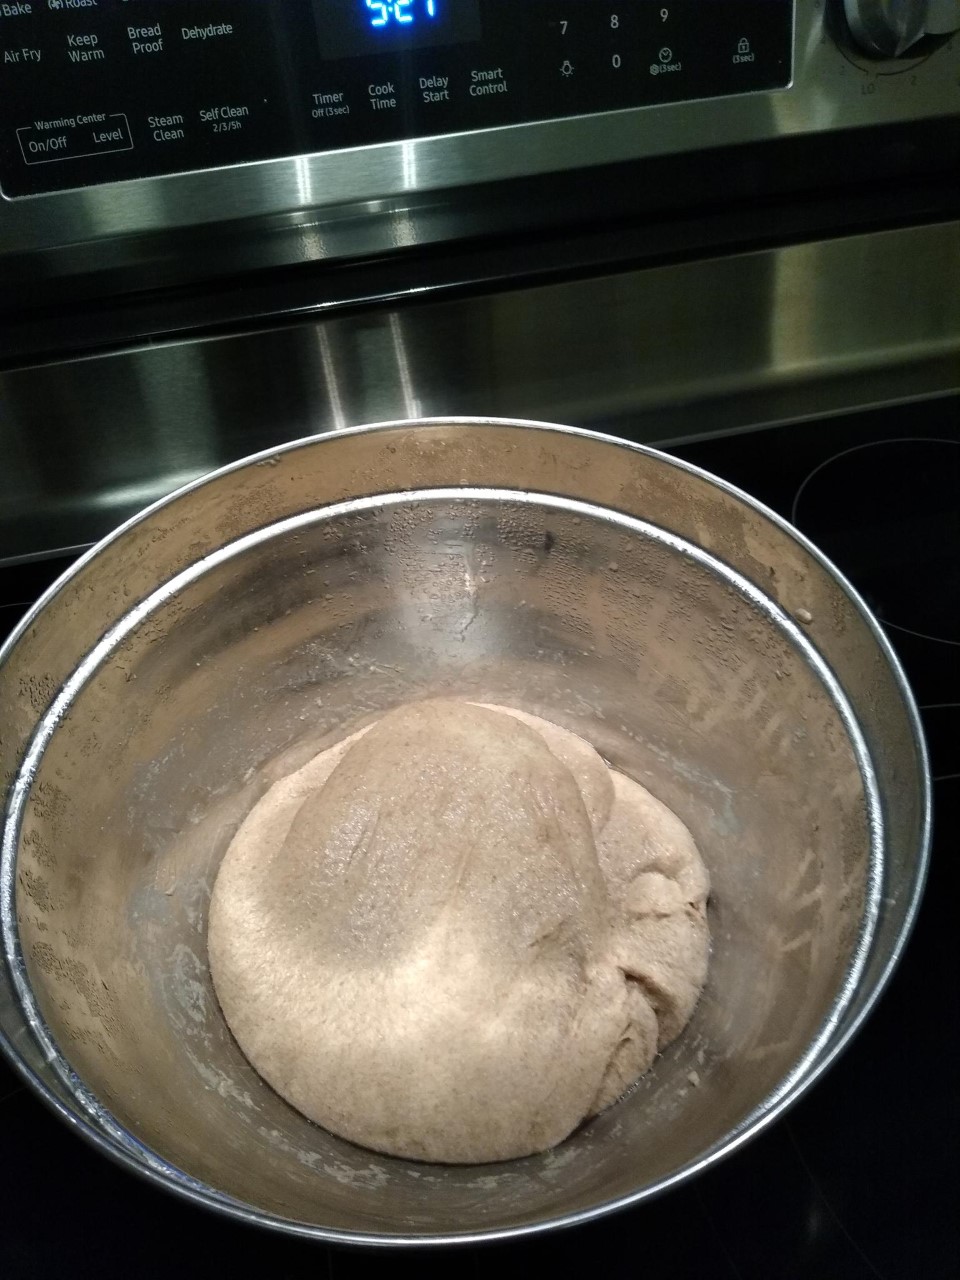 12:30 p.m. Checked the dough at lunch and voila - lots of bubbles, and about a 70% volume increase. I followed Steve's video example, using the spoon handle to degas and stretch the dough, then basically poured the dough into a 9X5 in loaf pan. I could see some reasonably good gluten development while I was stirring, which was nice to see. I'm not much on binder clips, the ones we have are way to hard for me to squeeze.... So I used some of these stainless steel clothes pins we have instead. They worked fine, though I did have to make sure the top pan was squared up correctly.
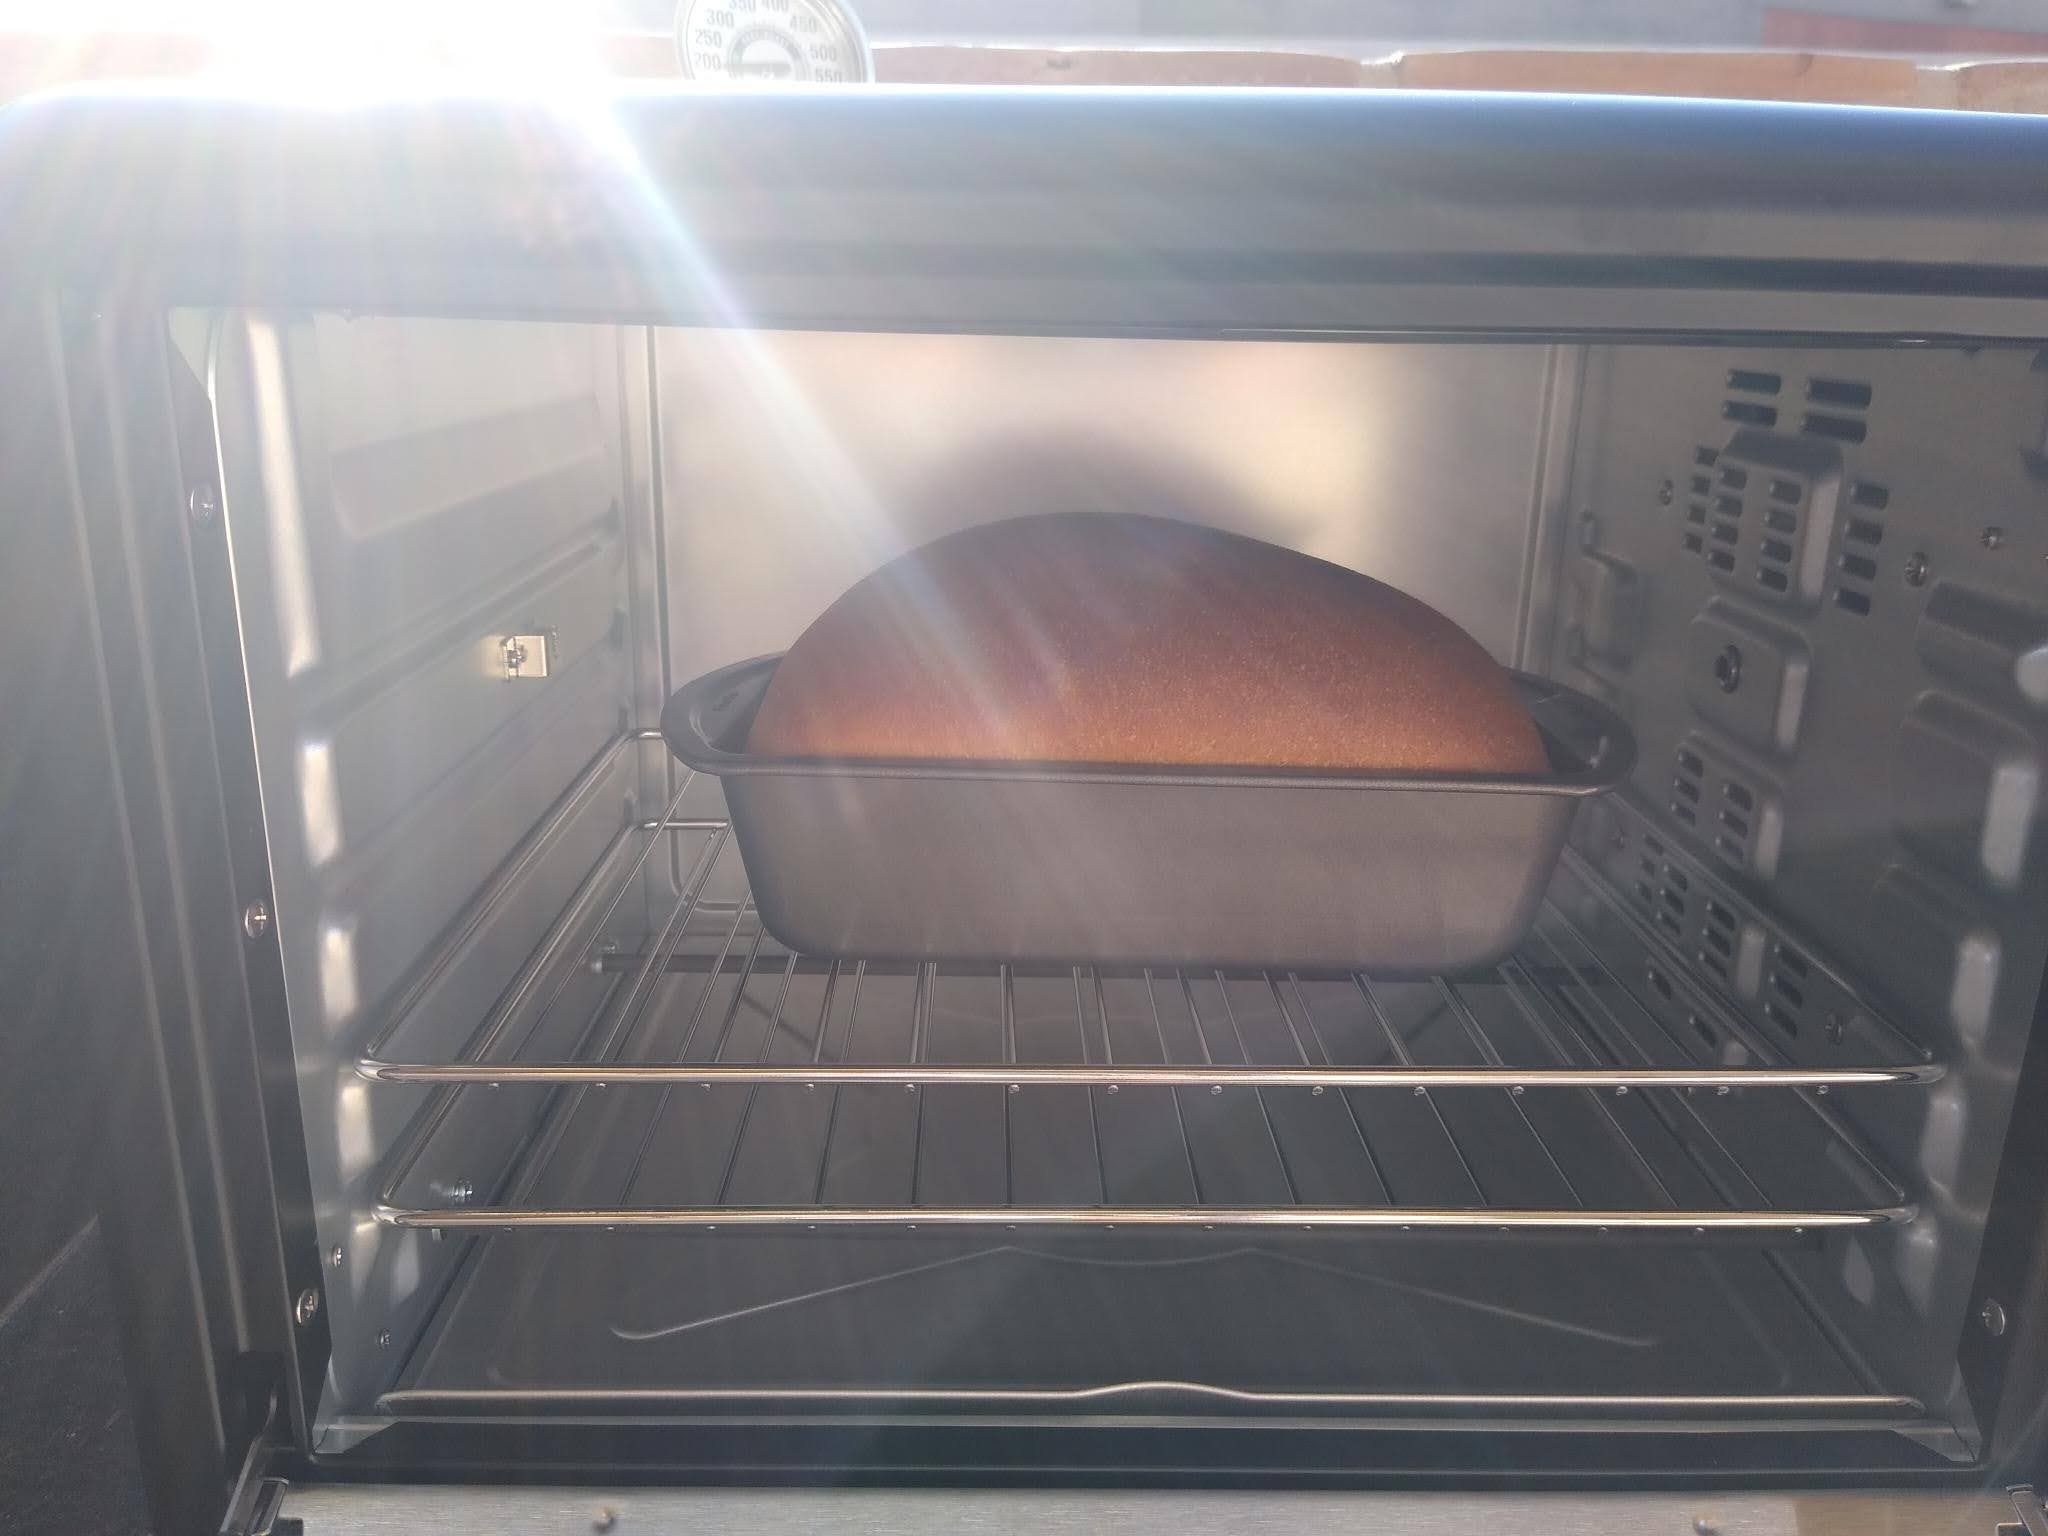
 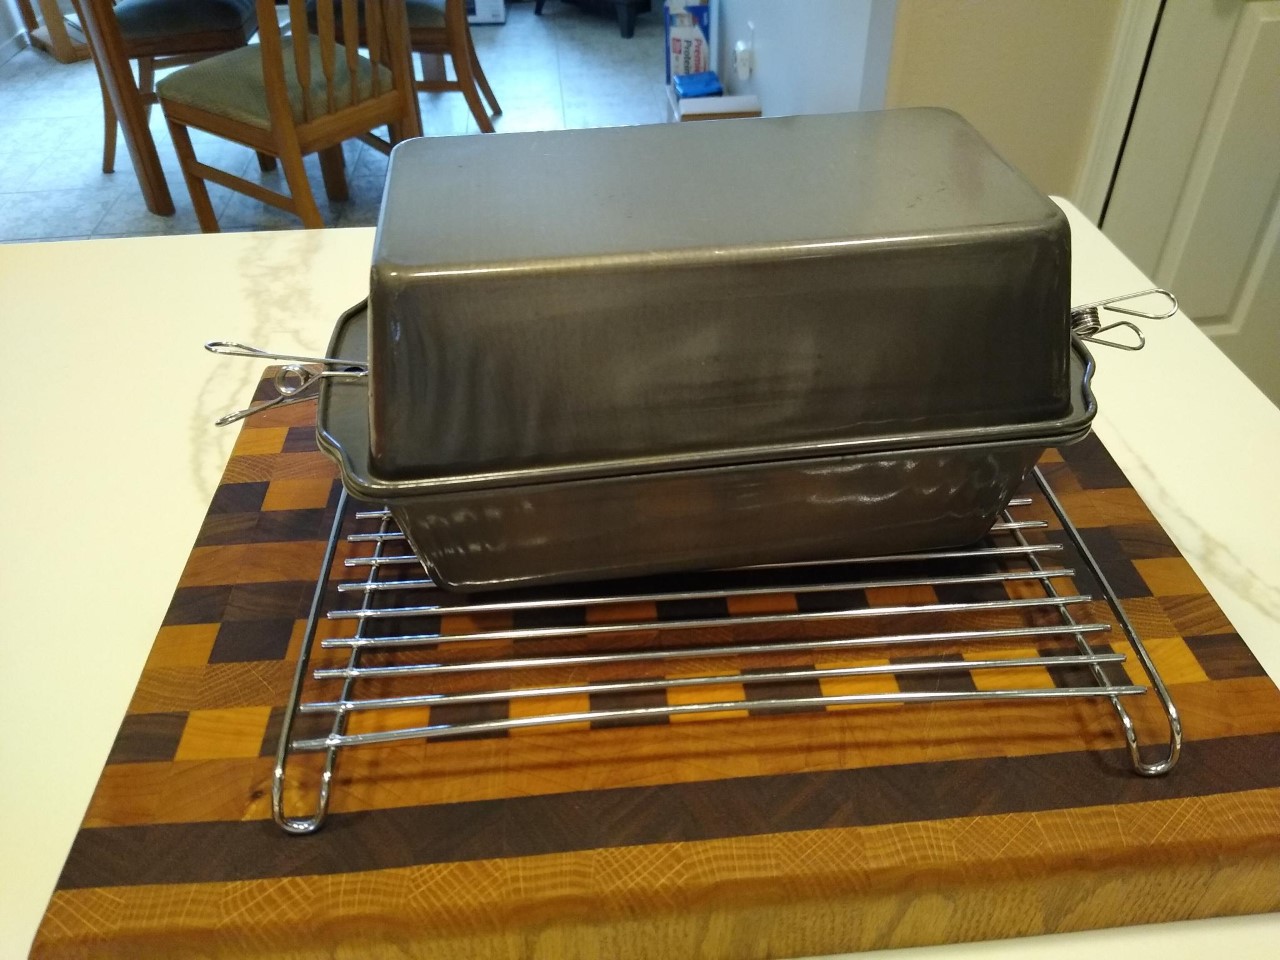 1:00 p.m. Preheated the oven to 400F. In his videos, he used to proof for longer, but now he recommends a 30-60 min proof. I split the difference. 1:25 p.m. After a 50 min proof, the bread was baked at 400F for 40 min as recommended. Cooling - I would normally have baked this just a tad darker, but wanted to do things as close to the recipe as possible. In hindsight, I think he bakes to a lighter color than I might for a lot of his breads. And next time I will use my 8 x 4 in pan. I used the 9x5 he recommends, but I prefer taller rather than wider bread.)
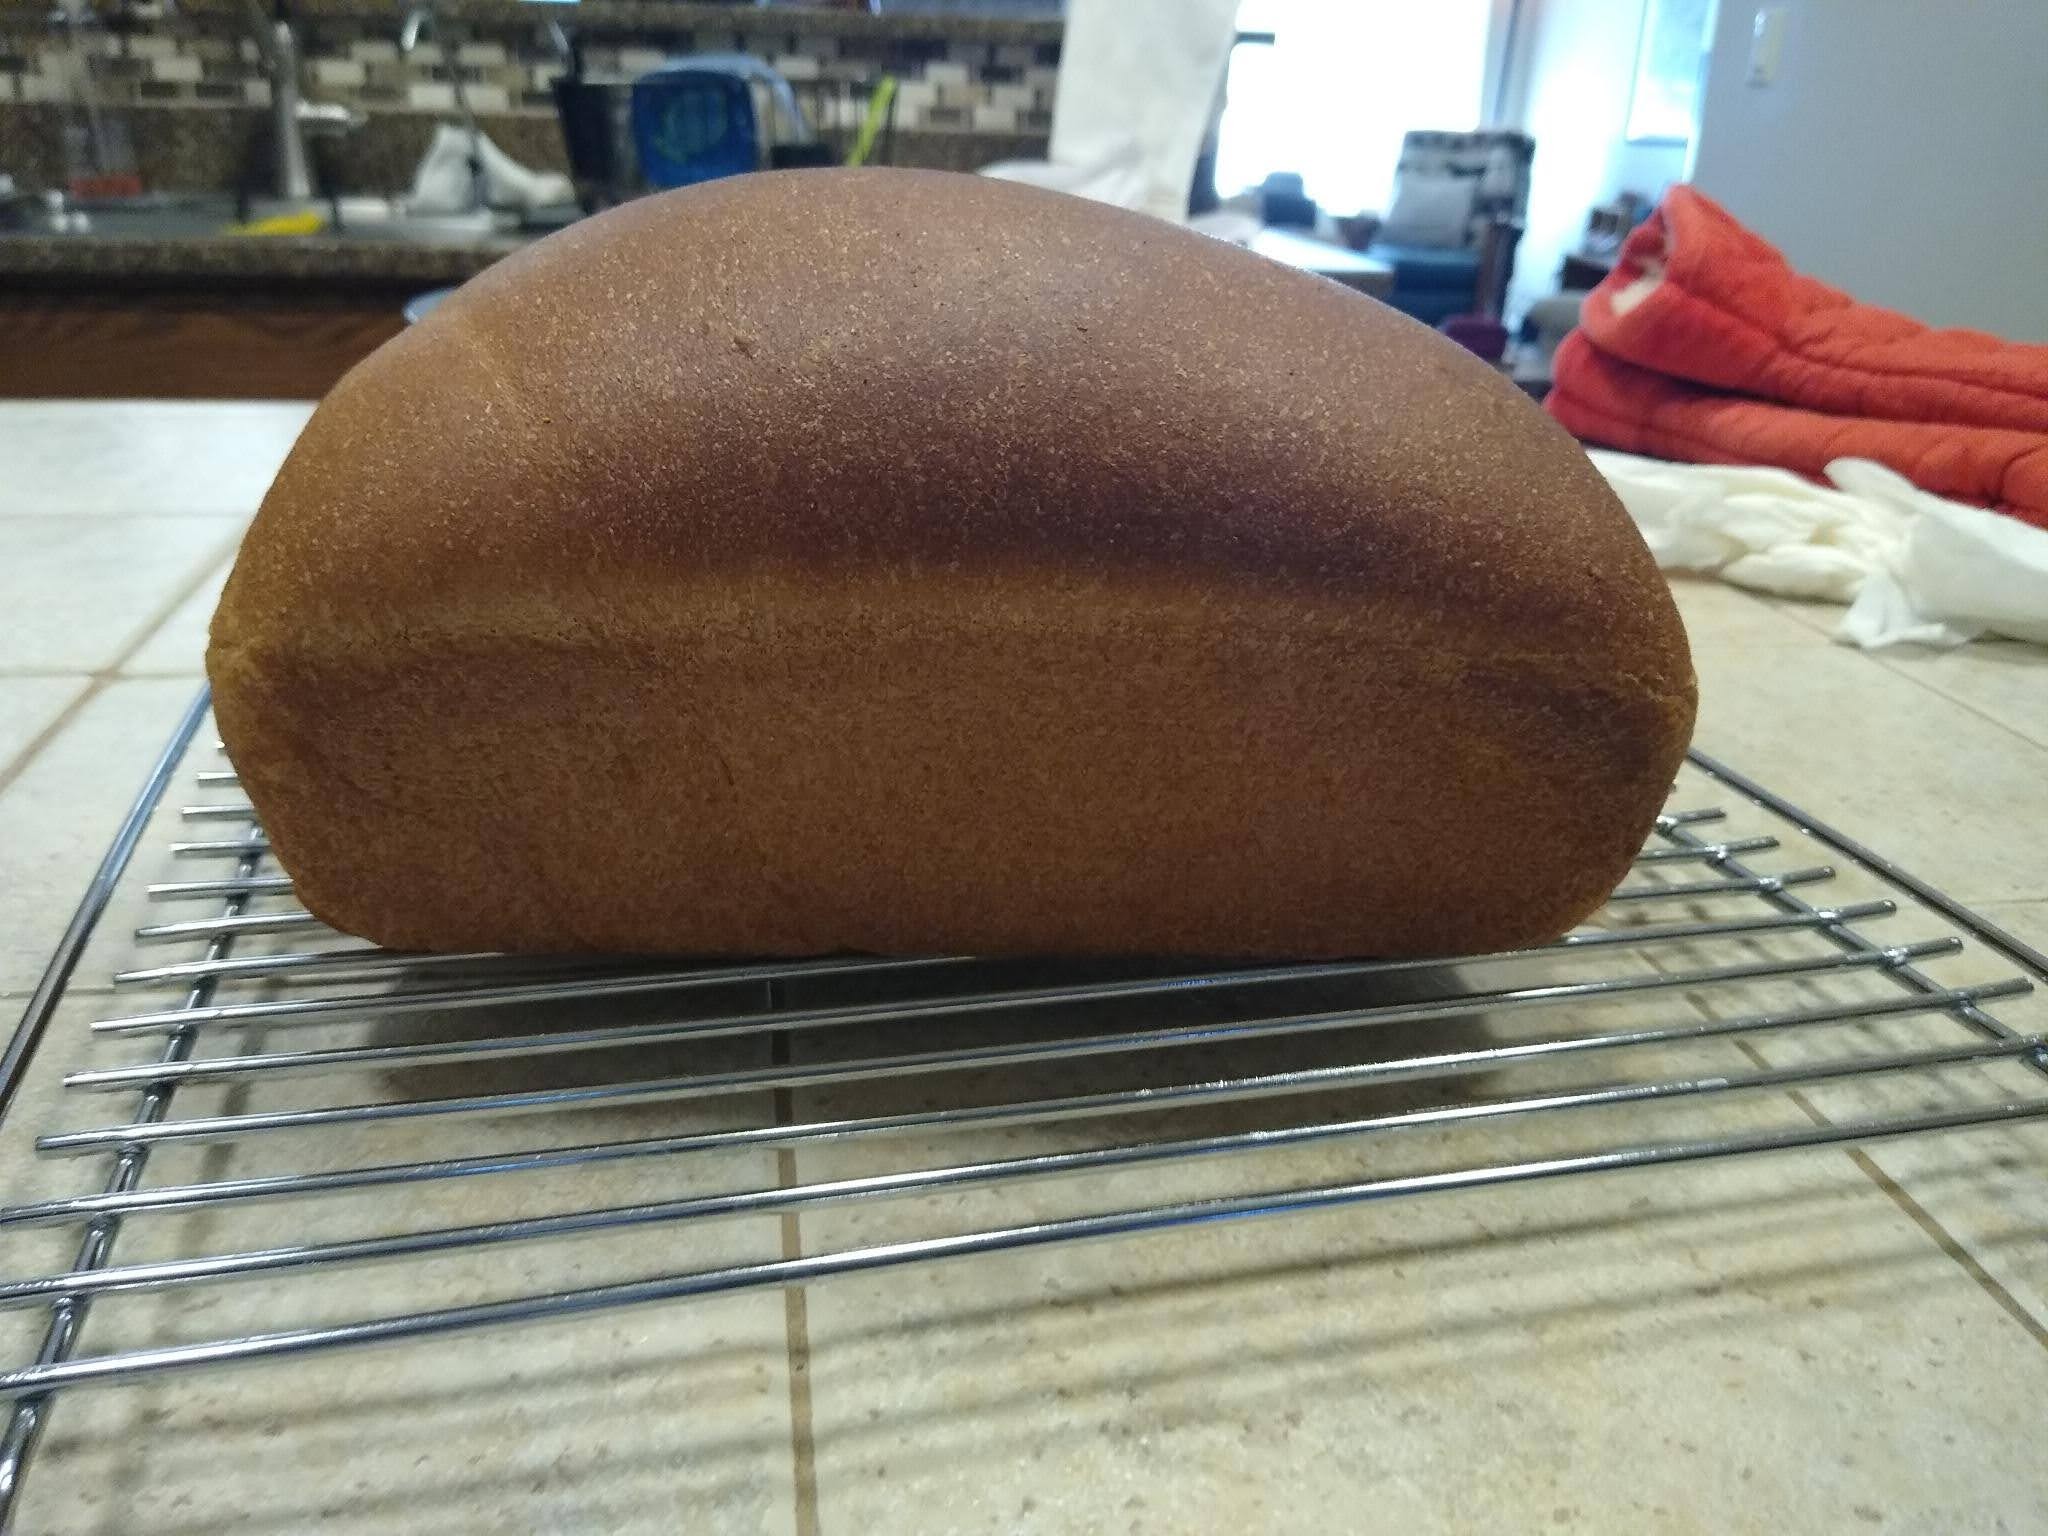
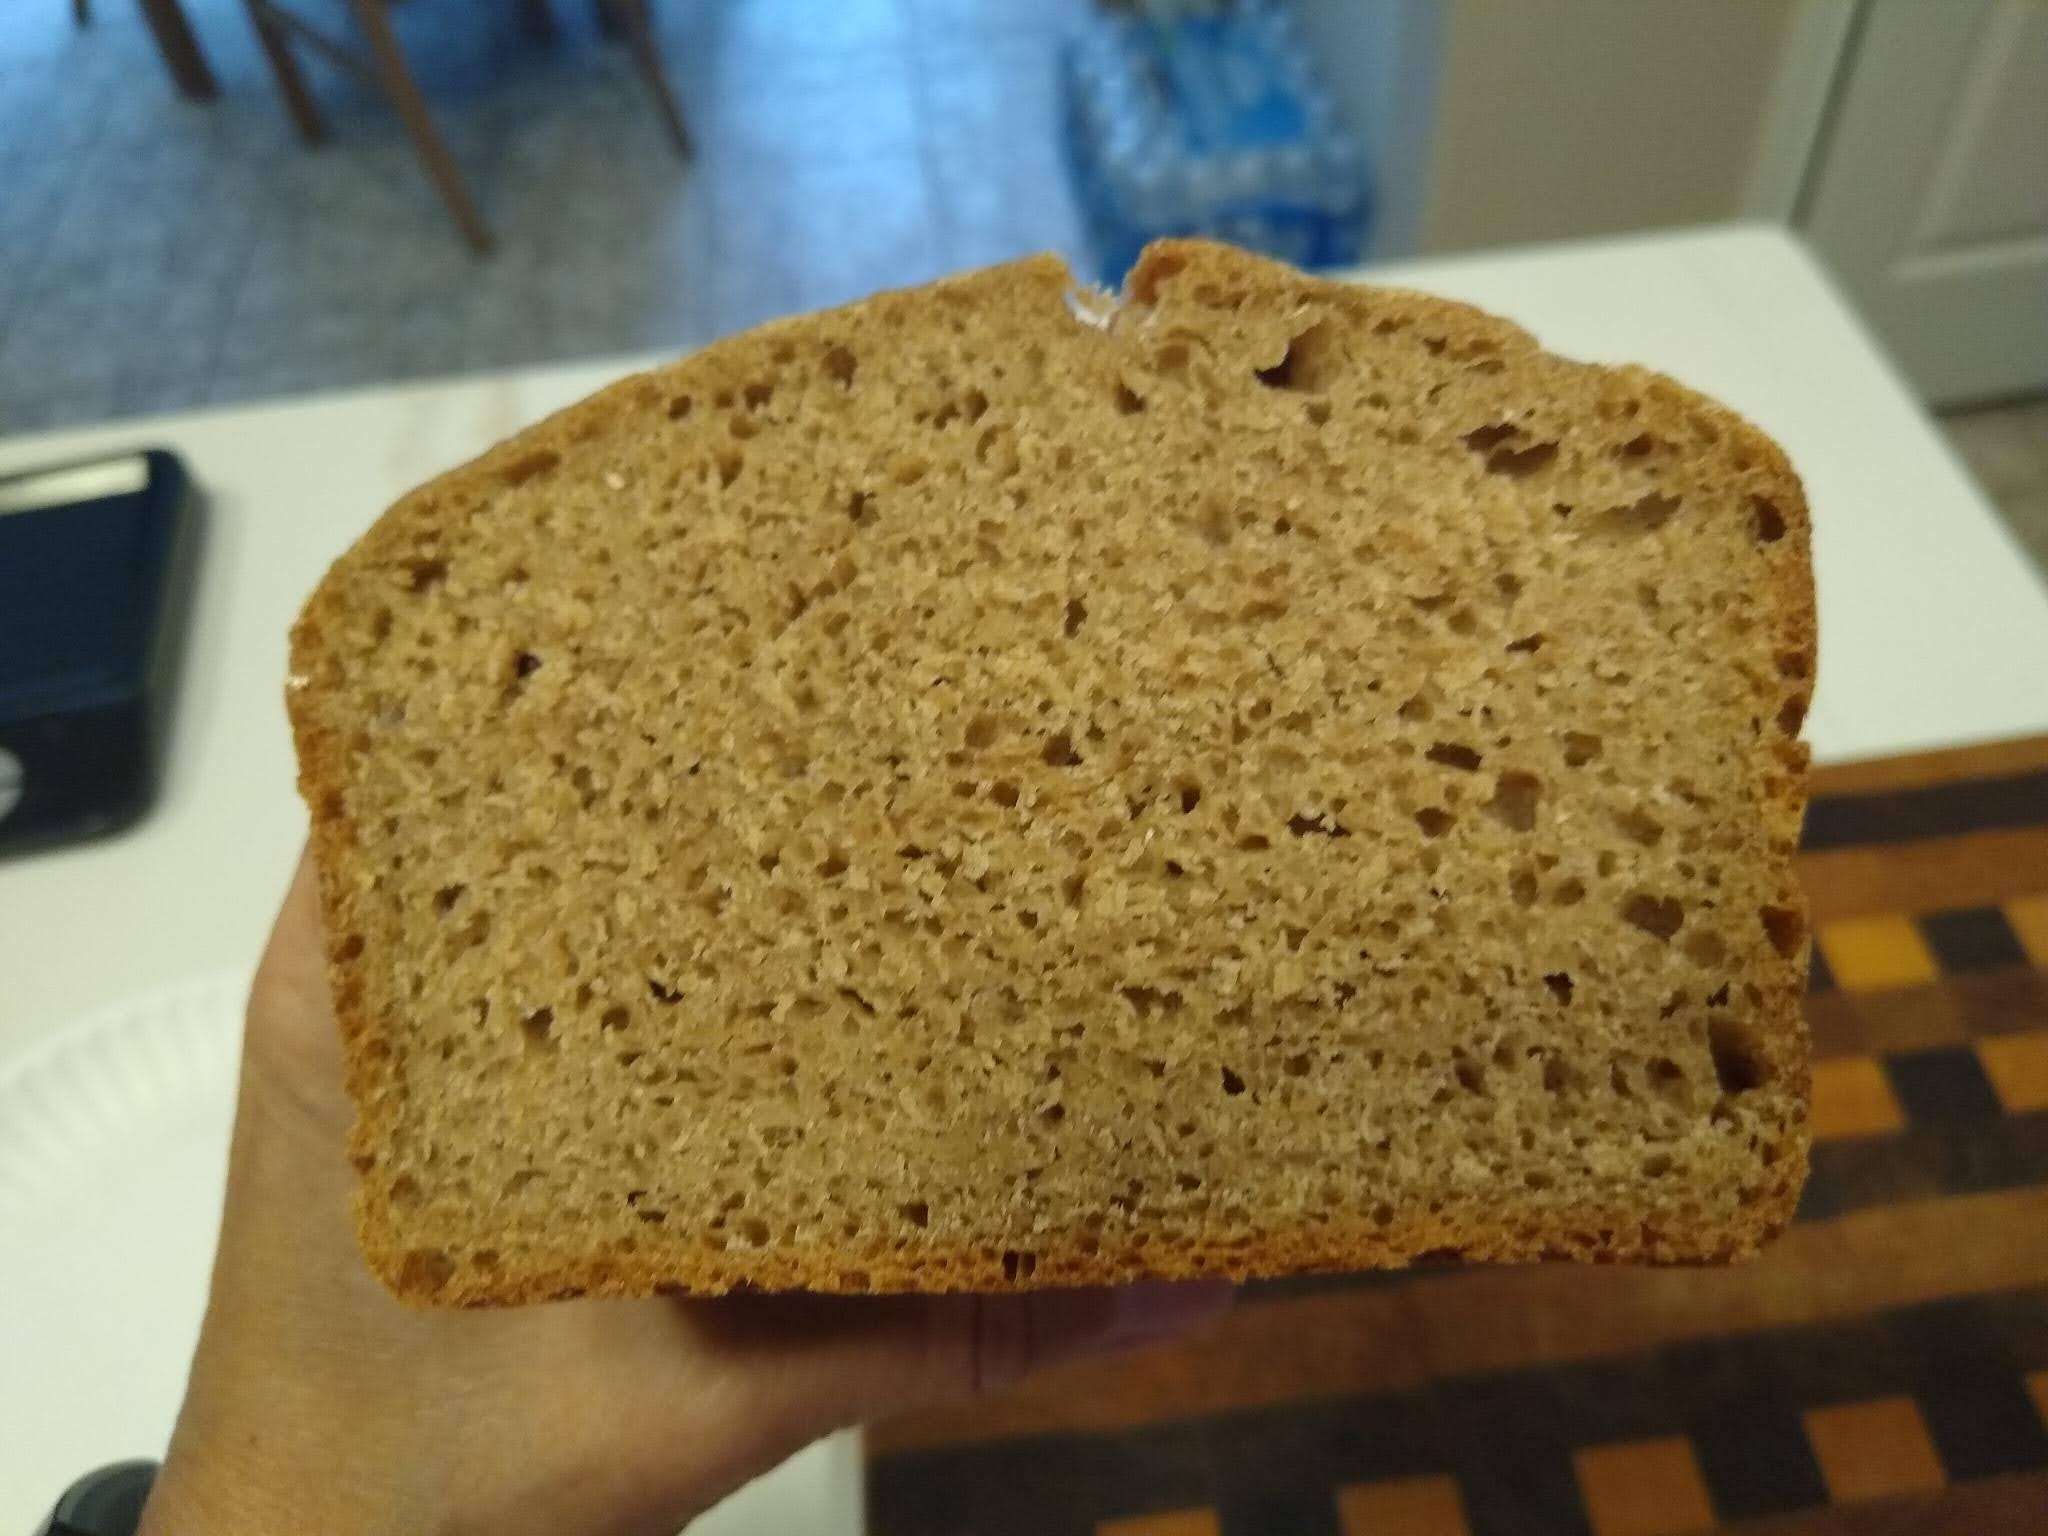
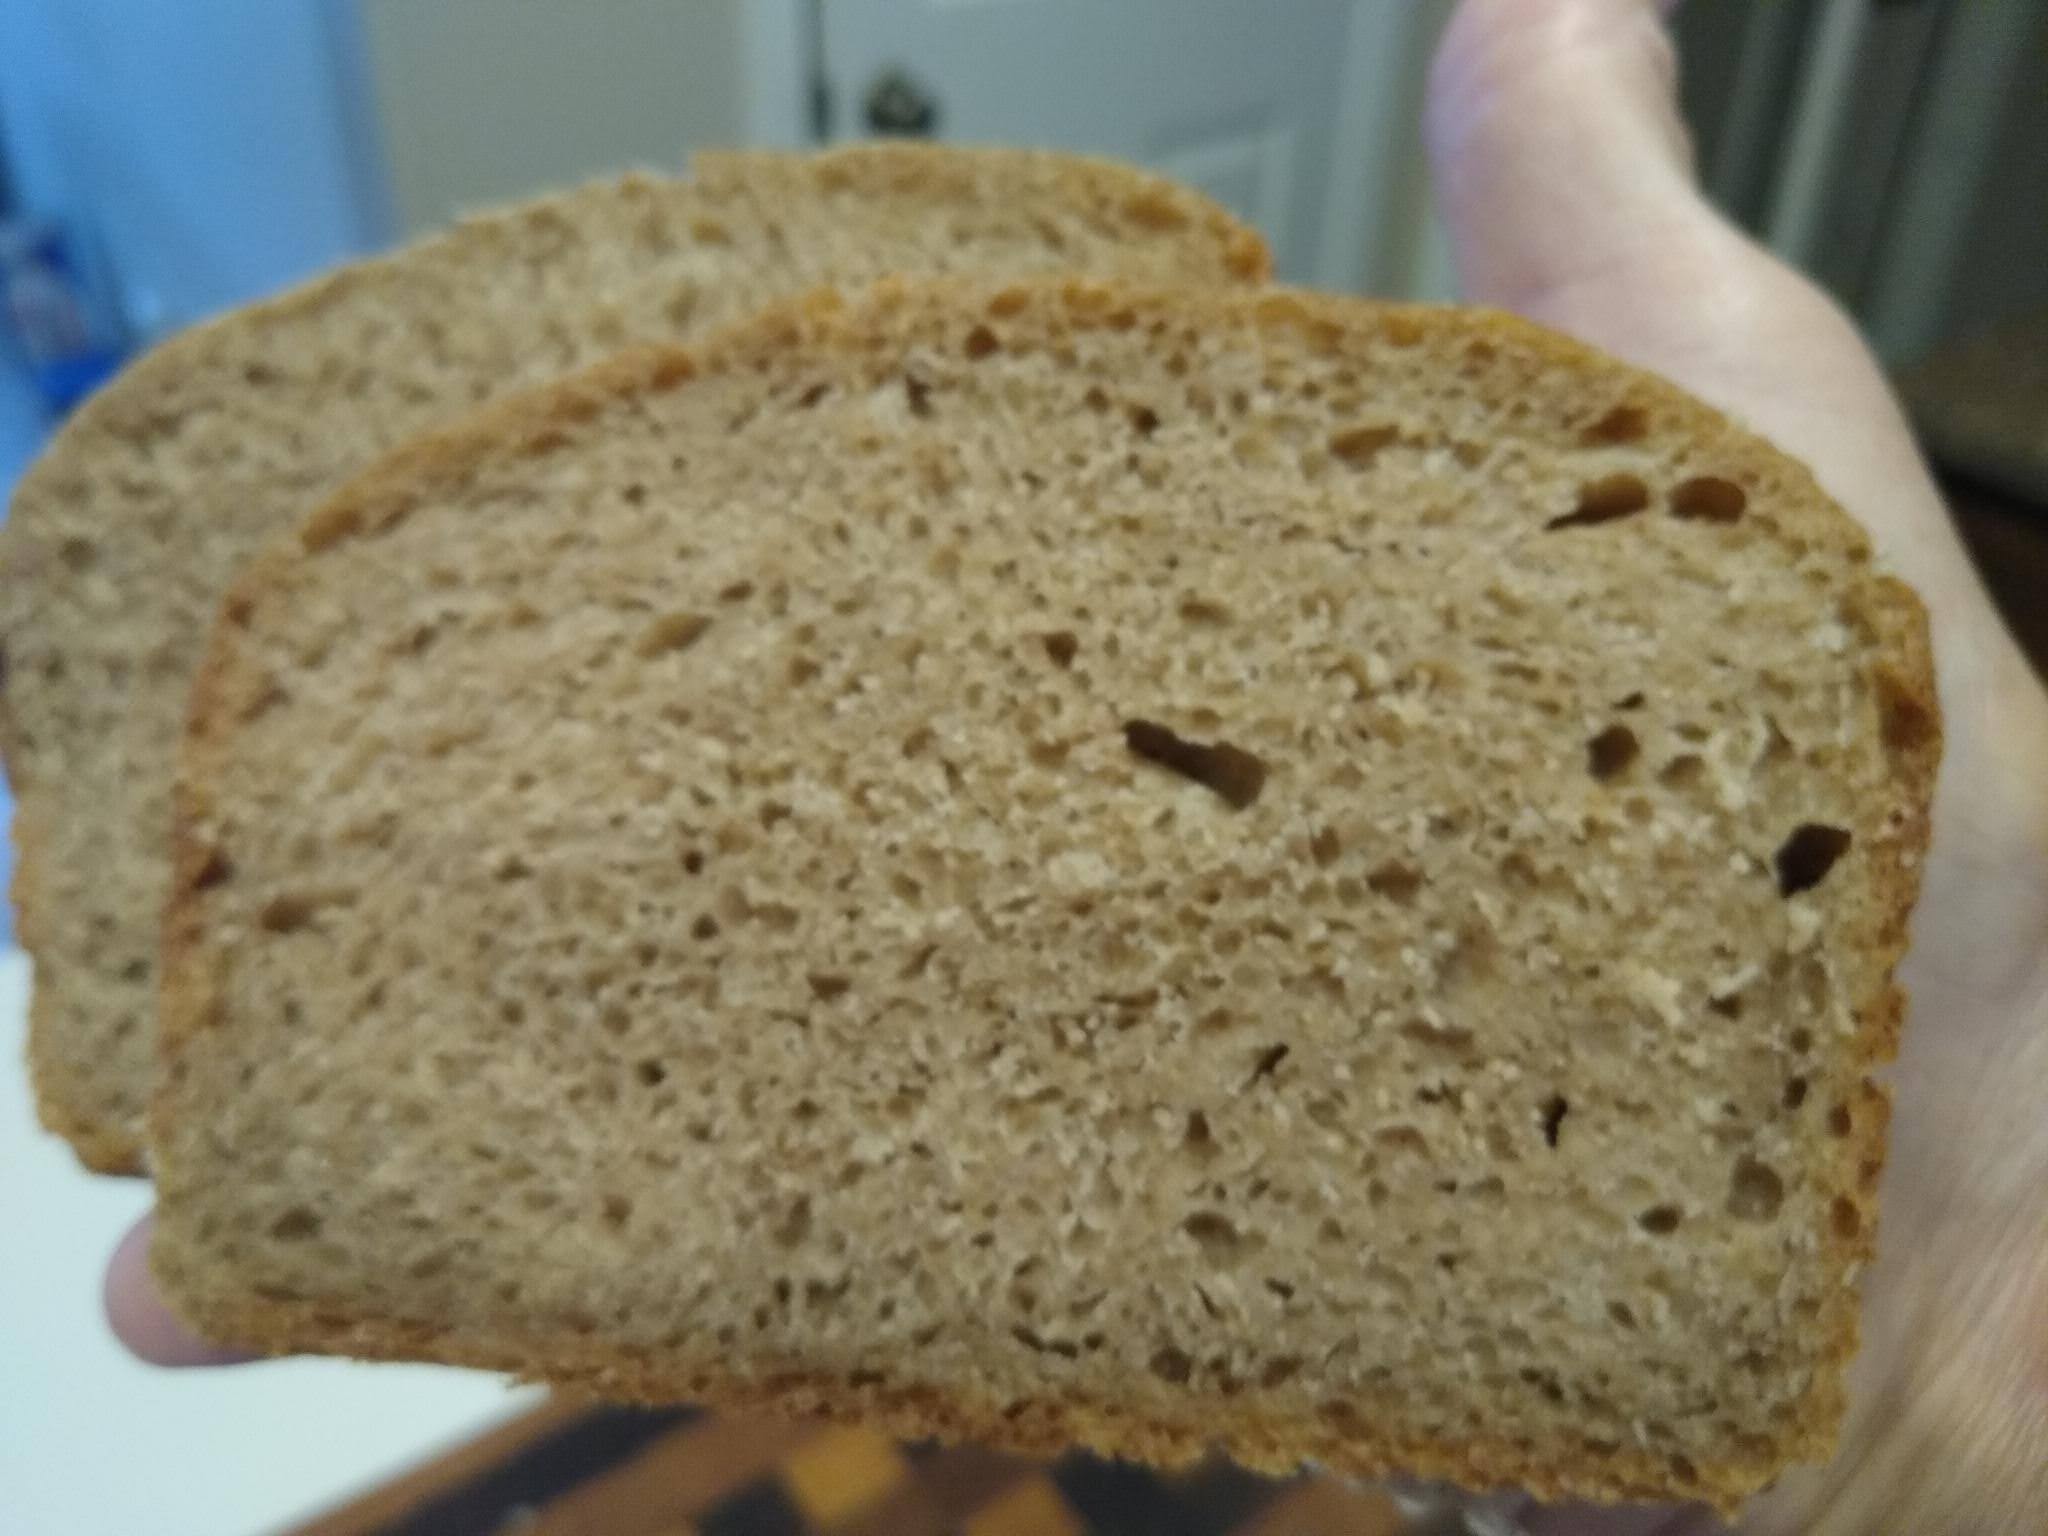
 Thanks, Dave, for giving me the nudge. It was nice to learn something I incredibly easy I can do pretty much anywhere, and I'm pretty sure my MIL will tackle this once cooler temps make it to her area. Edit to add crumb shot, and refine ingredient details. A bit more dense looking than some of the recent sandwich bread I have made lately, but you wouldn't know it from the chew. It came out tender and moist, and you can taste the flavor of the wheat more than my SD bakes. Hubby liked it a LOT, with more compliments than he normally does with SD. I could see where this would be handy for any sort of travel that includes a place with a kitchen.... Put the flour, salt, and IDY in a Ziploc, add water when ready to mix, proof at your leisure whilst vacationing, and bake in whatever container they happen to have available. I had better be careful, this is going to wake the travel bug within.... 😁🚙