The Fresh Loaf

A Community of Amateur Bakers and Artisan Bread Enthusiasts.

justkeepswimming's blog

justkeepswimming's picture
justkeepswimming

It has been a while since I did anything creative with my bread making. If there is such a thing as a "comfortable rut", our usual 75-100% whole grain sourdough sandwich bread has been just that. With the pending visit of a family member, I was inspired to dust off the clay baker and do something more creative for her. My scoring skills are rusty could use some work (they were never all that great really), but otherwise it looks pretty good so far. It's cooling at the moment; I'll edit and add a crumb shot later as time allows.

Total flour 550 gm (KA bread flour 138 gm, Central Milling High Protein bread flour 137 gm, Sprouted Spelt 100 gm, Hard Red Spring (freshly milled) 175 gm)

 Levain 120 gm

 Water 375 gm  

Salt 10 gm 

Safflower oil 1 Tbsp (we prefer a little softer crust and crumb) 

Water and levain combined, then flour added. Mixed by hand until no obvious dry flour, then covered and rested ~ 20 min.  

Salt and oil incorporated by hand a bit, then kneaded in my compact Bosch for 10 minutes. Dough temp 80f at the start of bulk.  

Bulk x 4 hours (~ 50 % rise) with a couple of S&F in the first hour. Then pre-shaped > 15 min rest > shaped > into an oblong banneton, covered and into the fridge overnight.  

Baked today (after 20 hours of cold retard) in an oblong clay baker at 500f x 20 min (lid on) then 450f (lid off). It's cooling at the moment.  

I had been having difficulty getting a reasonable crumb since moving here. The 6000 ft altitude combined with my preference for a high percent of fresh milled flour haven't been a winning combination, and  I don't like the idea of adding VWG. Using just a bit of the Central Milling high protein bread flour seems to have fixed the problem so far, though the final proof is pending. I'll add a crumb shot later.  

I will probably not bake this very often over the summer months, but might repeat it once cooler fall weather returns. 


justkeepswimming's picture
justkeepswimming

This video popped up on my computer several weeks ago and it looked intriguing to play with. It definitely isn't going to win any awards for appearance or presentation.  

I tweaked the flour a bit (she uses 100% AP) and added a few seeds. I didn't take time to weigh some of the ingredients, this loaf was "flying by the seat of my pants" in some respects, lol.  

Flour 280 gm  (48 gm AP, 48 gm KA bread flour, 185 gm sprouted spelt)

Instant Yeast - 1 tsp 

Salt - 1 tsp

Sugar 1 – tsp

Hulled hemp seeds - 1 rounded Tbsp 

Sunflower seeds - ~ 2 Tbsp 

Lukewarm water 250 gm 

Olive oil (or any really) for the pan. (Video says 1 Tbsp but that was a bit much for my pan.) 

Side note... my frying pan is a Ninja Foodi Neverstick 10.25 in frying pan. Finding a lid that would fit was a bit of a challenge, but thankfully Amazon came through. The lid needs to be domed just a little, and the multi-pan lid we have dips down into the pan enough for the bread to stick to the lid when cooking. 

Process: 

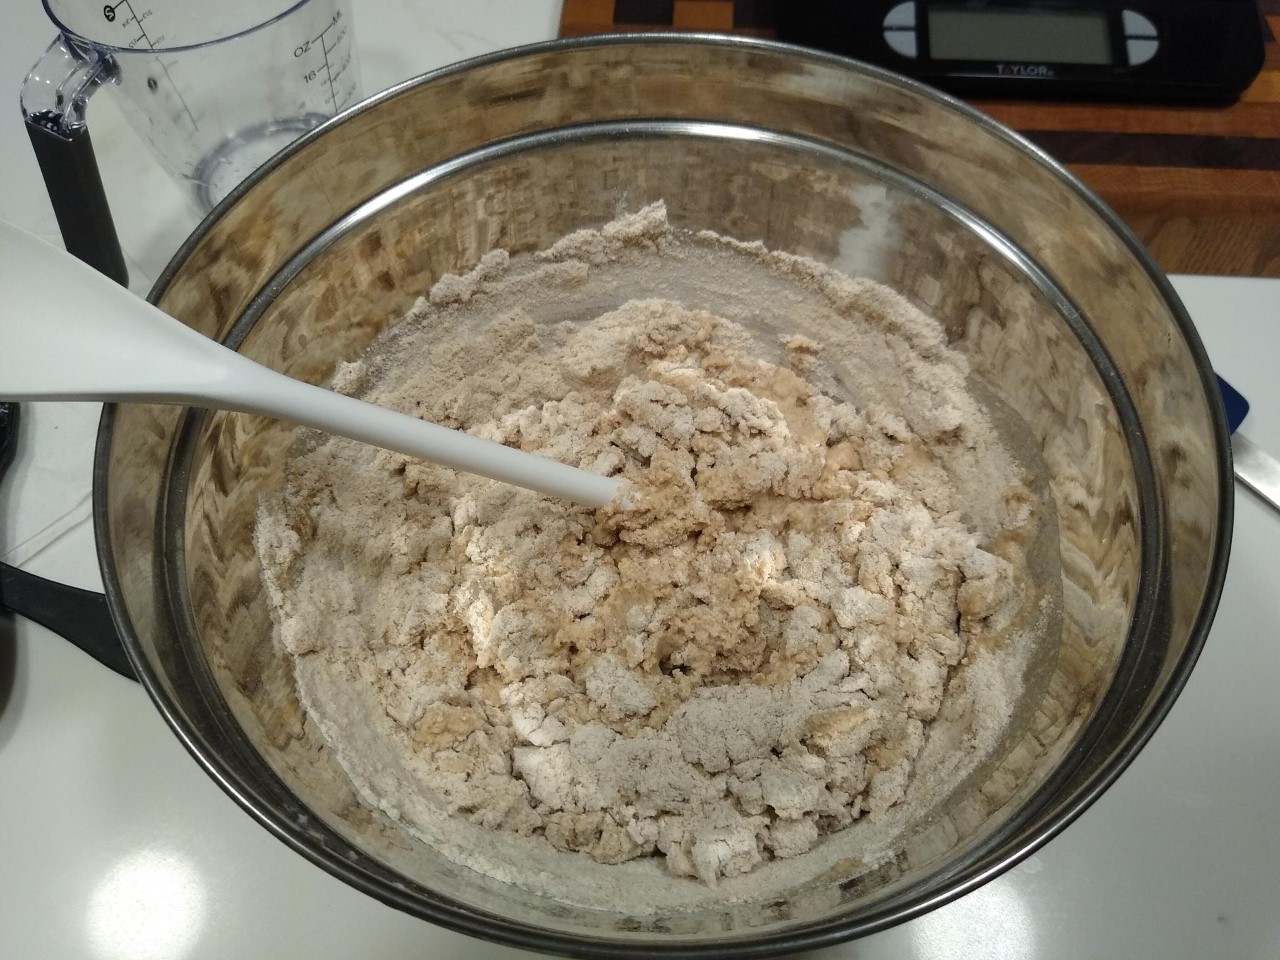
 1) Mix the dry ingredients and inclusions. 

 2) Add water and mix until no dry flour remains. (After the initial hand mix, I let things rest for about 15 minutes then gave it a few S&F for good measure. Probably not needed, but I do take pleasure in handling the dough just a bit....)

 3) Cover and let the dough rise for about an hour.

 4) Grease the (room temp) frying pan with olive oil. 

 5) Degas dough by rolling the dough with a spatula.

 6) Sprinkle with flour and roll a few more times.

 7) Put the dough in the (room temp) frying pan.

 8) Cover and let the dough rise for 30 minutes.

 9) Cover and cook over low heat (20-25 min). A little bit of moisture condensed and dripped onto the top of the bread, but it didn't seem to do any harm. 

10) Turn over and cook for another 15 minutes without the lid. I checked at the 10 minute mark and there were areas that were still a little "doughy". Your time may vary... 

This was mostly cooled and ready to eat about 45 min after cooking. 

I've made it several times now. It was quick and easy, with very little handling. Bonus, it didn't heat up the kitchen. It might be fun for making with kids, camping (RV or other), or a variety of other uses. My 95 y.o. mother-in-law (who made her first loaf of bread ever about 2 years ago) thought she would like to make this. It definitely came in handy after being gone for a couple weeks. After only a couple of hours after getting home, we had fresh bread ready to eat... another plus while my starter was getting back up to speed. I suspect it will come in handy again at some point.  

"Bottom", just after flipping. Continued to cook 15 min on low, lid off.

Crumb shot, about 1 hour after cooling.


justkeepswimming's picture
justkeepswimming

We're (finally) getting settled in our new home, and I have mostly figured out what needs doing for a successful bake at 6,000 ft. My starter had been on (to borrow a medical term) "comfort measures only" for about 4-5 months. It was fed just often enough to prevent death by neglect, but it wasn't exactly thriving. After series of feedings a few weeks ago, it was back to it's robust self. 

Lately I have been wanting to bake something other than loaf pan breads, so I invested in some new toys: an oblong banneton and oblong clay baker from Breadtopia. 

After baking mostly pan loaves for about a year, my shaping needs work.... I have a hard time getting dough to have the same thickness at the ends. One end is usually fatter than the other.  

Dough specs: 

Dough flour 460 gm. (50% bread flour, 50 % home milled flour {half hard red spring wheat, half spelt}). 

Water 330 gm

Starter 75 gm (1:1:1)

Salt 9 gm salt

Process:

Mixed everything together and kneaded it in a Bosch compact mixer for 10 min. I was busy and knew I wouldn't have an opportunity to do anything else for developing/organizing gluten. Bulk at 70F for 6 hours, about a 50-60% rise.

Preshaped/rest/shape and into banneton. The dough was pretty stretchy and on the verge of slack, I was glad I didn't push hydration any further. On a whim, I did that flour on a paper towel decoration thing that was popular for a while.... flip the dough out of the banneton onto a well floured paper towel. I used it as a sling to put it in the banneton. Rested on counter for about 15 min then into the fridge for 12 hours. Flipped onto parchment (seam down), scored, and placed into preheated clay baker. Baked at 490F for 20 min with the lid on, then at 450F lid off to internal temp 199F. That's the highest I can get at this altitude. It's cooling now, no crumb shot since it's a gift. 

This is only my second loaf using the baker, the first one came out just like this. The shape is more helpful for our usual bread uses (toast, sandwiches) than a boule. And the clay baker is much easier than a dutch oven for my arthritic joints to deal with. It's nice to have something different! This bread a gift for a brother visiting from out of town so no crumb shot. 

justkeepswimming's picture
justkeepswimming

We just moved from sunny AZ to Cheyenne, WY. My starter seems to have made the move just fine, bubbling up nicely when fed. Unpacking is progressing, and I am starting to find kitchen things bit by bit.

I threw together a sandwich loaf yesterday just so we could have something, and wasn't sure how things would turn out. This was a no recipe/no notes concoction, put together after discovering my loaf pans. 🎉

50/50 store bought whole wheat/bread flour, 80% hydration, about 40 gm of starter discard, 1/4 tsp of yeast, 9 gm salt, and a Tbsp of olive oil. Hand mixed, a couple of rounds of S&F and mostly ignored for 5 hours. "Shaped" (it was a bit wet for real shaping, so more like organized into a loaf pan configuration of sorts), sprinkled with sesame seeds, and proofed until it was about 3/4 in above the edge of the pan edge. Topped with another loaf pan as a lid and baked at 375 F. Lid off after 30 min, and watched it every 5 min or so. The crust looked good at 50 min. Other TFL members mentioned to bake to a lower internal temp than at sea level or risk having dried out bread, so I pulled it out at 197F internal temp. 

It turned out pretty well! Sliced it for breakfast and more for lunch. It doesn't taste like SD, more of a yeast bread flavor, but a big improvement over our recent random grocery store selections. 

 I'll be learning more later, but this was an encouraging first attempt. 

Mary


justkeepswimming's picture
justkeepswimming

I don't post very often anymore, but I'm still out here, still baking, still reading about everyone's beautiful bakes! Hats off to you all!!

I often do a same day bake. I mill my own whole wheat, and the starter/levain goes crazy with that. I have over proofed more often than I care to remember. Now that I have found the sweet spot for proofing time, I haven't wanted to try an overnight refrigerator proof. Maybe this summer ... I could also reduce the amount of starter vs levain and let it go longer, but this timeline works so I haven't fussed with it.

I do like to tinker with ingredients, so the percentage of whole grain varies. This is my current 60% whole wheat bread: 

Whole wheat flour 270 gm (freshly milled hard red winter wheat in this loaf)

AP flour (KAF this loaf) 90 gm

Bread flour (KAF this loaf) 90 gm

Starter/levain 105 gm (100% hydration)

Water 310 gm

Oil 20 gm (softer crust/crumb)

Salt 9 gm

For the starter, I usually build a levain the night before and use that. 

Mix everything and let it fermentolyse 30-45 min, with a round of S&F after 15+ min (timing as life dictates).

Knead in my mini Bosch mixer ~ 12 min. Dough temp at the end of mixing/kneading is usually 80F.

Bulk ferment at 75-78F (in my microwave out of drafts, temp varies slightly). 

Bulk to about 50% increase. Coil folds 2-4 times during bulk. Time from initial mix > fermentolyse > end bulk is usually 5.5 hours. 

Turn out on counter, preshape, rest 15-20 min, shape, pan, and proof. Proof is generally done in 2 to 2.5 hours at 75F.

Preheat oven to 400 F. Lightly spray the inside of my "lid", clip it on to the bread pan, and bake. 400 F for 20 min, reduce oven temp to 350F for 15 min, then remove "lid". Bake an additional 15 min to my preferred crust color and internal temp of 206F. 

We prefer a less crisp crust for sandwiches, so I wrap the loaf in a thin cotton tea towel while it cools on a rack. Photos of my most recent bread below, following the above. We had already cut into it when I took these photos, lol. 

Mary


justkeepswimming's picture
justkeepswimming

I have never had much luck making crumpets. I came across this recipe elsewhere,and decided to give it a try. Success at last!! There used to be 8 (I scaled the recipe down a tad), but two were eaten hot off the pan. The rest have cooled and are frozen.

A few notes of possible interest:

 - He appears to be in Australia, so when the recipe called for bread flour, I thought about it for a minute. I'm not always fond of the chew/texture US bread flour can give some things, but wasn't sure how US AP flour compares to AU bread flour. I decided to split the difference and used half of each (edit, half KAF bread flour, half KAF AP flour). That worked. I might try it with all AP flour next time, just to compare results.

 - He cooks them in egg rings, but we don't own any. While shopping on Amazon to see what my options are, they suggested this nifty little pan. I decided to give it a try. It was perfect, for this recipe and for our eggs this morning too. 

All successful experiment on all fronts. 


justkeepswimming's picture
justkeepswimming

I had some leftover chocolate babka slices in the freezer that needed to be used up. When deciding what to do with it, I found this recipe:

https://www.allrecipes.com/recipe/7177/bread-pudding-ii/

I decided to make my own version and used that as the base. 😉

Babka was cubed and put into an 8x8 in pyrex. The dark chocolate was broken up into small chunks and distributed throughout the bread cubes. The pudding recipe was mixed as described, though I used just a little less sugar and left out the cinnamon. I thought about including it, I like Mexican cocoa etc. But I am bringing this to a holiday gathering, and wasn't sure if others would appreciate the combination. After pouring the mixture over the bread and chocolate, I used a fork to gently push the babka chunks down into the mix. I had a little leftover Nutella to use up,so at the last minute I dolloped some on top of the concoction for good measure.

This was soooo decadent, soooo good! It was a hit. One person who said he doesn't care for bread pudding had 2 servings, lol. Highly recommended if you ever want to use up leftover babka. 


Ready for the oven


Still hot and bubbling, the smell is amazing!


 They liked it!

 Merry Christmas!! 🎄


justkeepswimming's picture
justkeepswimming

This is a Halloween candy corn themed coconut chocolate babka, as suggested by my husband. No candy corn was used in this recipe (I'm not a fan). I couldn't resist giving this a try. I think he may have been in the mood for some chocolatey goodness, and he kept nudging me along with ideas. 

I followed Maurizio's recipe again. Once the dough was almost mixed to where it needed to be, I split it into 2 randomly sized balls. Then I started adding food coloring to the dough.... The only other colored bread recipe I found had suggestions for how much to add, and it was wayyy more than I intended for the orange color. The yellow came out a little less intense, but still more than expected. I lost count adding it 1-2 drops at a time, but I think it was about 10-12 drops. Apparently the color intensifies after a couple of minutes. Lesson learned....

Crumb shot tomorrow, after we get to a family gathering. The kids will be all sugared up before they even go Trick or Treating. 😆


justkeepswimming's picture
justkeepswimming

My first babka! I am not counting the one I tried last week that was a complete, greasy mess that never did a thing. That one was a yeast based recipe that I think was faulty from the get go, and to date is the only batch of dough I have ever just thrown out. 

I used Maurizio's babka recipe. Until just a few weeks ago, all my bread had been mixed/kneaded by hand, as I did not have a mixer. After much research and some input from Mariana (thank you, Mariana!), I decided to go with a Bosch compact mixer rather than trying to work with a food processor. Ordered in April, and it just arrived a couple of weeks ago. After reading his recipe/process several times through, I dove in. So glad I did, it came out really good. 

Lessons learned during this bake:

 - I don't know if it's true for all enriched doughs, but this loaf did not grow very much in size or have such obvious signs of fermentation as my usual bakes. I was glad I had used a glass bowl, so I could see the tiny bubbles through the sides and bottom of the bowl. 

 - Work quickly while rolling out the cold dough and spreading on the toppings. In my warm kitchen, the dough started to proof and get puffy, making it harder and harder to work with for rolling.

 - Don't assume any particular step will work easily. "Place the rolled-up log on a baking sheet and place it in the freezer for 15 minutes" part took longer than it should have. The first 2 baking sheets would not quite fit in the freezer.

 - I used Nutella (thanks to Danny for posting how to thin it out and make it spreadable). Next time I think I will try to make Maurizio's chocolate filling instead. The Nutella tended to glom onto the knife while slicing the loaf, and I had to keep cleaning the knife between slices. I was quite proud of myself for not getting cut, lol. 

This was a hit for both of us, as well as some nearby friends we gave some to. You couldn't taste the Nutella, the flavor from the dark chocolate was more prominent. The coconut was just enough to give a little extra flavor and was a pleasant addition chew-wise as well.

Will definitely do this again, probably at the holidays. 

Pics:

Getting the filling ready. I froze the chocolate first, then just smashed them inside the baggie to get small chocolate chunks/chips/dust.

Filling in place, ready to be rolled up:


Proofed, coated with egg wash, and ready for the oven:

 Cooling. I sprinkled a little more coconut on top, then used the simple syrup glaze to sort of glue the coconut in place:

 Yummy crumb:

justkeepswimming's picture
justkeepswimming

Not sure why my paragraph breaks aren't working today.... Might be something related to creating this post on my laptop instead of my phone? Apologies in advance....  This bake was inspired by idaveindy. I had read in one of his past threads about Steve Gamelin's no knead bread approach. I had never heard of him and on a whim decided to look into it. In part, because my 92 y.o. mother in law loves fresh bread, but can't handle all the kneading, etc. I ended up watching a bunch of what he has on you tube. By far, Mr. Gamelin has the easiest approach ever. He bakes with IDY, and shows how you can get all sorts of bread baked in whatever container you have available. His approach is about as minimalist as you can get, and it's worth watching the video just to see him work. Besides, what's not to love about watching a white haired man wearing a Carhart t-shirt baking, lol. Dave gave me a few tips on how things might go if I wanted to do a whole wheat version using fresh milled flour. AZ monsoon has cooled things off enough to make baking more do-able, so I decided to go for it. I mostly followed Steve Gamelin's recipe, but adjusted hydration slightly (my whole wheat flour was way too dry otherwise). He does use 16 oz. of water in some recipes, so I went with that.  Also, Steve measures by volume and not weight. Dave suggested something between 3.5-4 cups of flour, so I split the difference there. And the general principle was to only mess with the dough if I was going to be in the kitchen for another reason anyway. Ingredients:3.75 cups whole wheat flour (a mix of 75% hard white spring and 25% hard red winter wheat, but I suspect anything would work).16 oz room temperature water1.5 tsp of salt0.25 tsp instant yeast (Edit - while measuring flour for another bake, I weighed 3.5 cups of my fresh milled. It came in at 450 gm of flour.) Day 1.  07:40 a.m. During breakfast cleanup, I mixed the flour, water and salt, covered the bowl and stuck it in the fridge. (I love his mixing technique, he uses the handle - it works remarkably well!).  5 p.m. Starting to prep dinner, pulled dough out of fridge. Mixed yeast in by hand. Performed 4 S&F over the course of the next 2.5 hours, whenever I thought of it.  (I couldn't help myself, and wanted to be sure the yeast was well incorporated.) 7:30 p.m. Covered dough back into the fridge. No signs of yeast activity at all, not surprised. Day 2.  5:30 a.m. Dough out of fridge while hubby is pouring coffee (yes, I am spoiled). The dough looks like it did right before going into the fridge - no bubbles, no change in size or texture when gently poked, nada. I stuck it into the microwave with the surface light on to warm things up a tad. After 2 hours, turned the light off as I headed to the pool to do laps, and ignored the dough. Dough fresh out of the fridge this morning:  
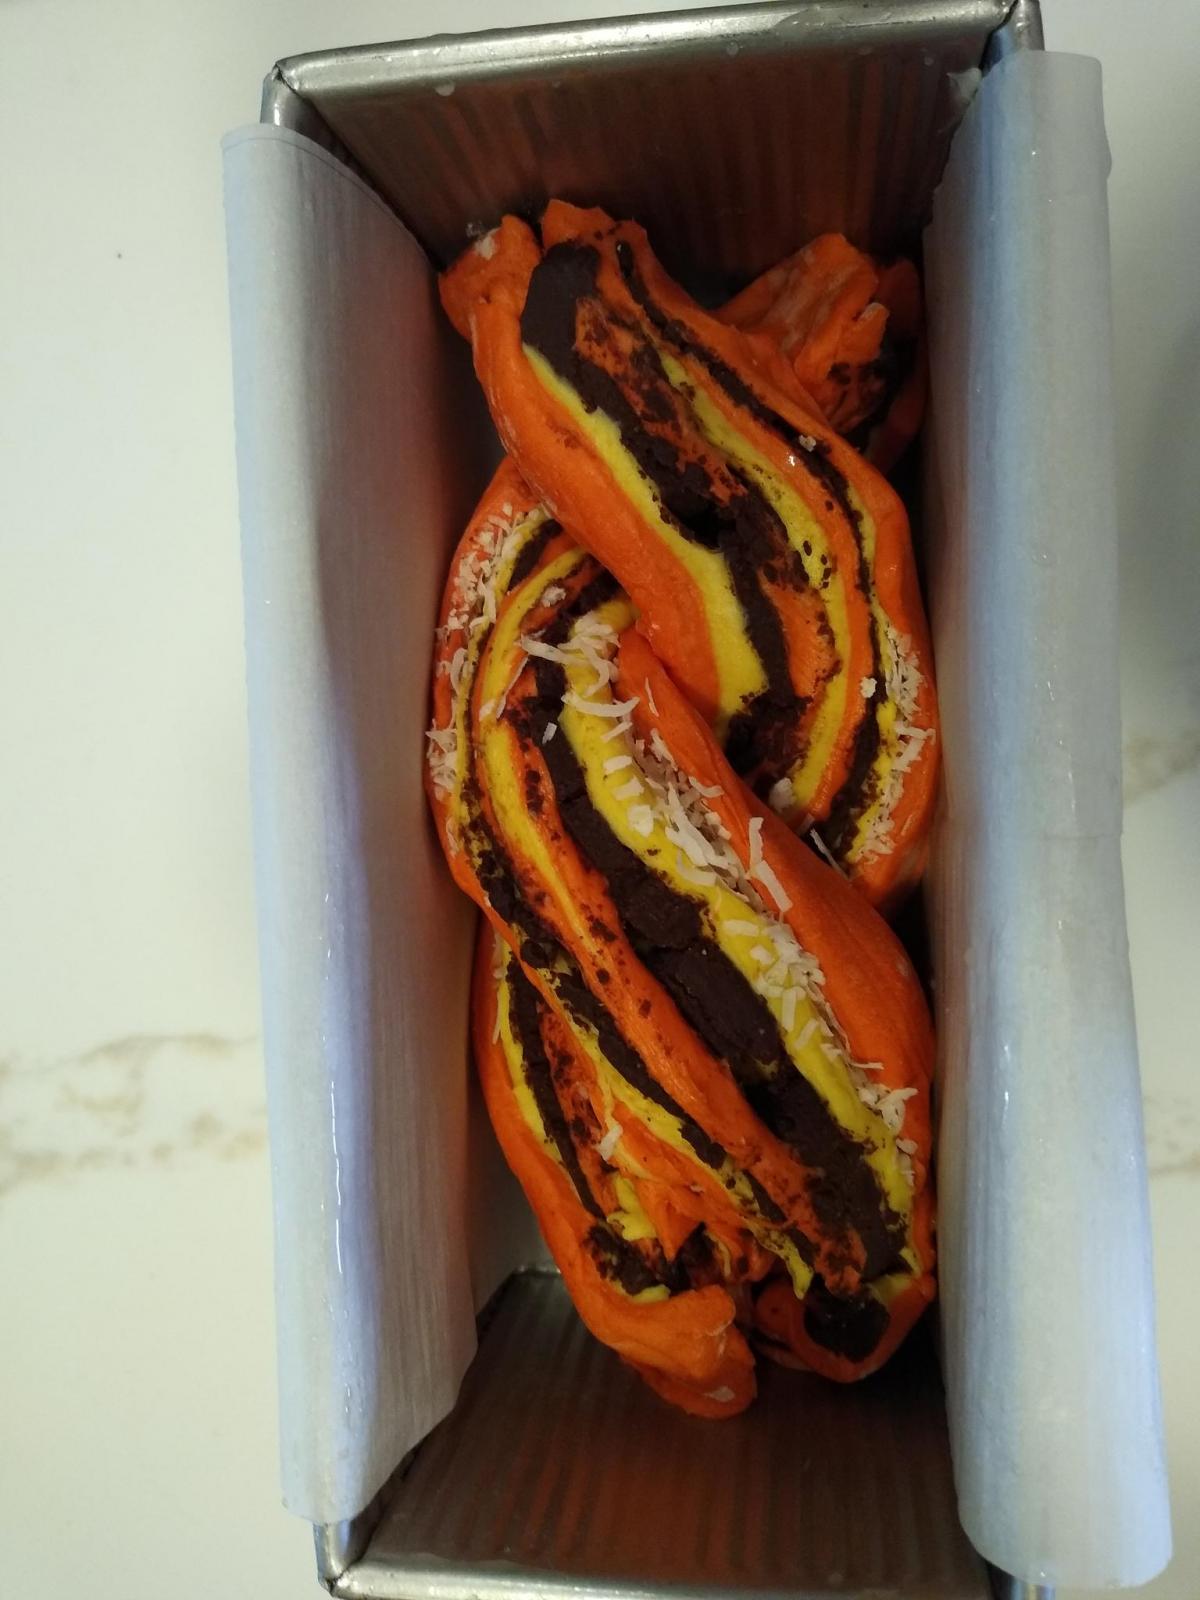
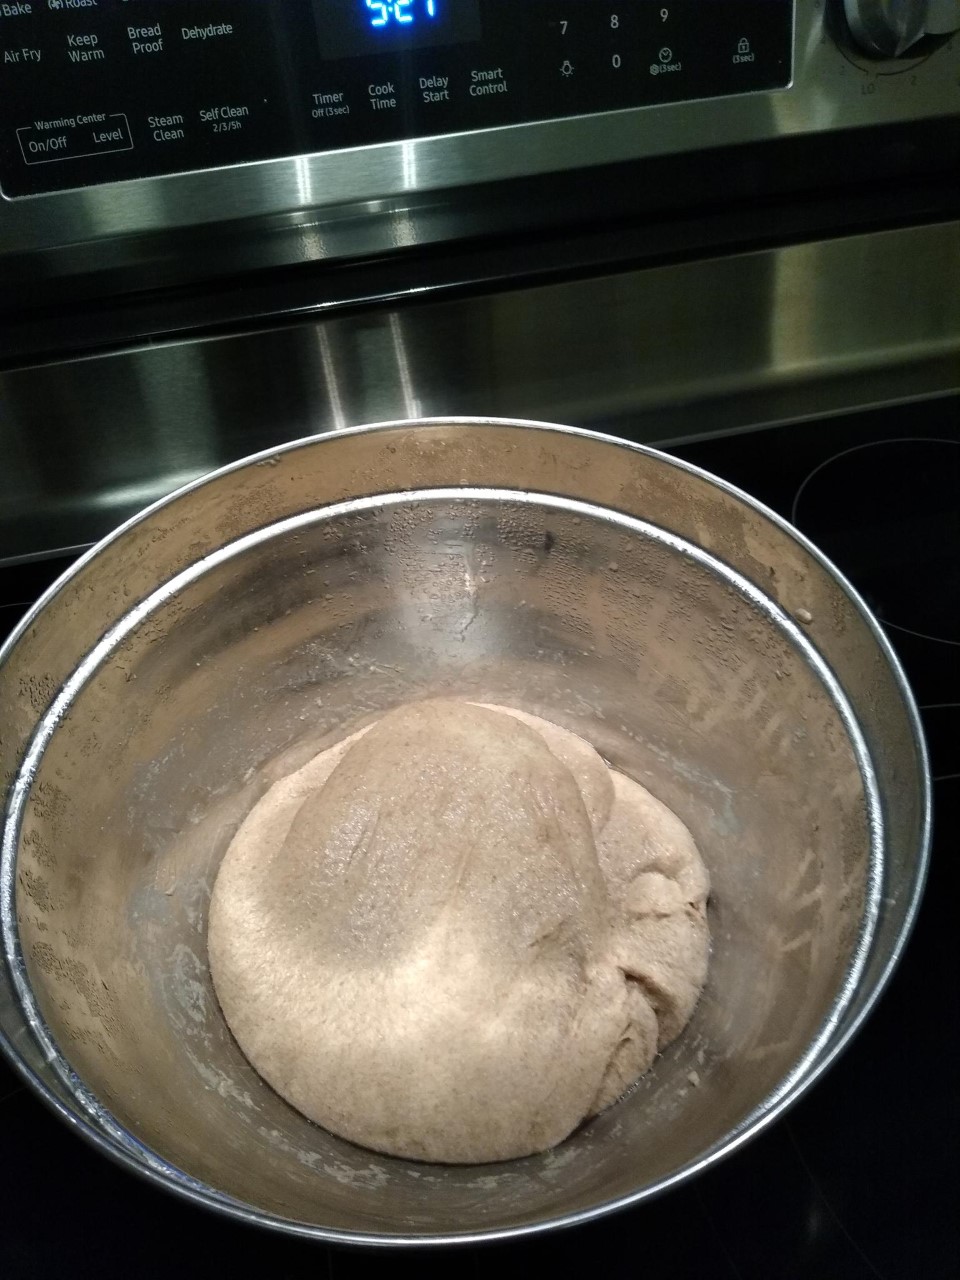
12:30 p.m. Checked the dough at lunch and voila - lots of bubbles, and about a 70% volume increase. I followed Steve's video example, using the spoon handle to degas and stretch the dough, then basically poured the dough into a 9X5 in loaf pan. I could see some reasonably good gluten development while I was stirring, which was nice to see. I'm not much on binder clips, the ones we have are way to hard for me to squeeze.... So I used some of these stainless steel clothes pins we have instead. They worked fine, though I did have to make sure the top pan was squared up correctly.  
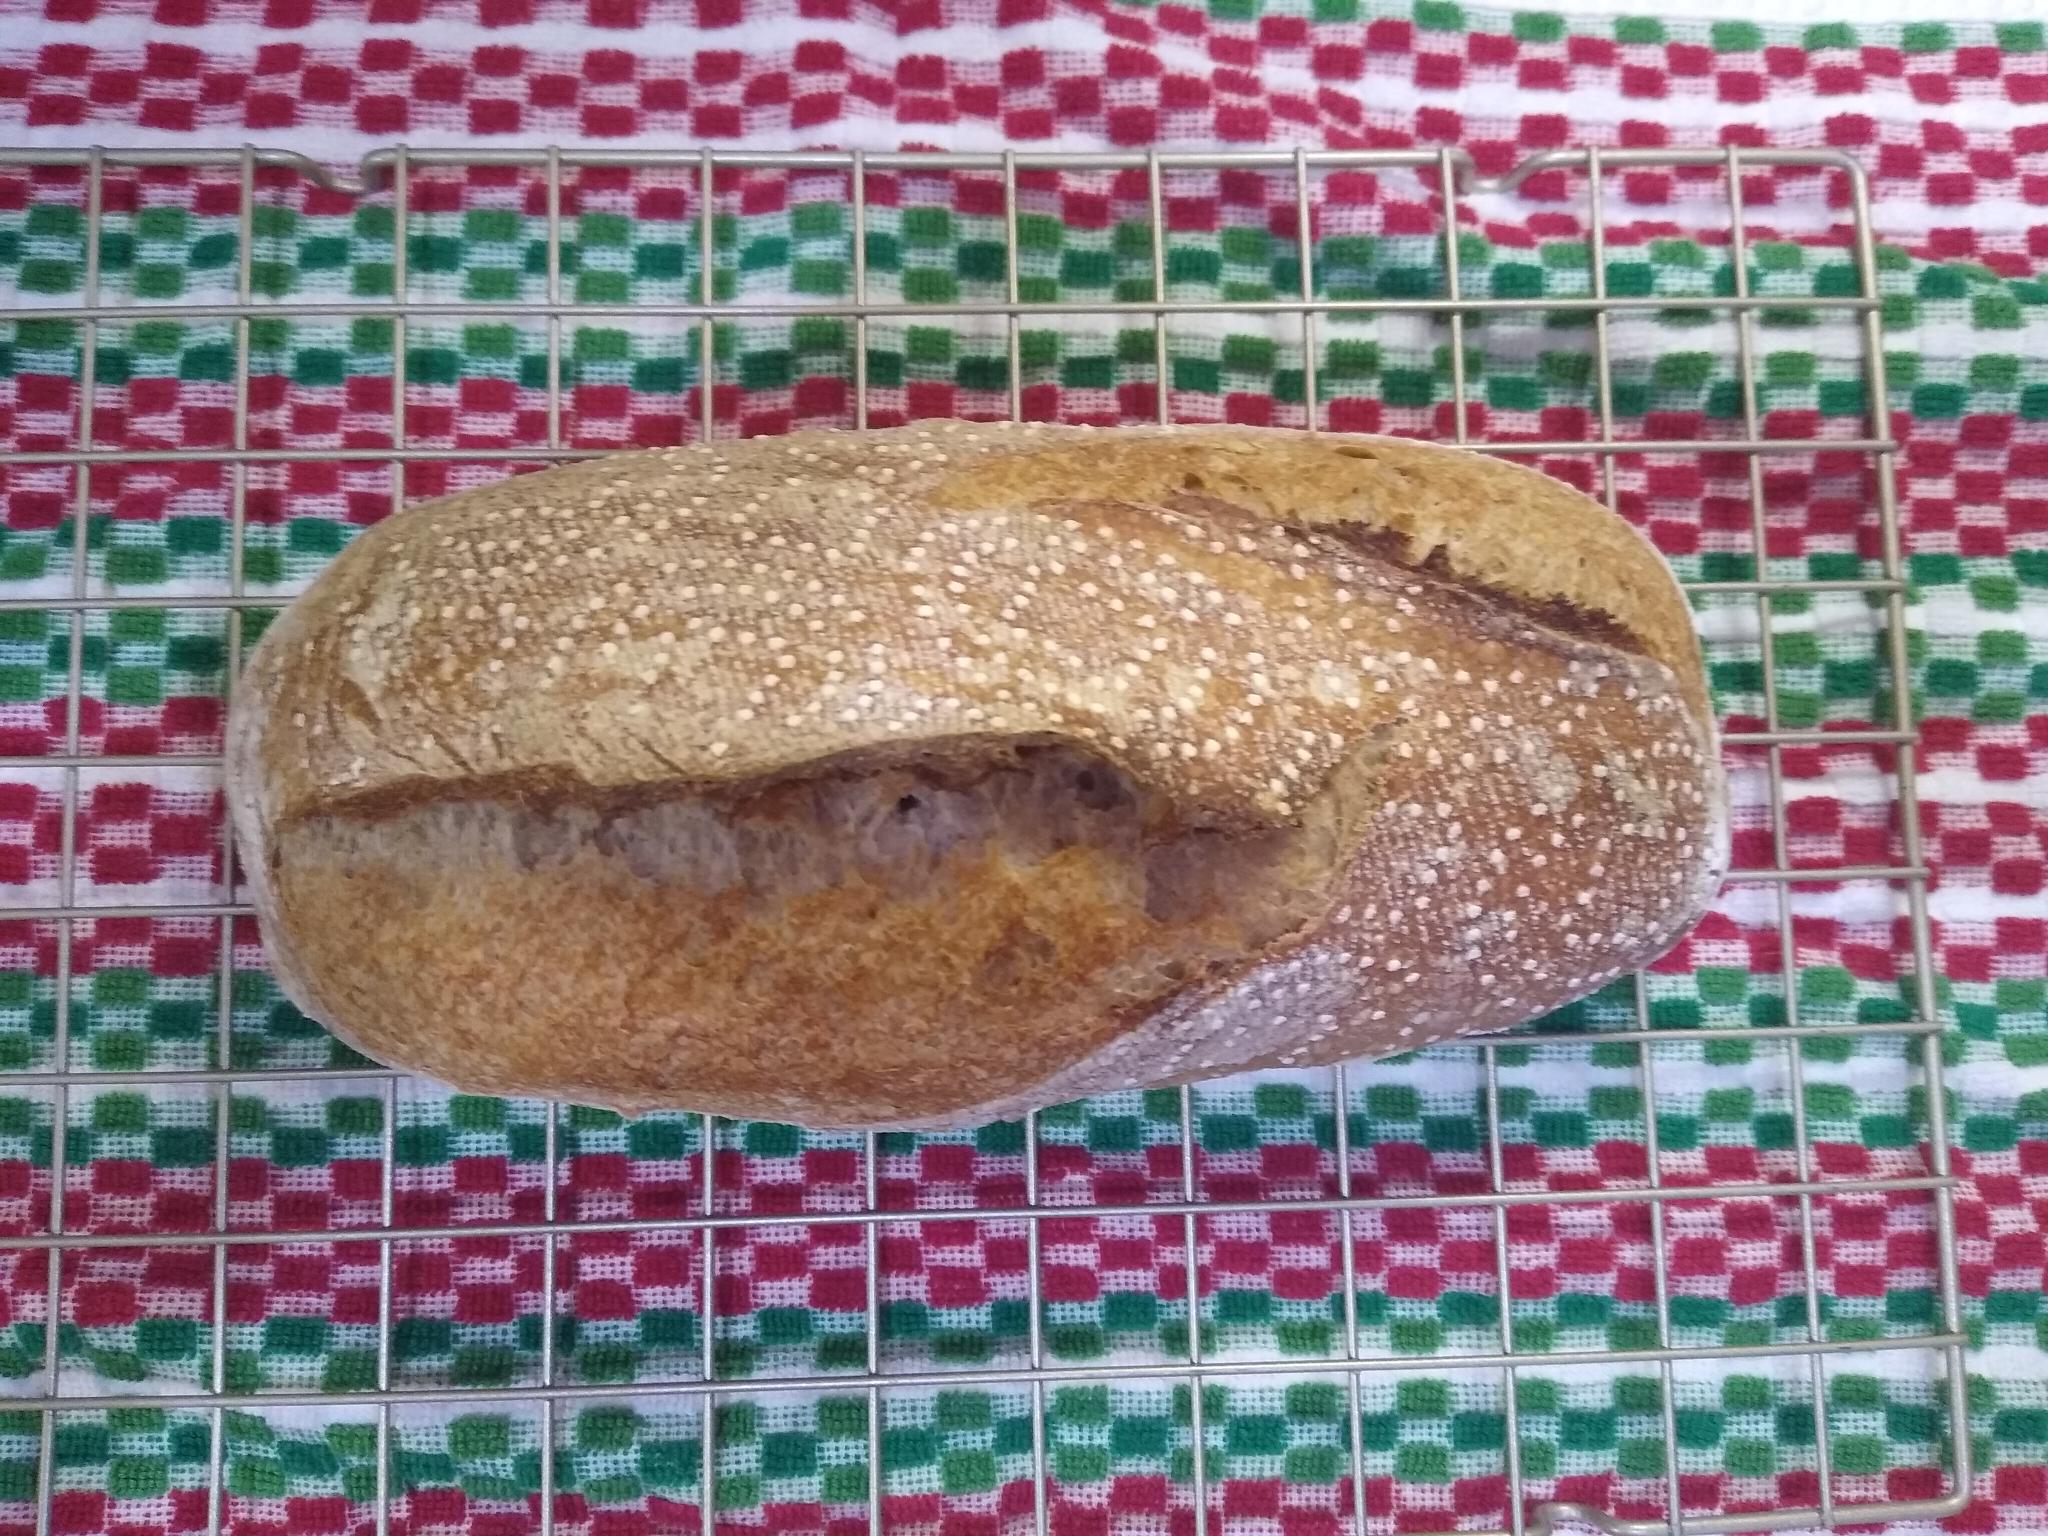
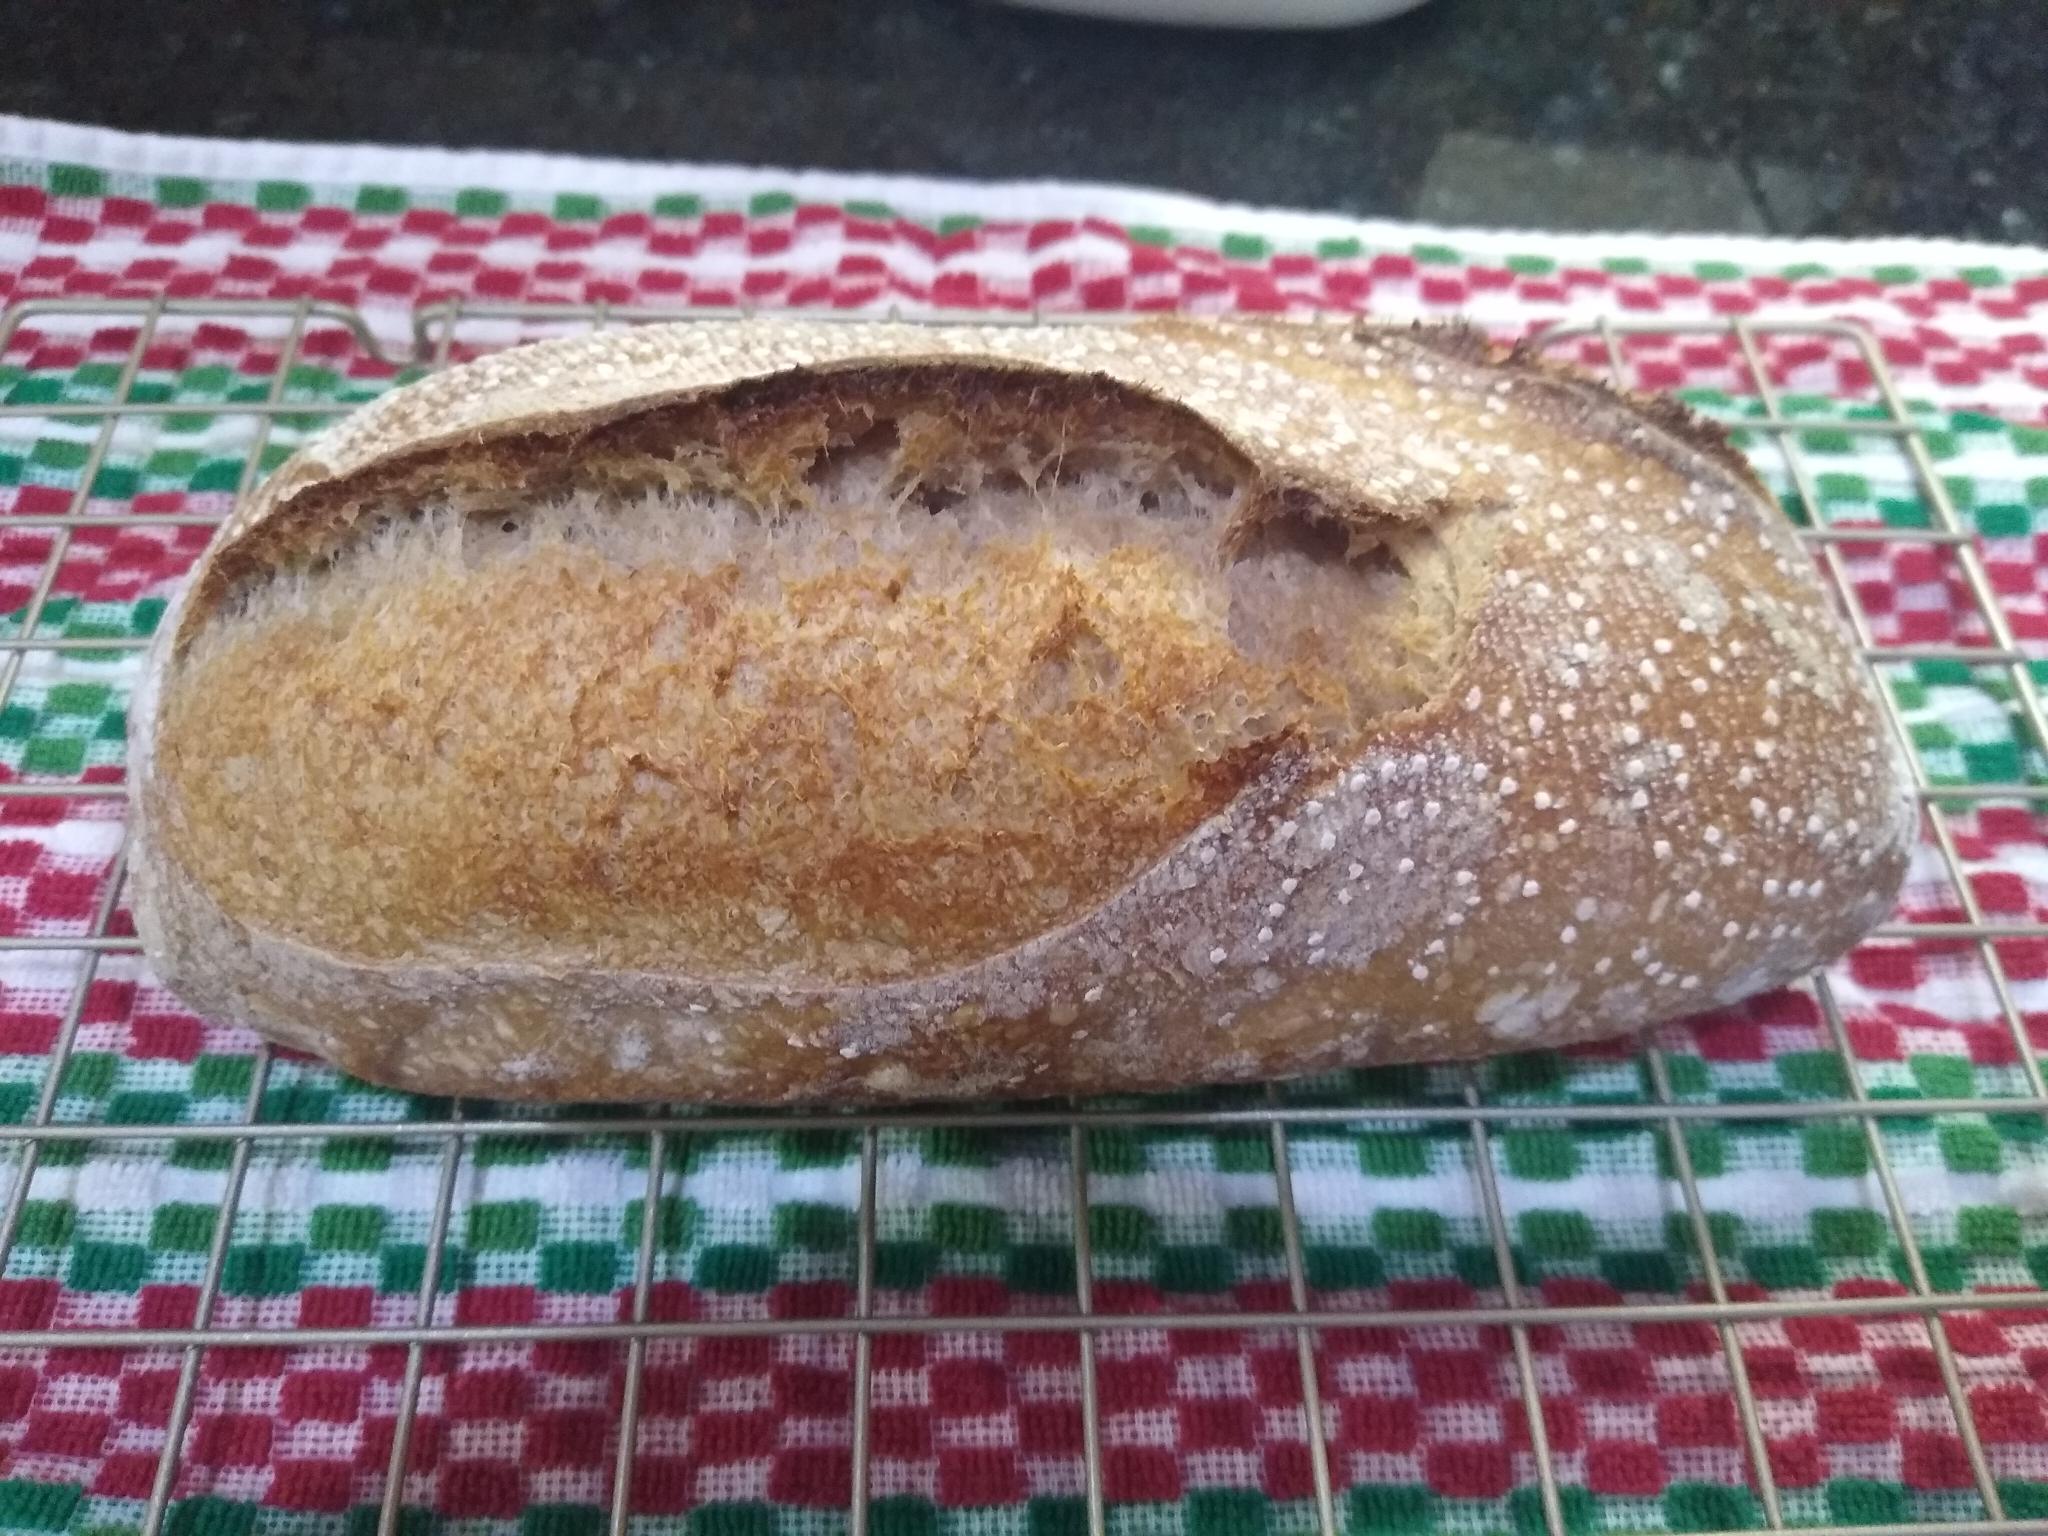
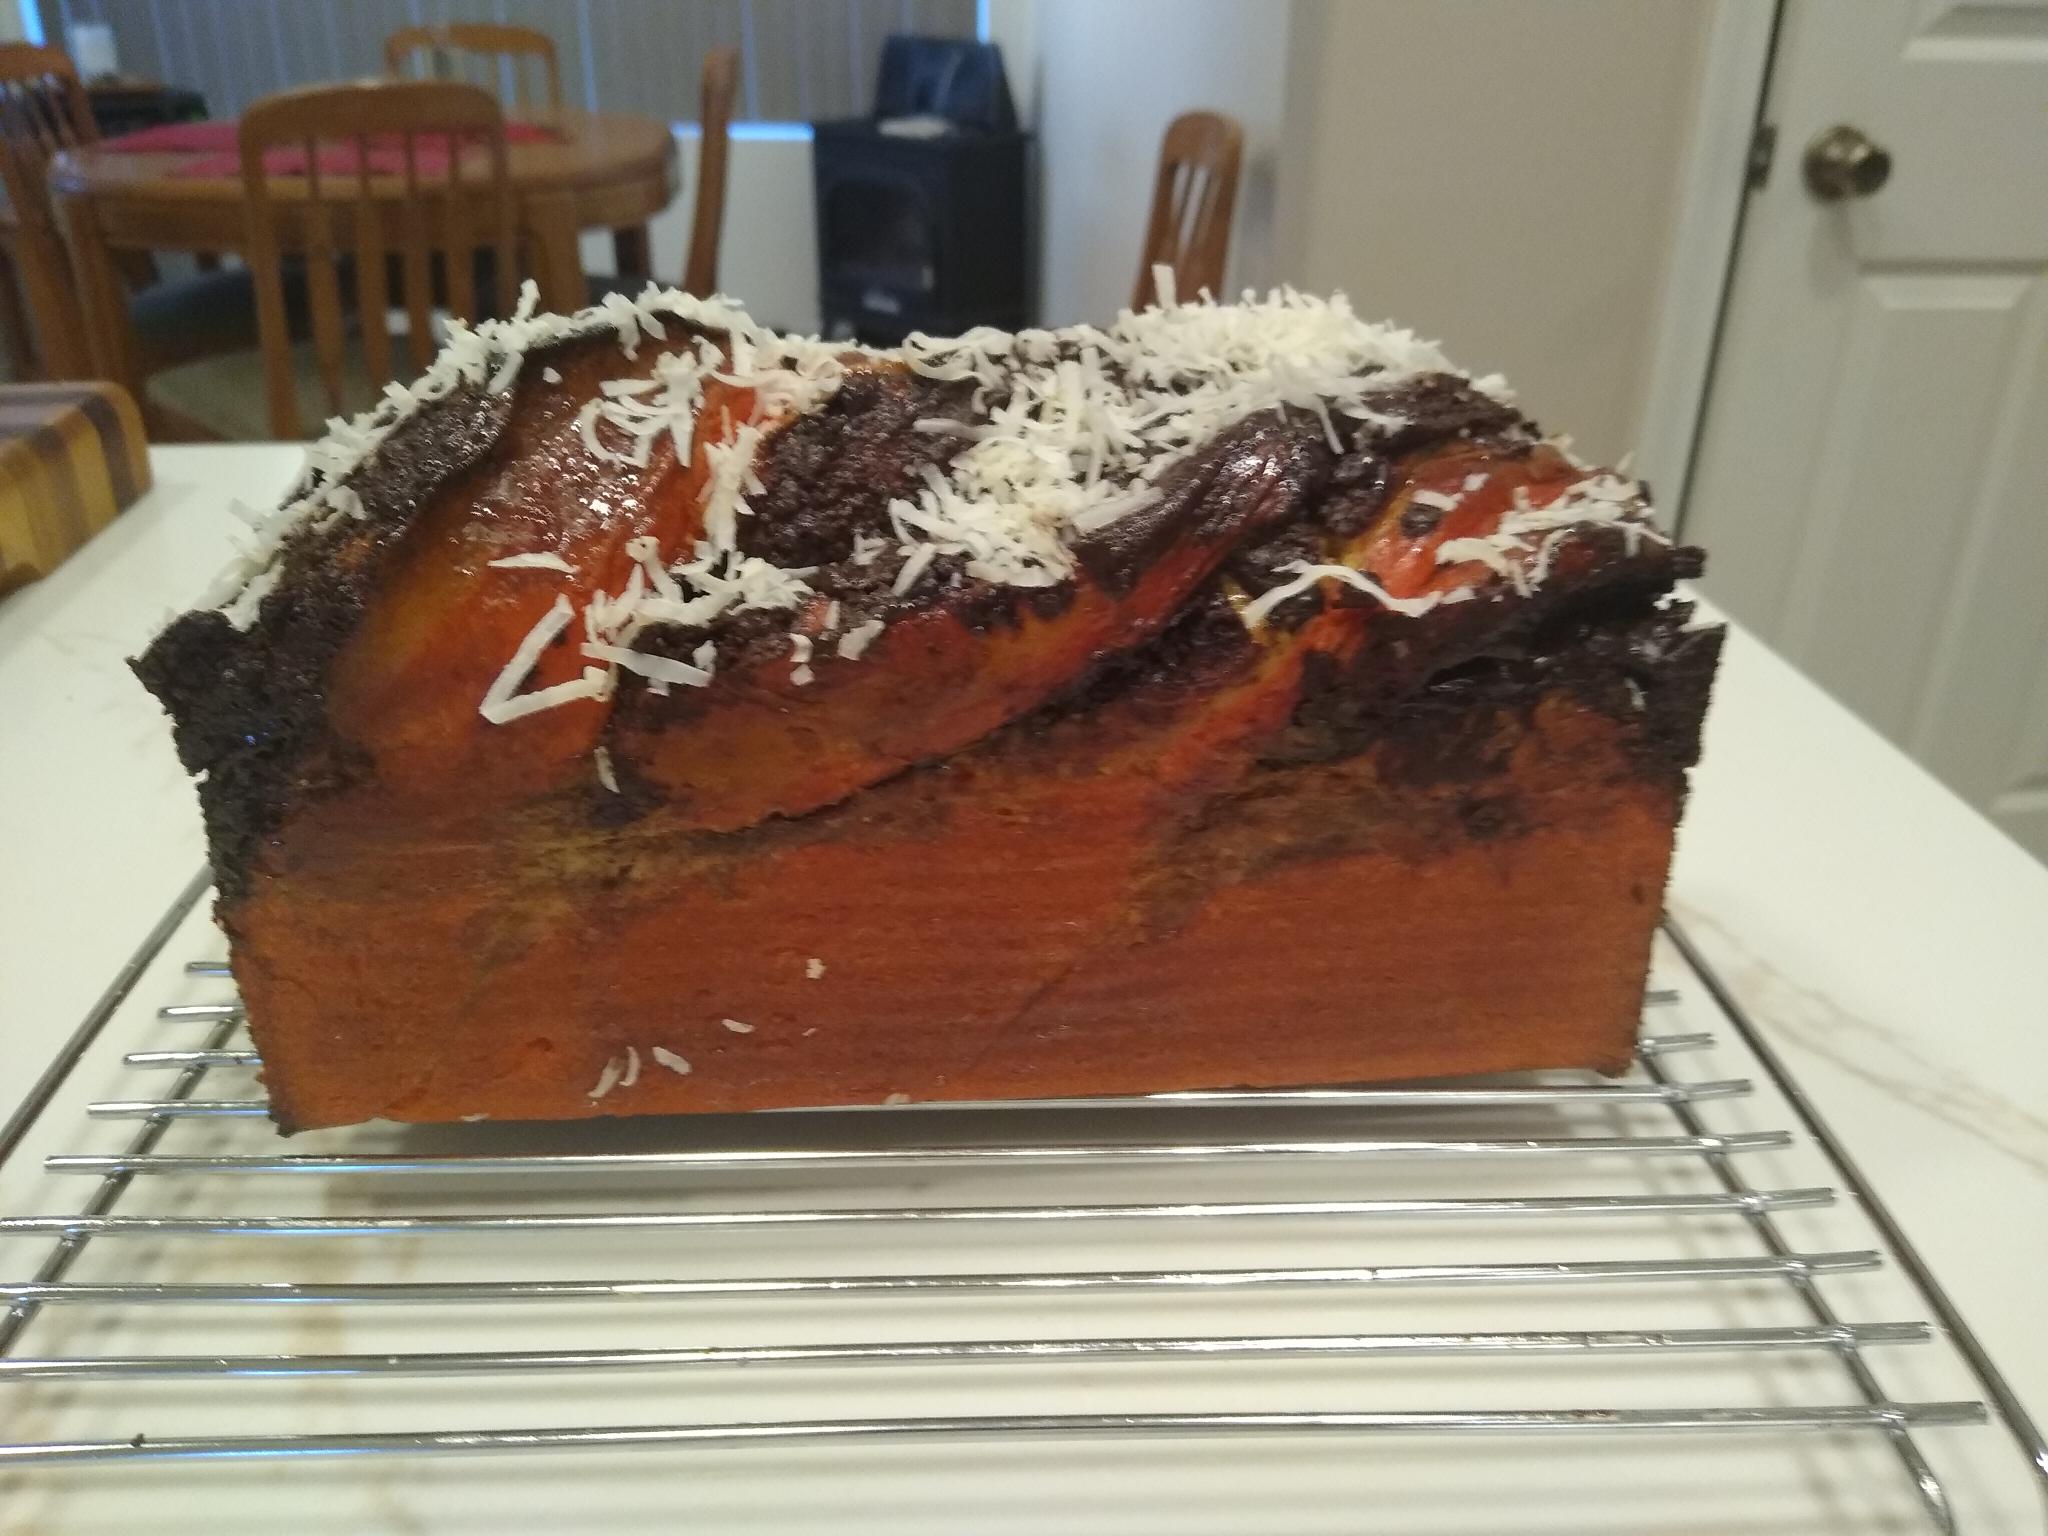
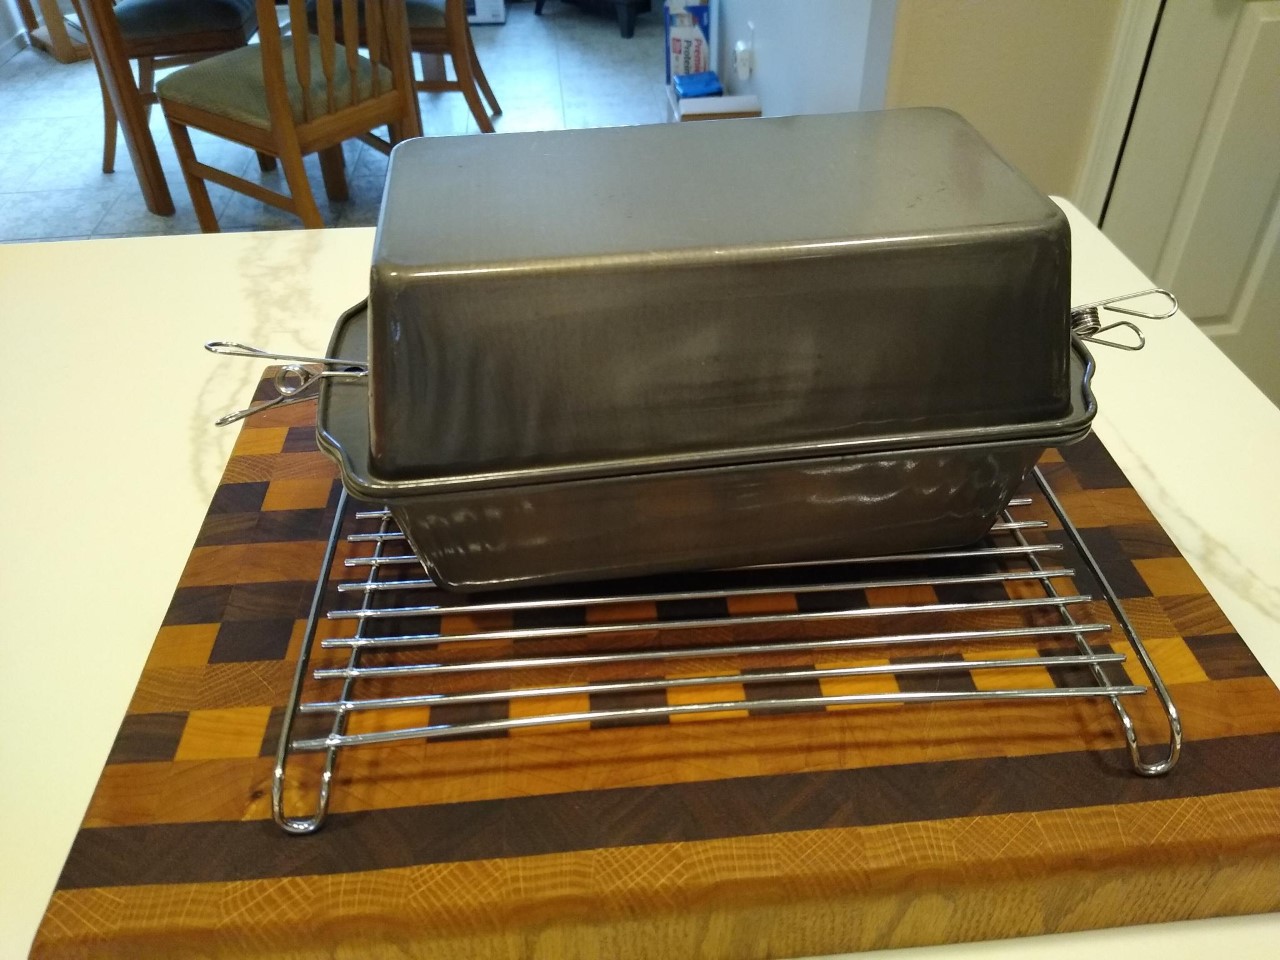
1:00 p.m. Preheated the oven to 400F. In his videos, he used to proof for longer, but now he recommends a 30-60 min proof. I split the difference. 1:25 p.m. After a 50 min proof, the bread was baked at 400F for 40 min as recommended. Cooling - I would normally have baked this just a tad darker, but wanted to do things as close to the recipe as possible. In hindsight, I think he bakes to a lighter color than I might for a lot of his breads. And next time I will use my 8 x 4 in pan. I used the 9x5 he recommends, but I prefer taller rather than wider bread.)   
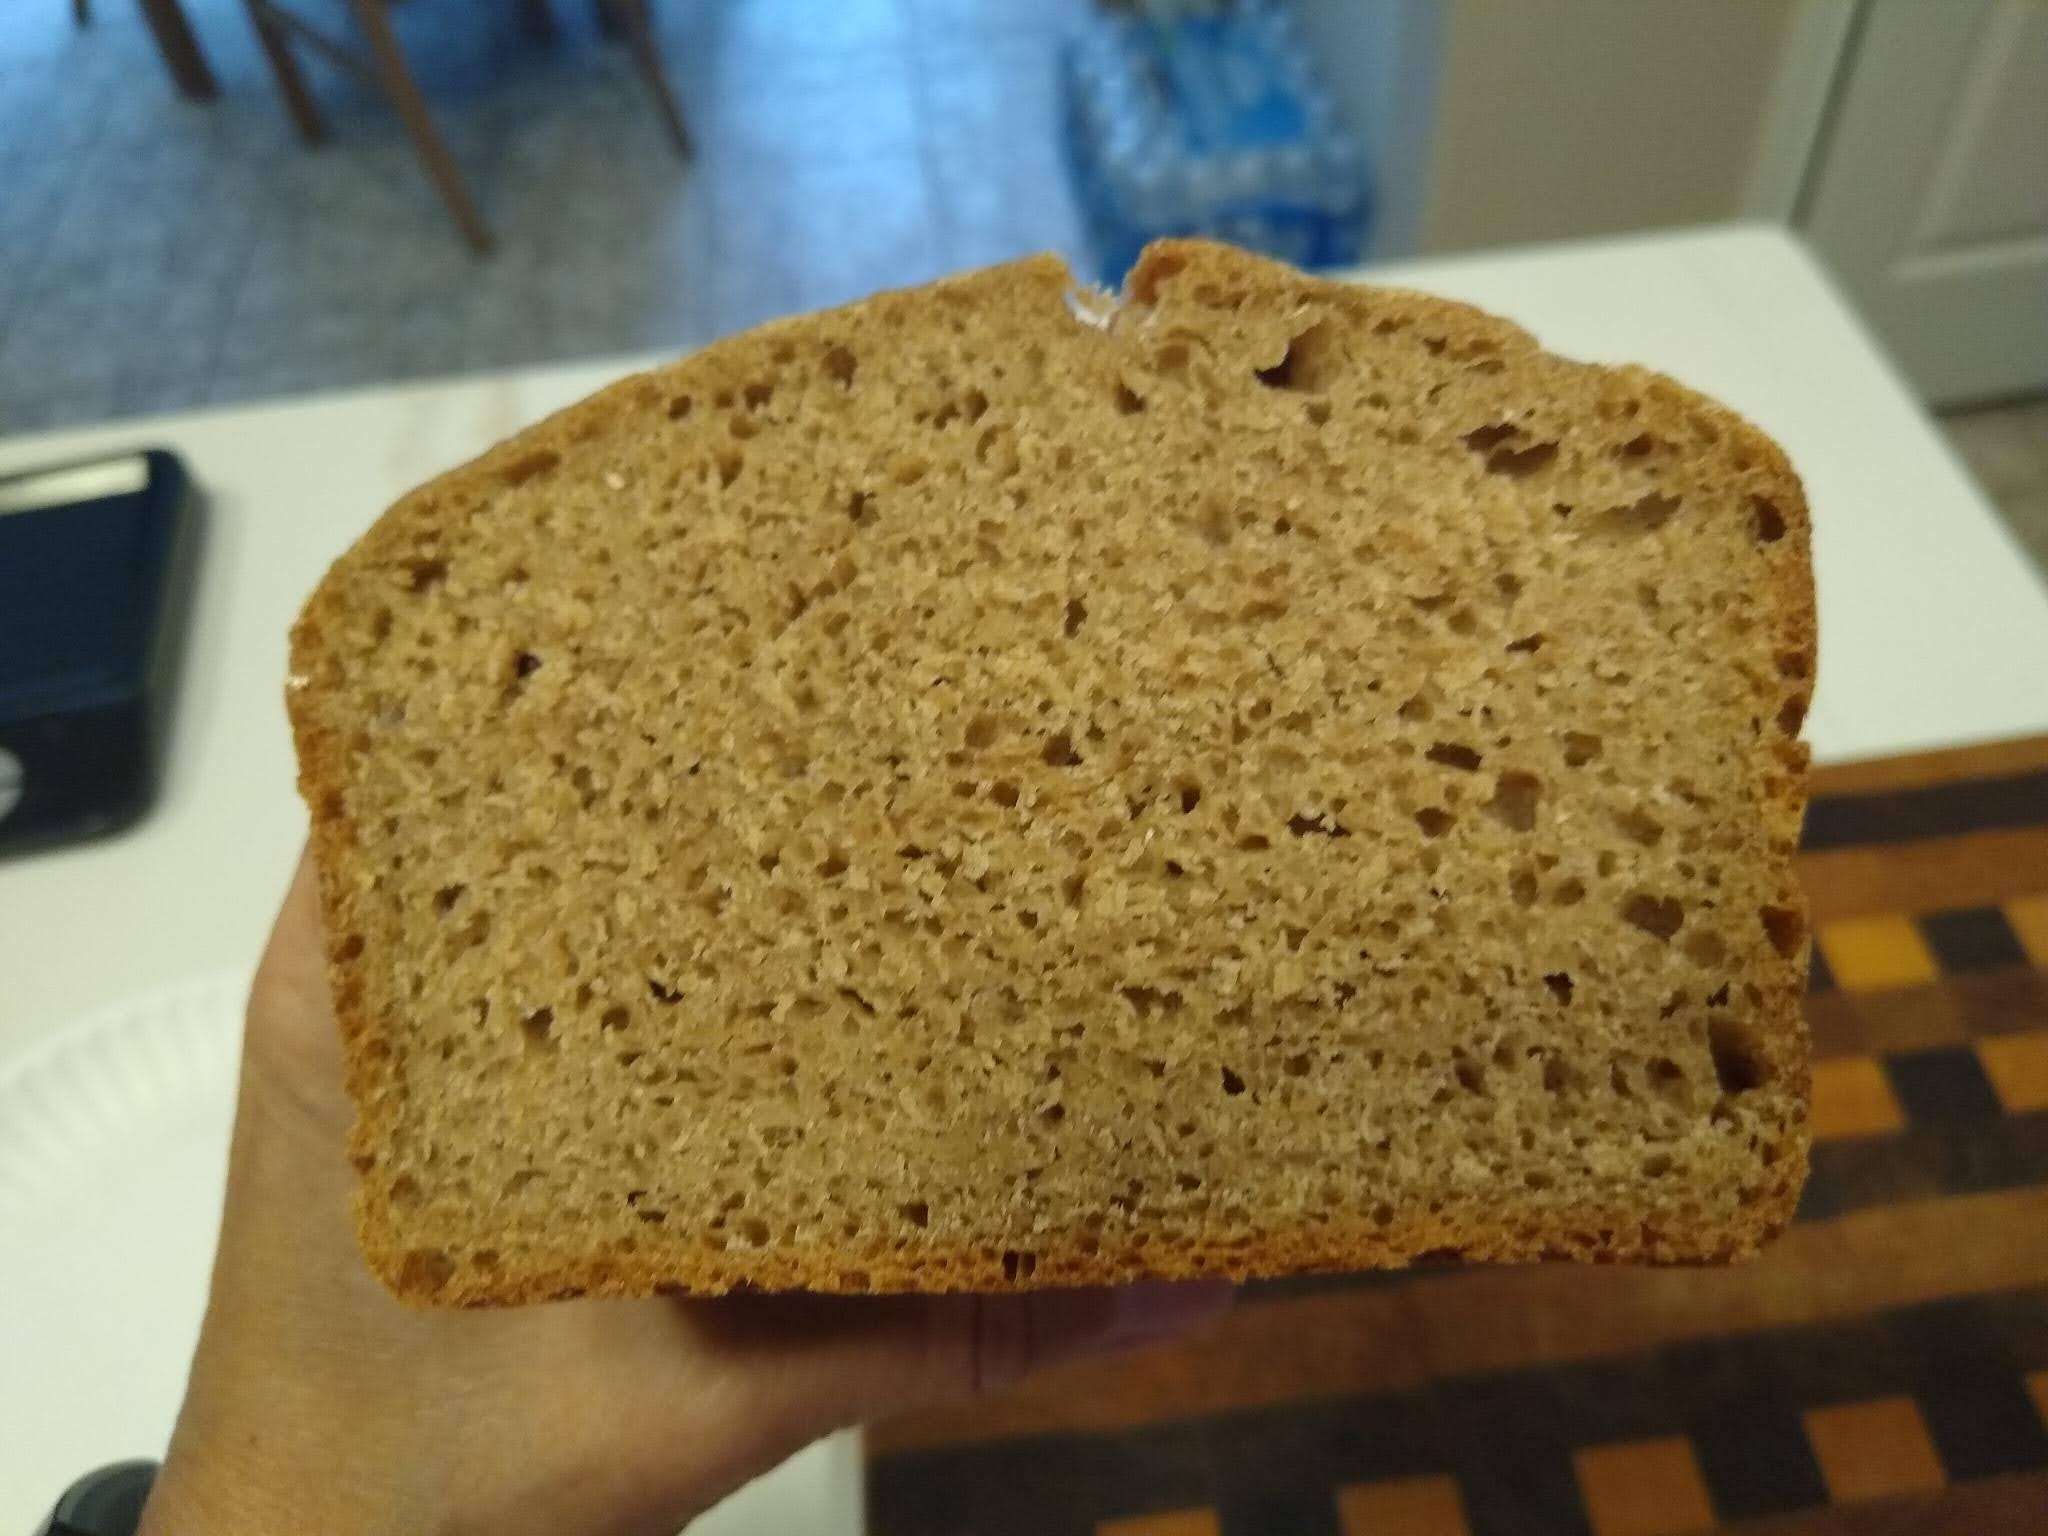
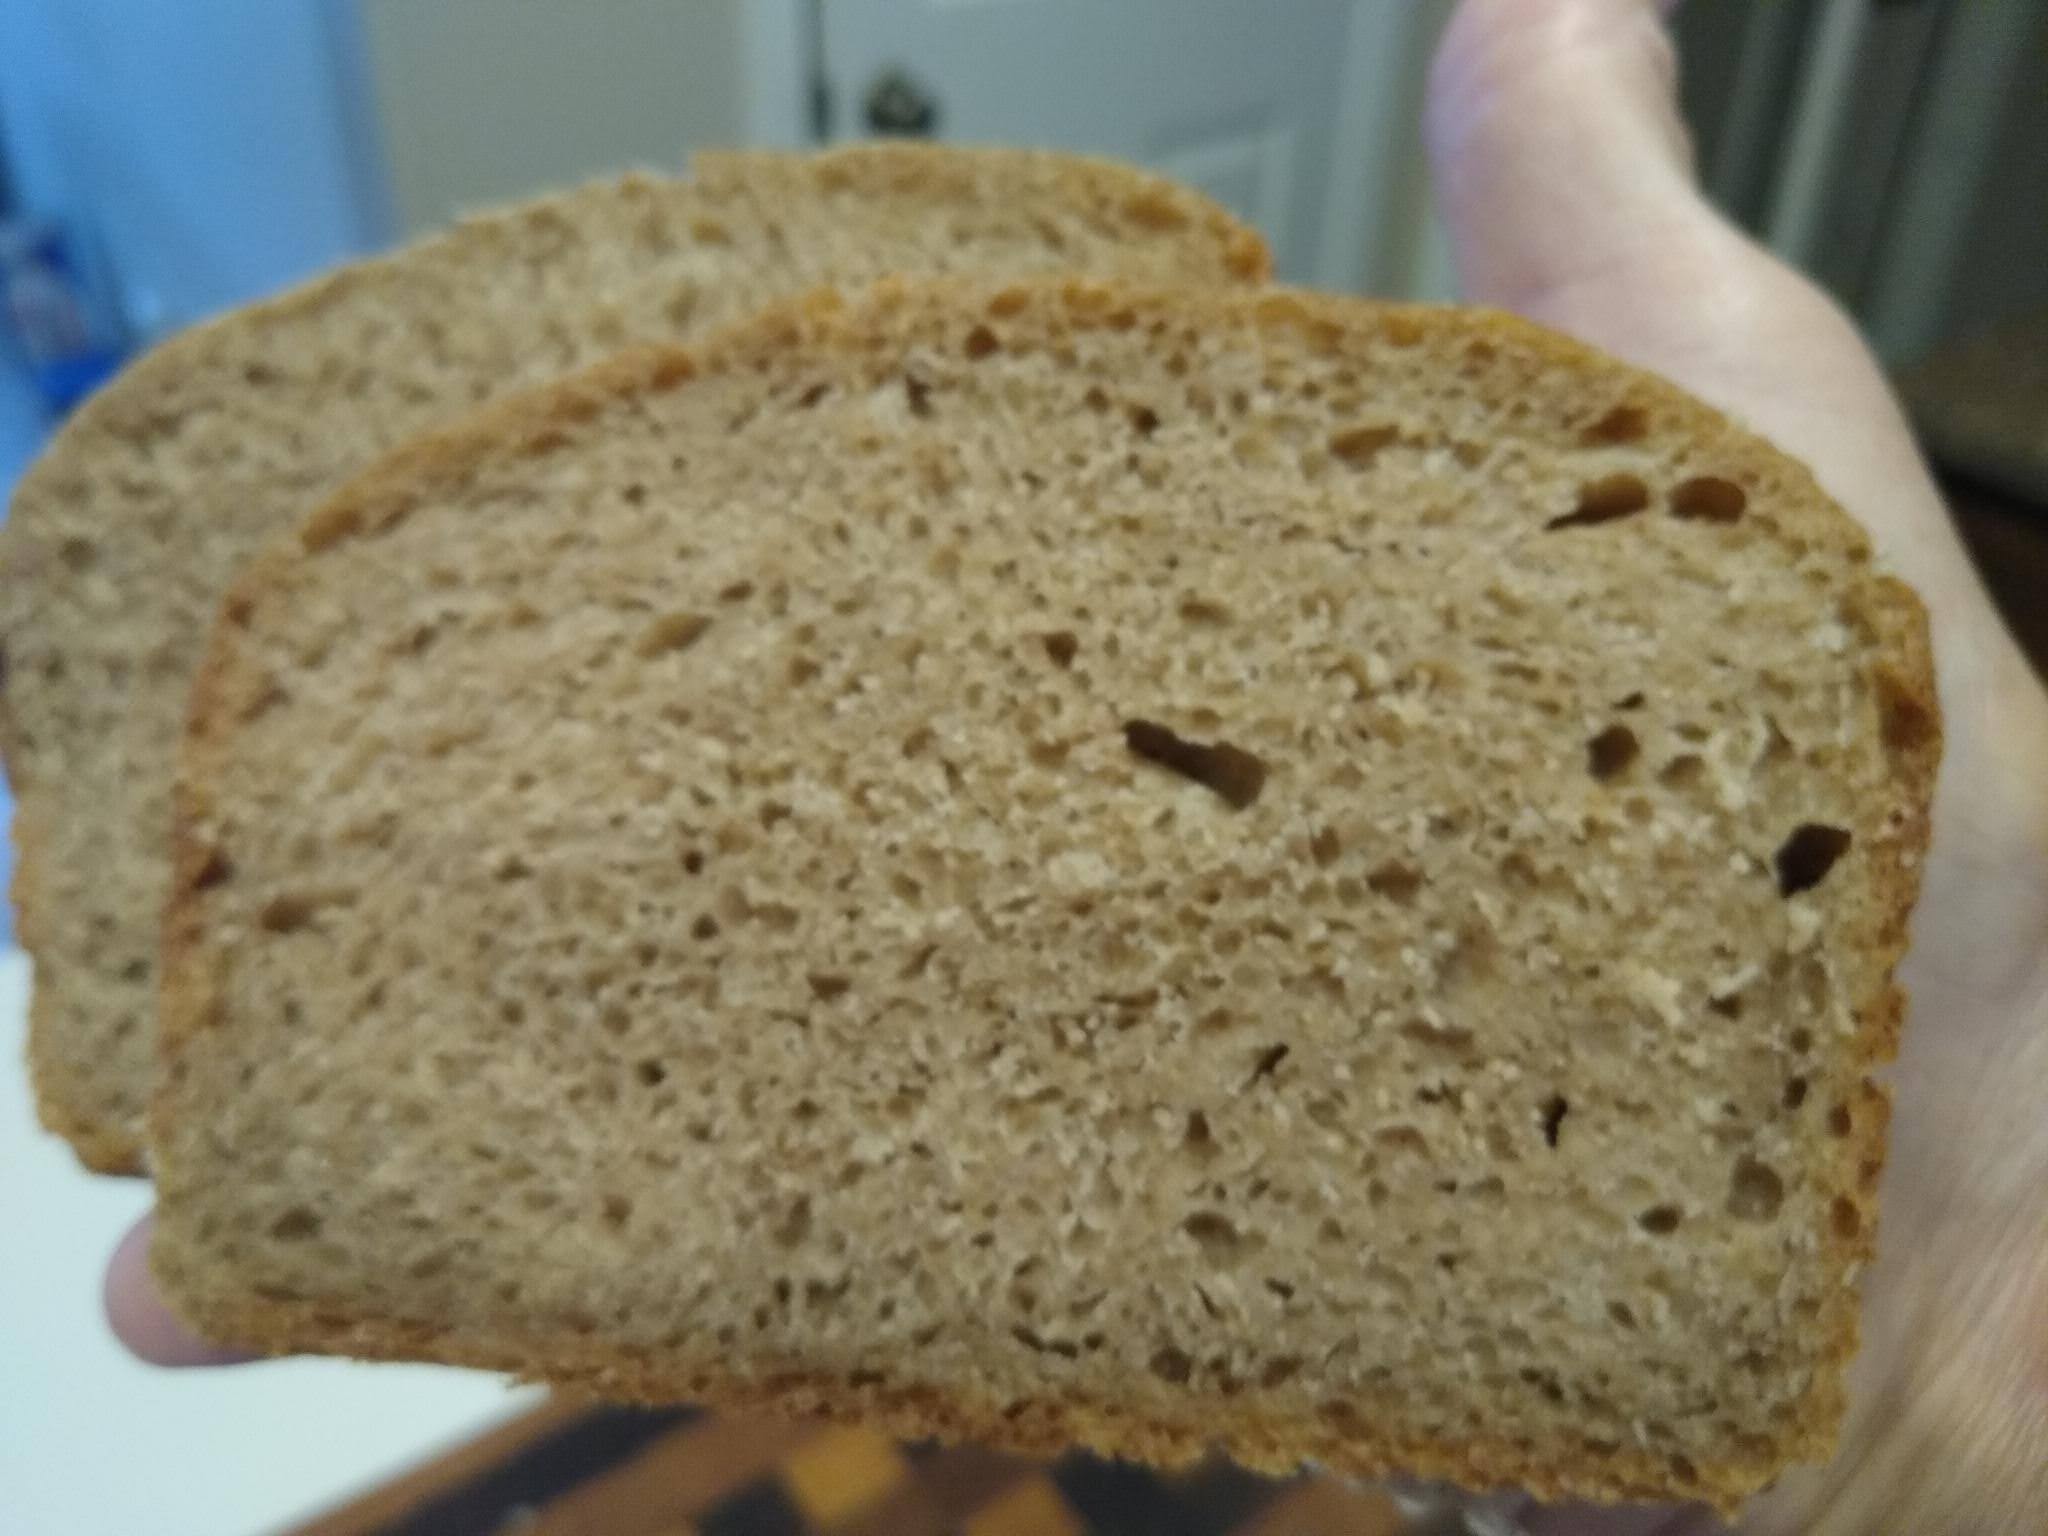
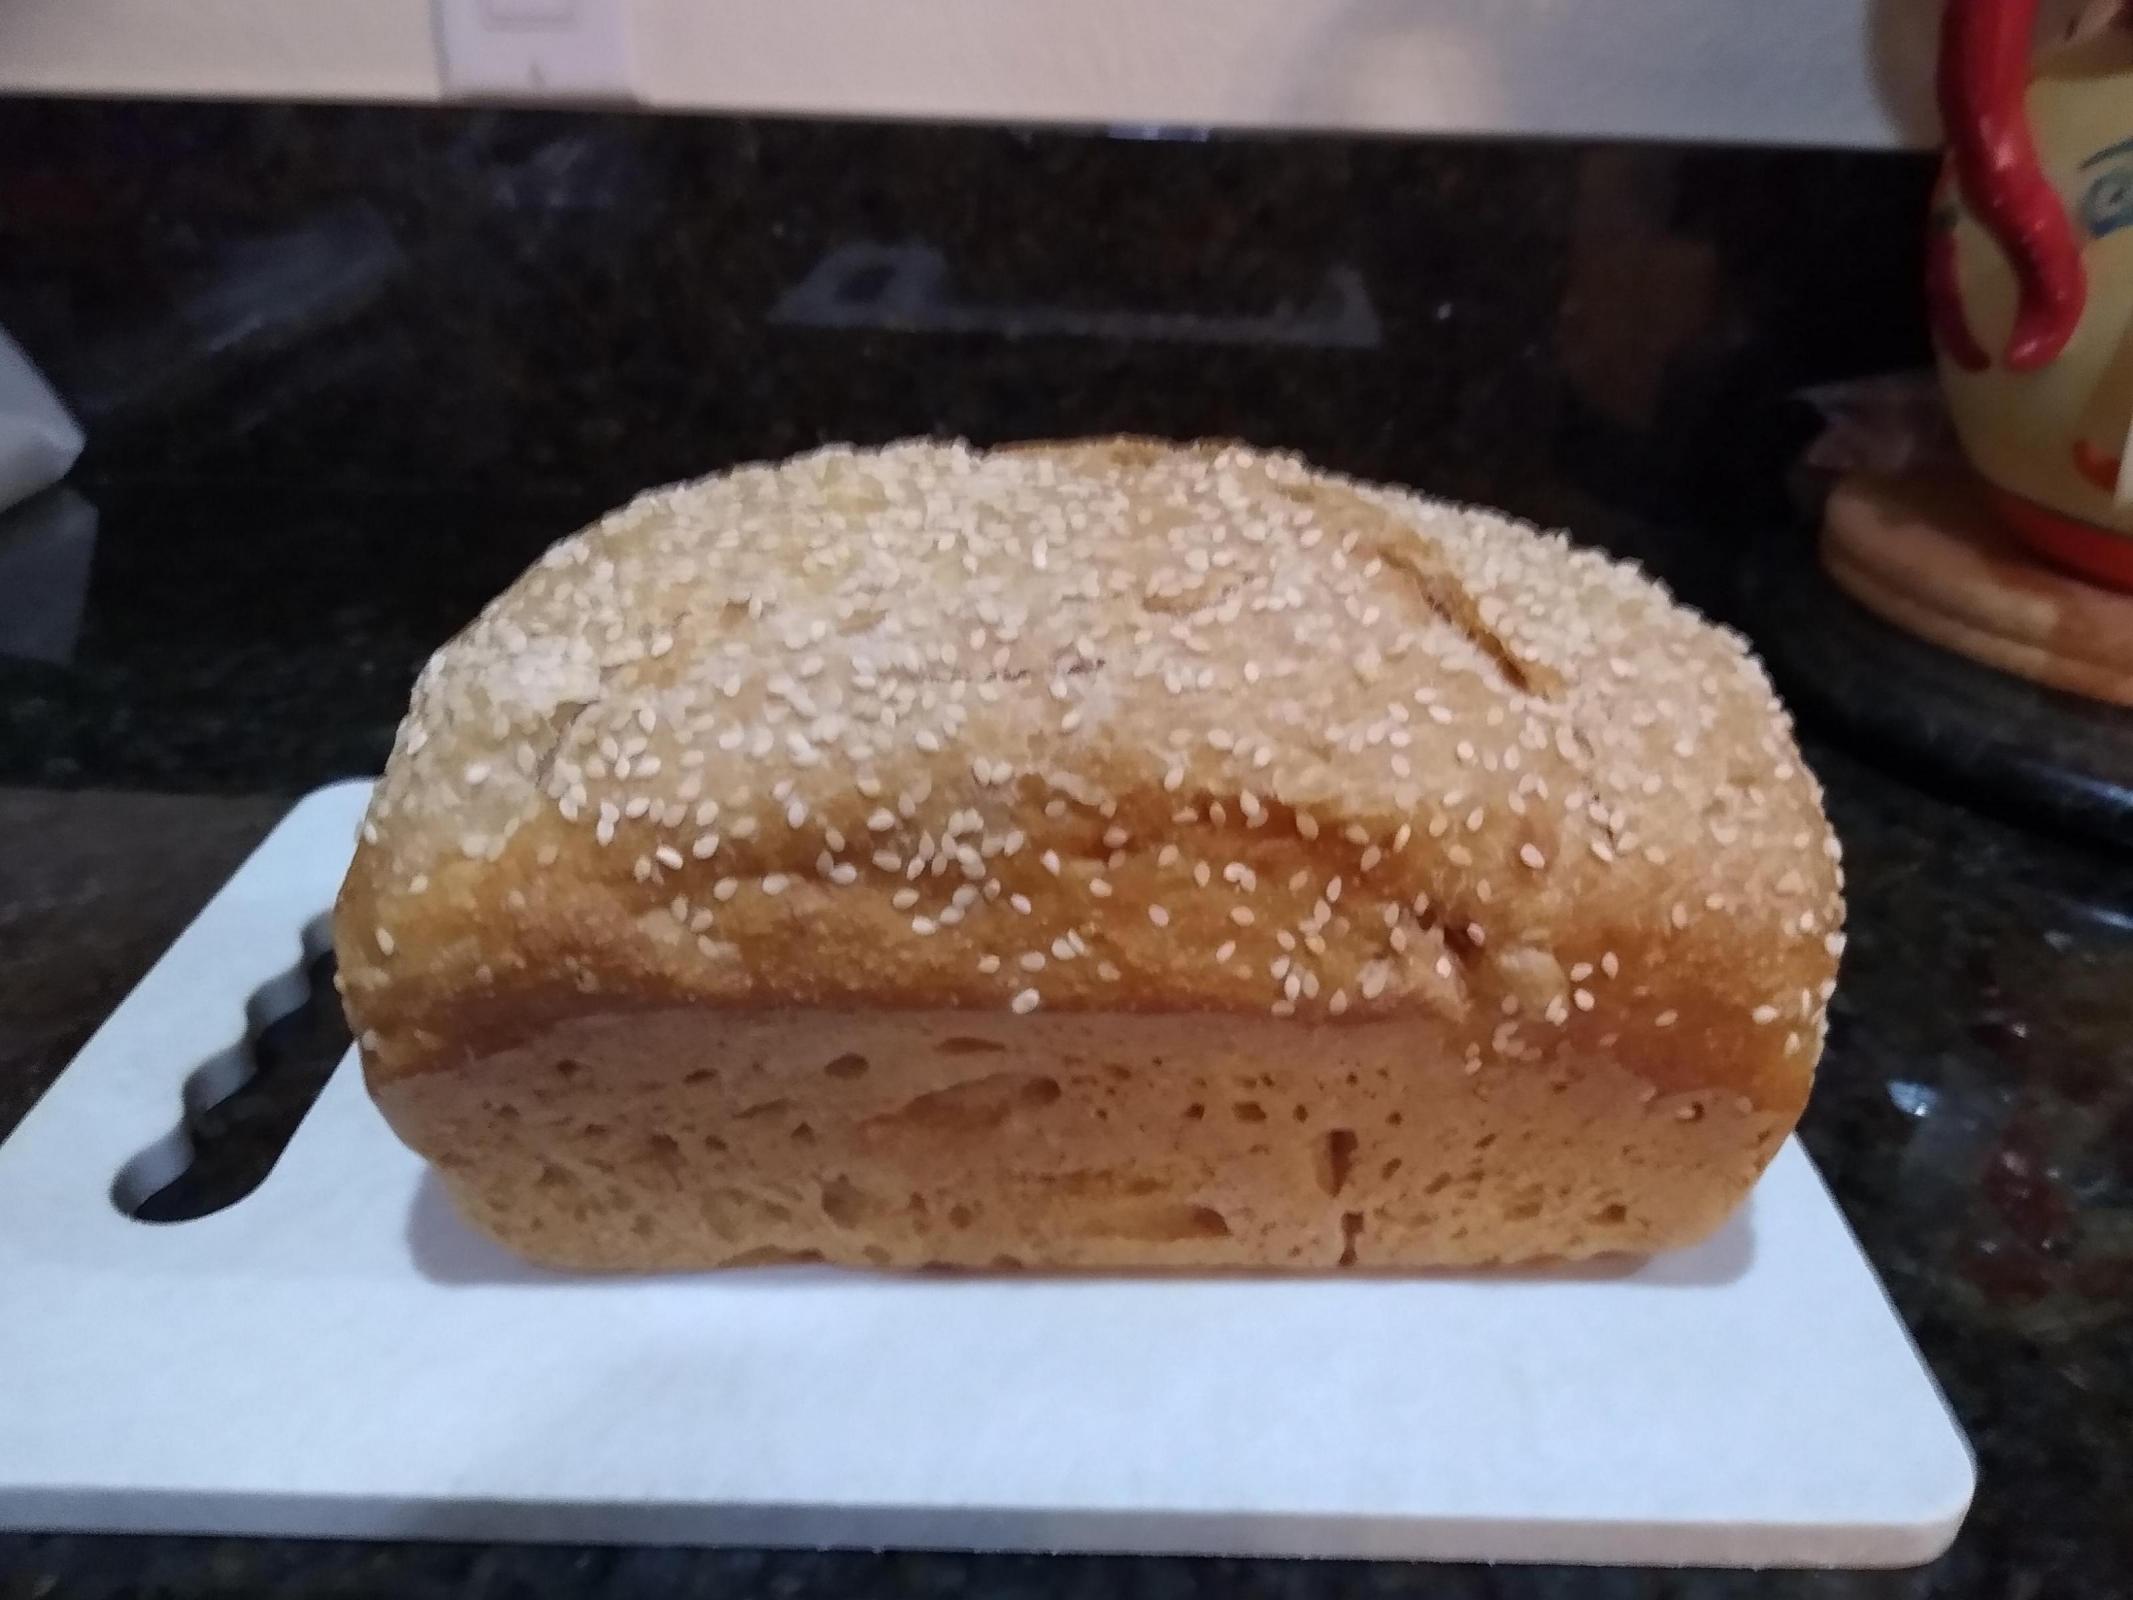
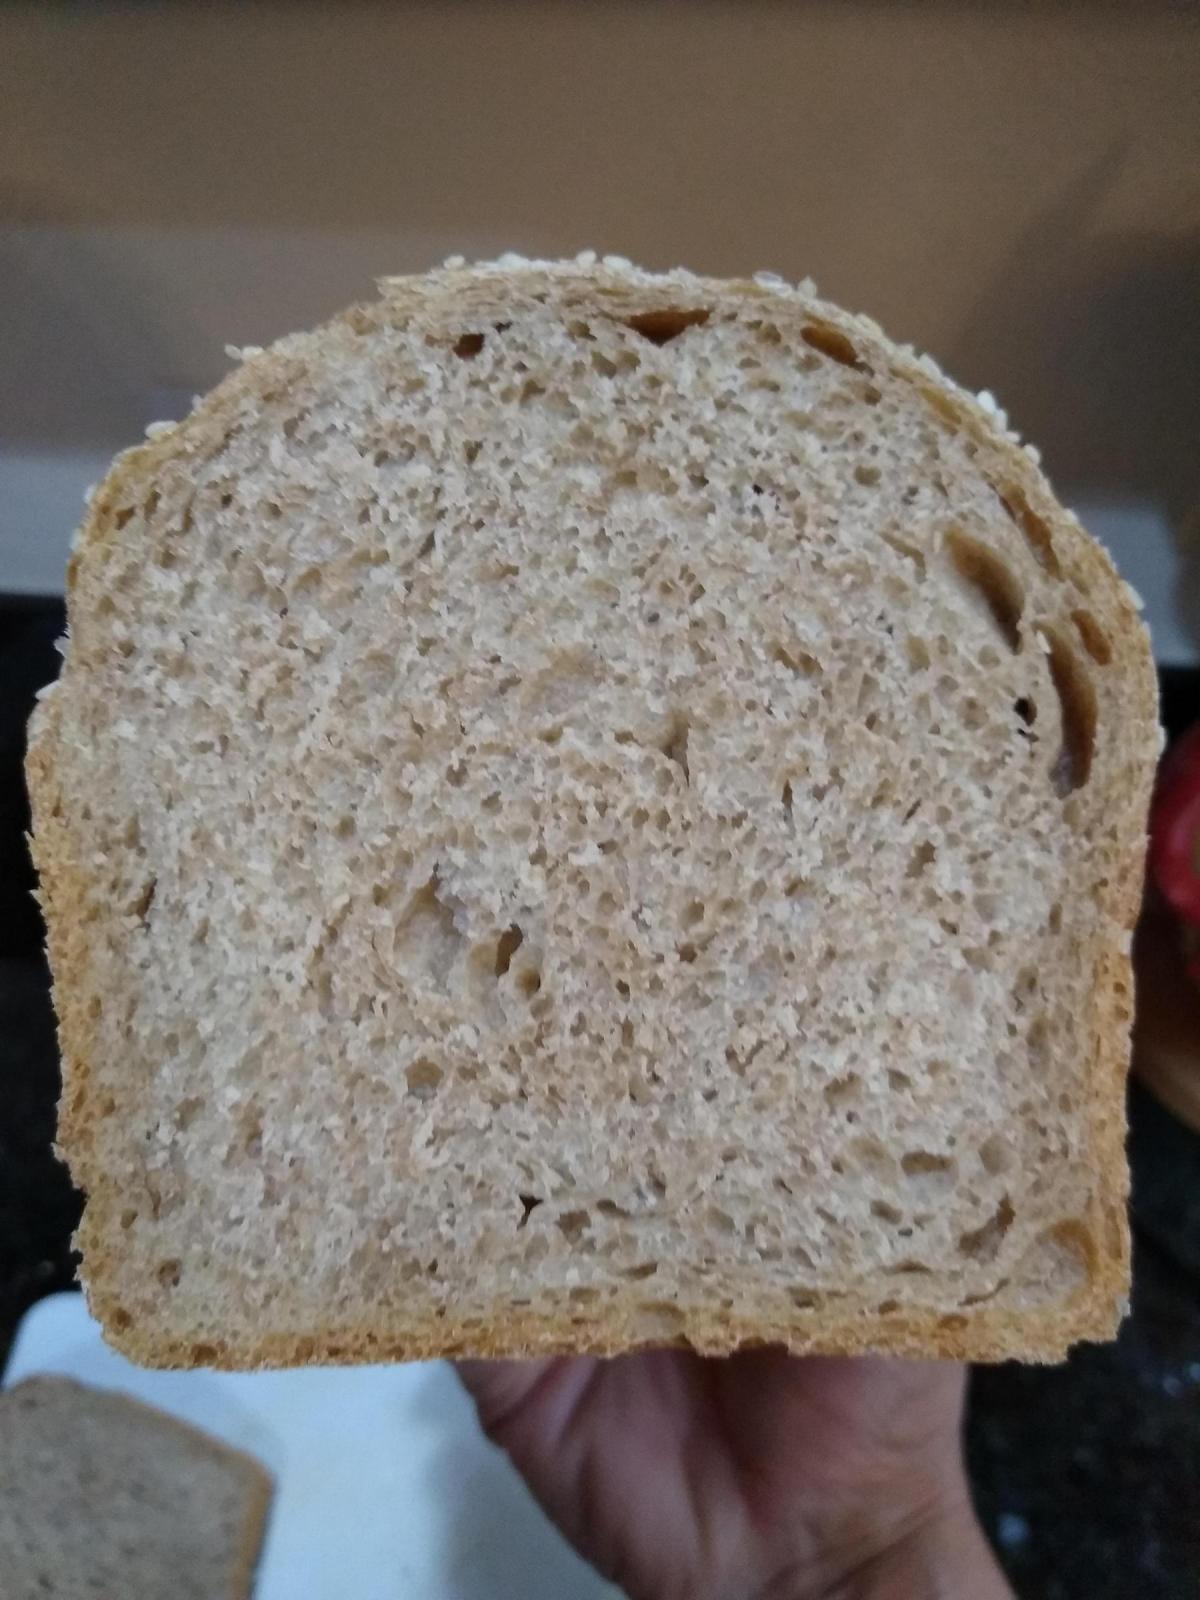
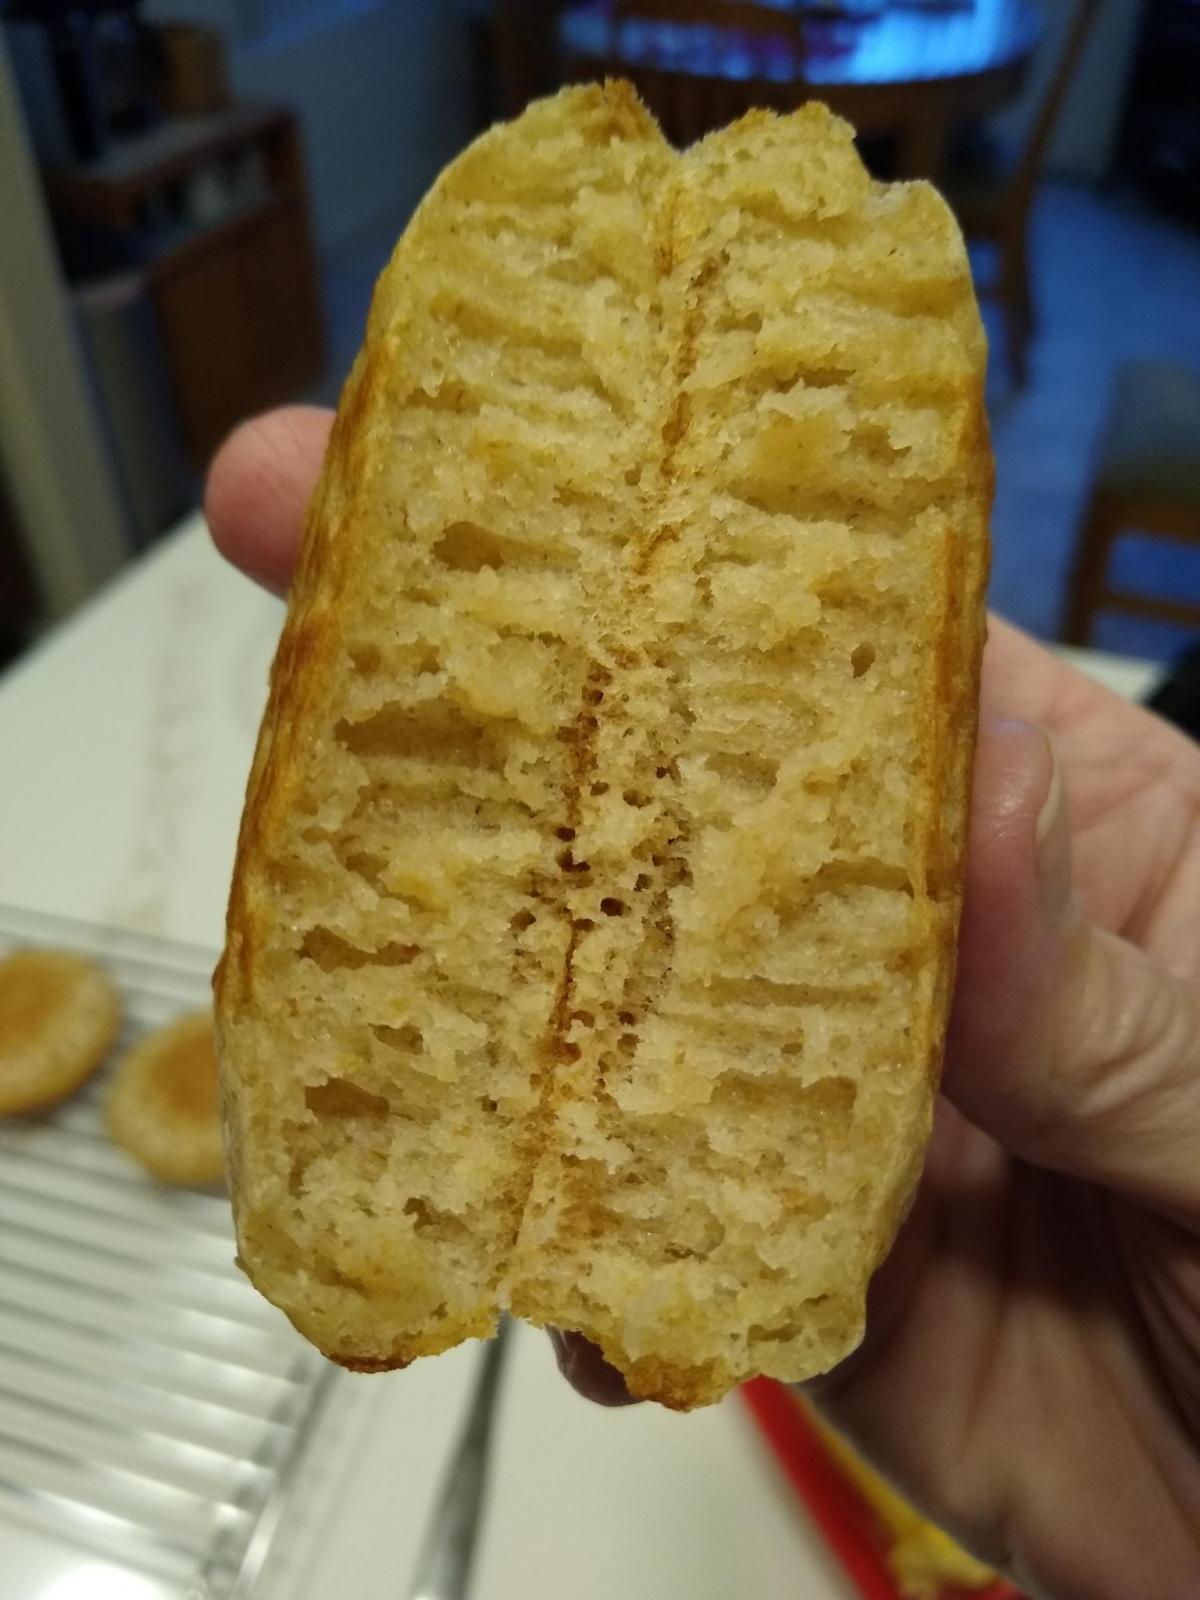
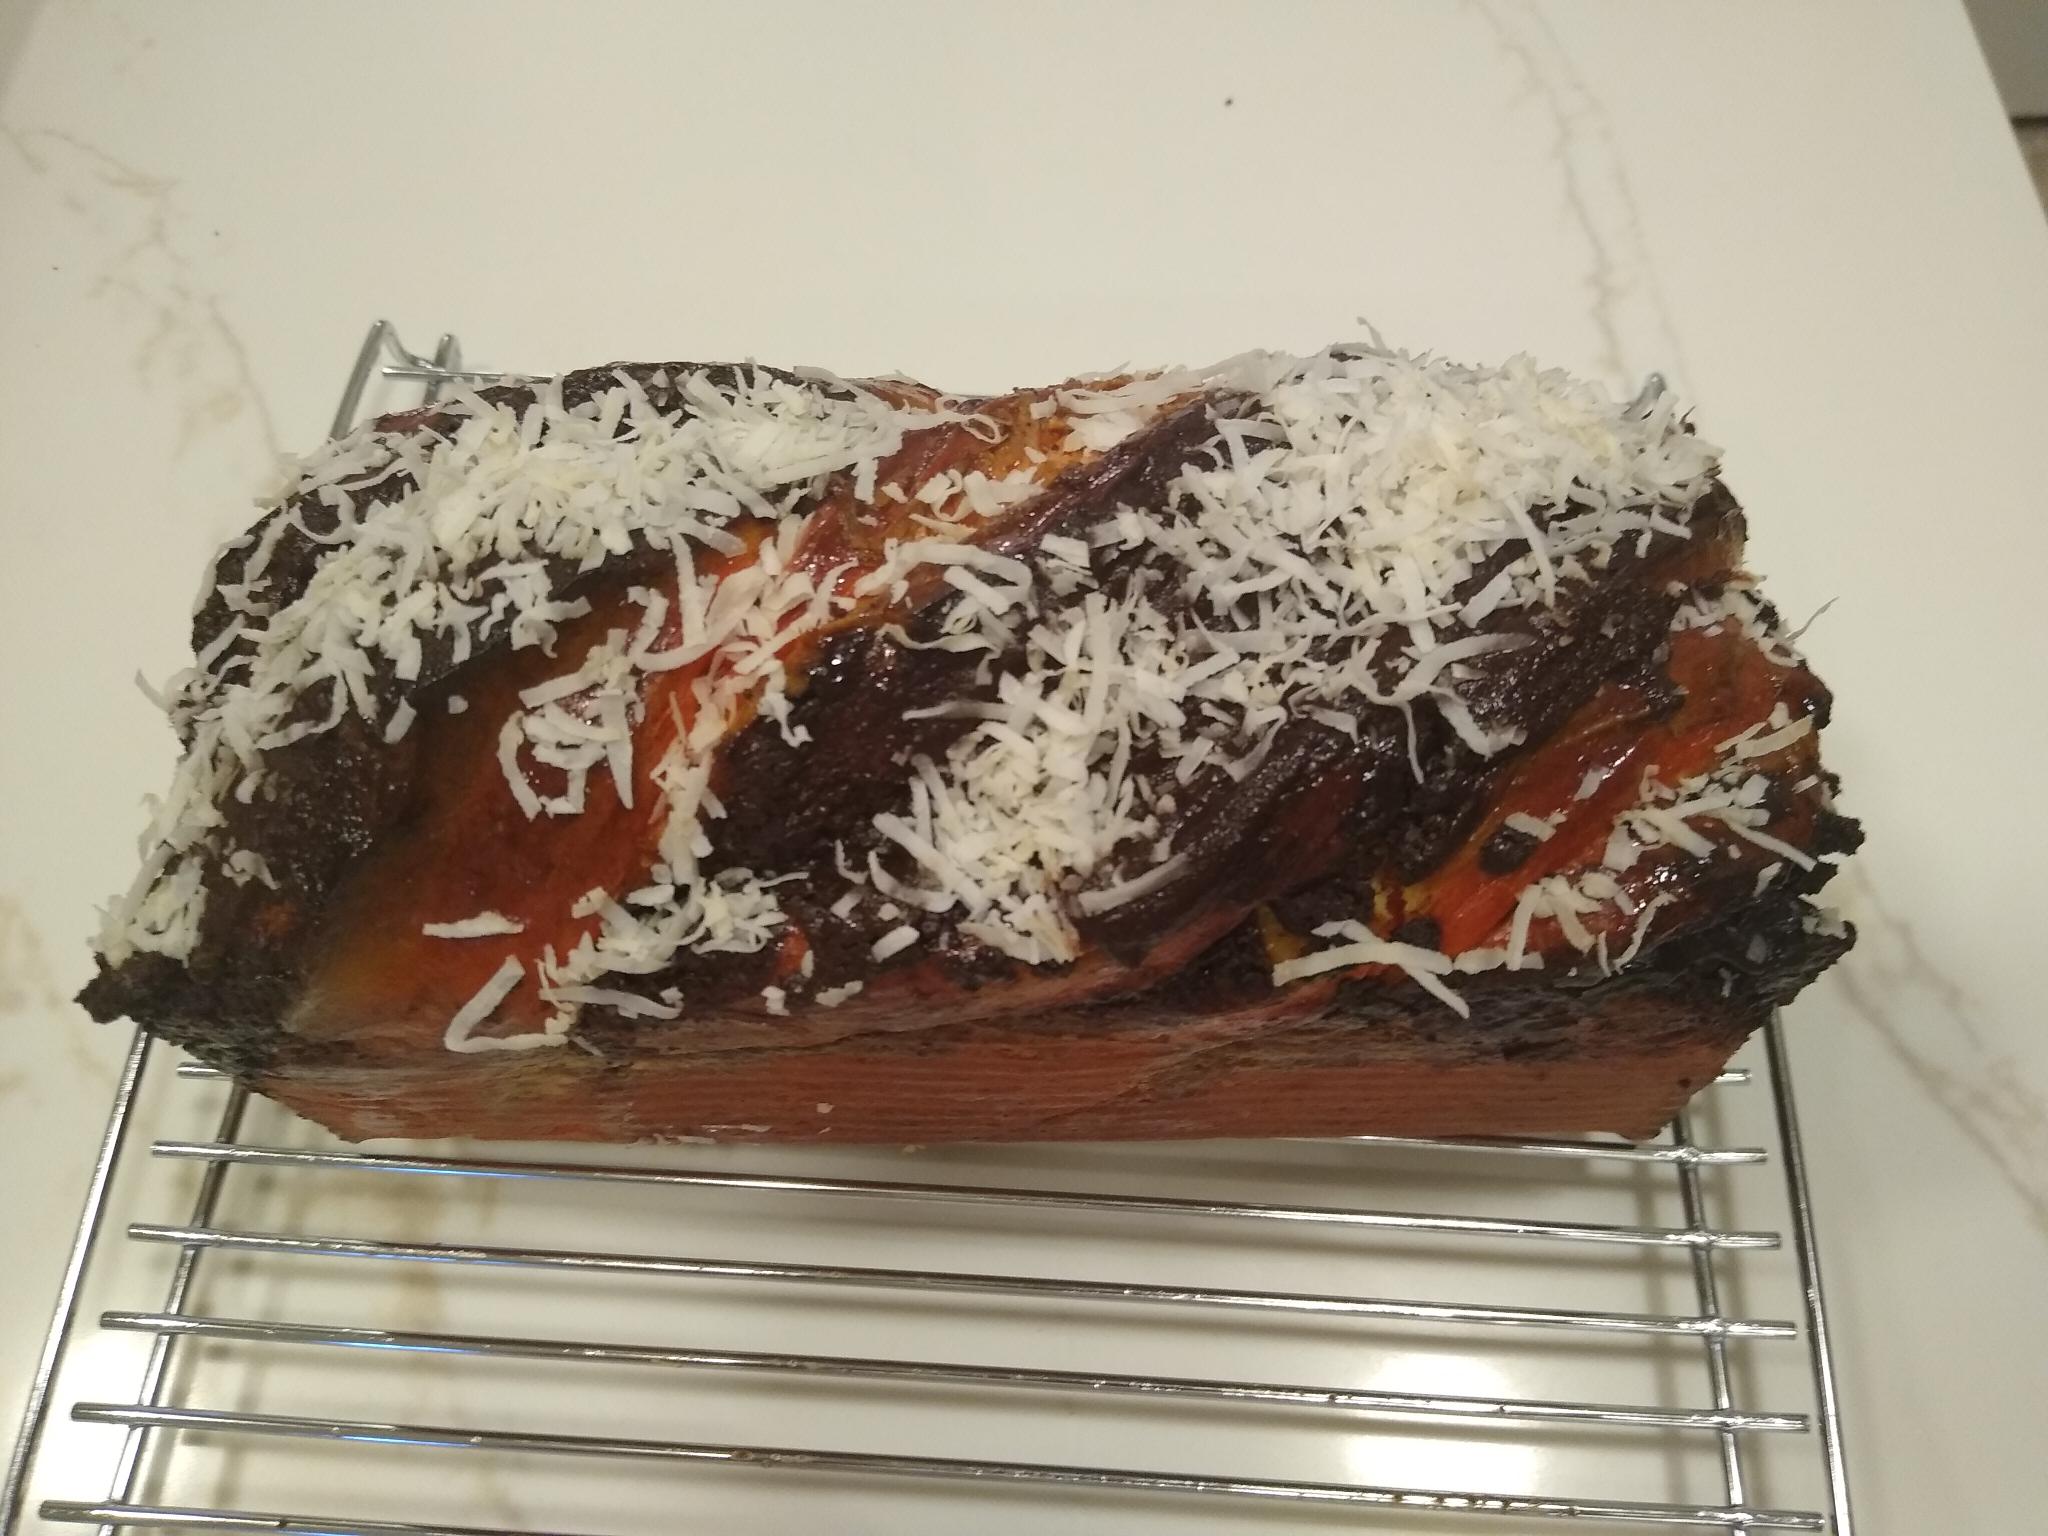
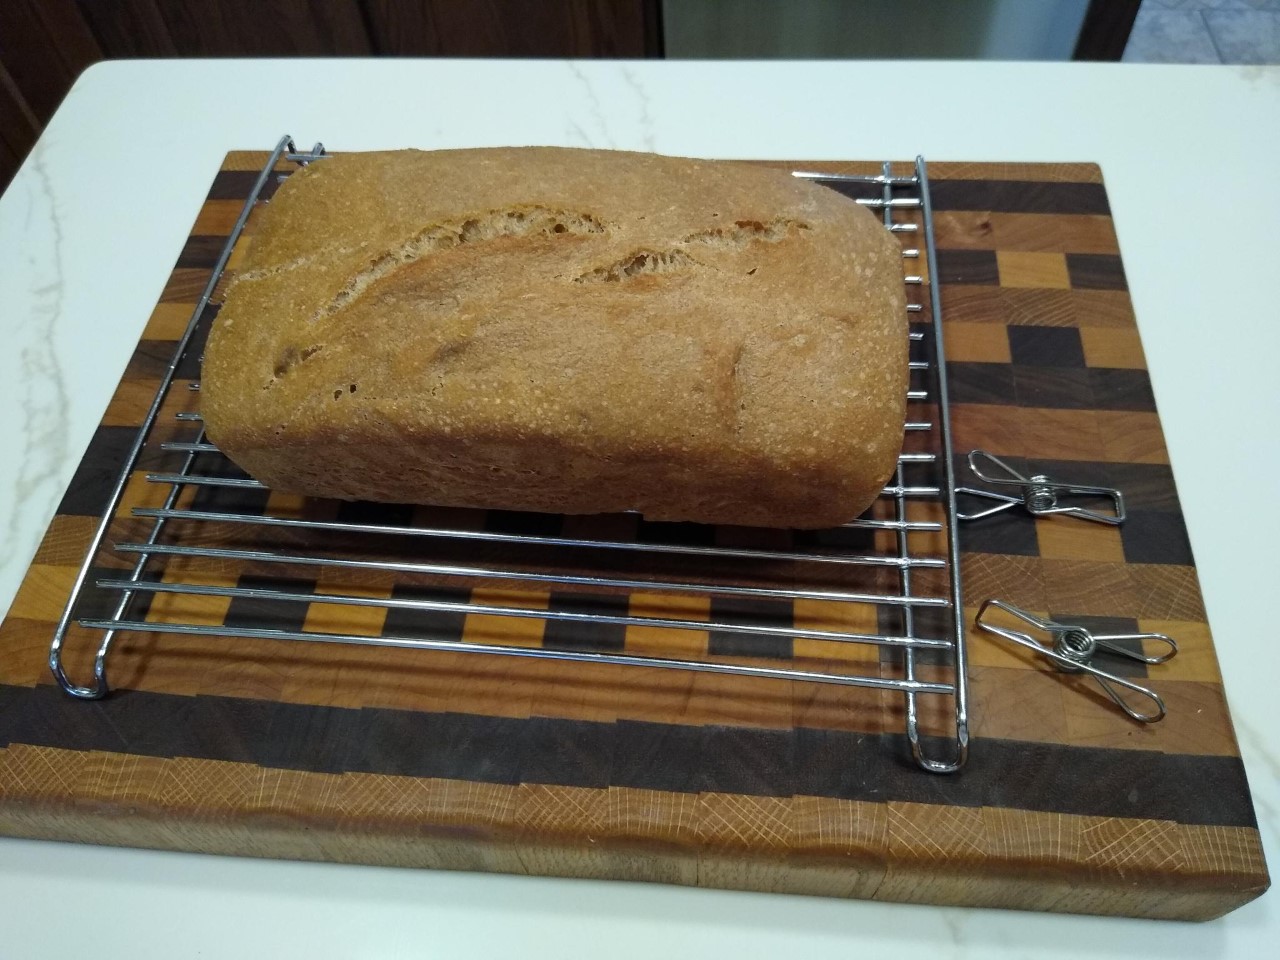
Thanks, Dave, for giving me the nudge. It was nice to learn something I incredibly easy I can do pretty much anywhere, and I'm pretty sure my MIL will tackle this once cooler temps make it to her area. Edit to add crumb shot, and refine ingredient details.  A bit more dense looking than some of the recent sandwich bread I have made lately, but you wouldn't know it from the chew. It came out tender and moist, and you can taste the flavor of the wheat more than my SD bakes. Hubby liked it a LOT, with more compliments than he normally does with SD. I could see where this would be handy for any sort of travel that includes a place with a kitchen.... Put the flour, salt, and IDY in a Ziploc, add water when ready to mix, proof at your leisure whilst vacationing, and bake in whatever container they happen to have available. I had better be careful, this is going to wake the travel bug within.... 😁🚙    

Pages

Subscribe to RSS - justkeepswimming's blog